Branding
The Branding section in workspace settings lets you replace the Kinescope logo with your own on all public-facing pages — video watch pages, live stream pages, and other open sections. This gives your audience a fully branded experience.
How to access branding settings
- Sign in to Kinescope .
- In the left panel, click the gear icon or open the Settings section.
- In the sidebar, select Branding.
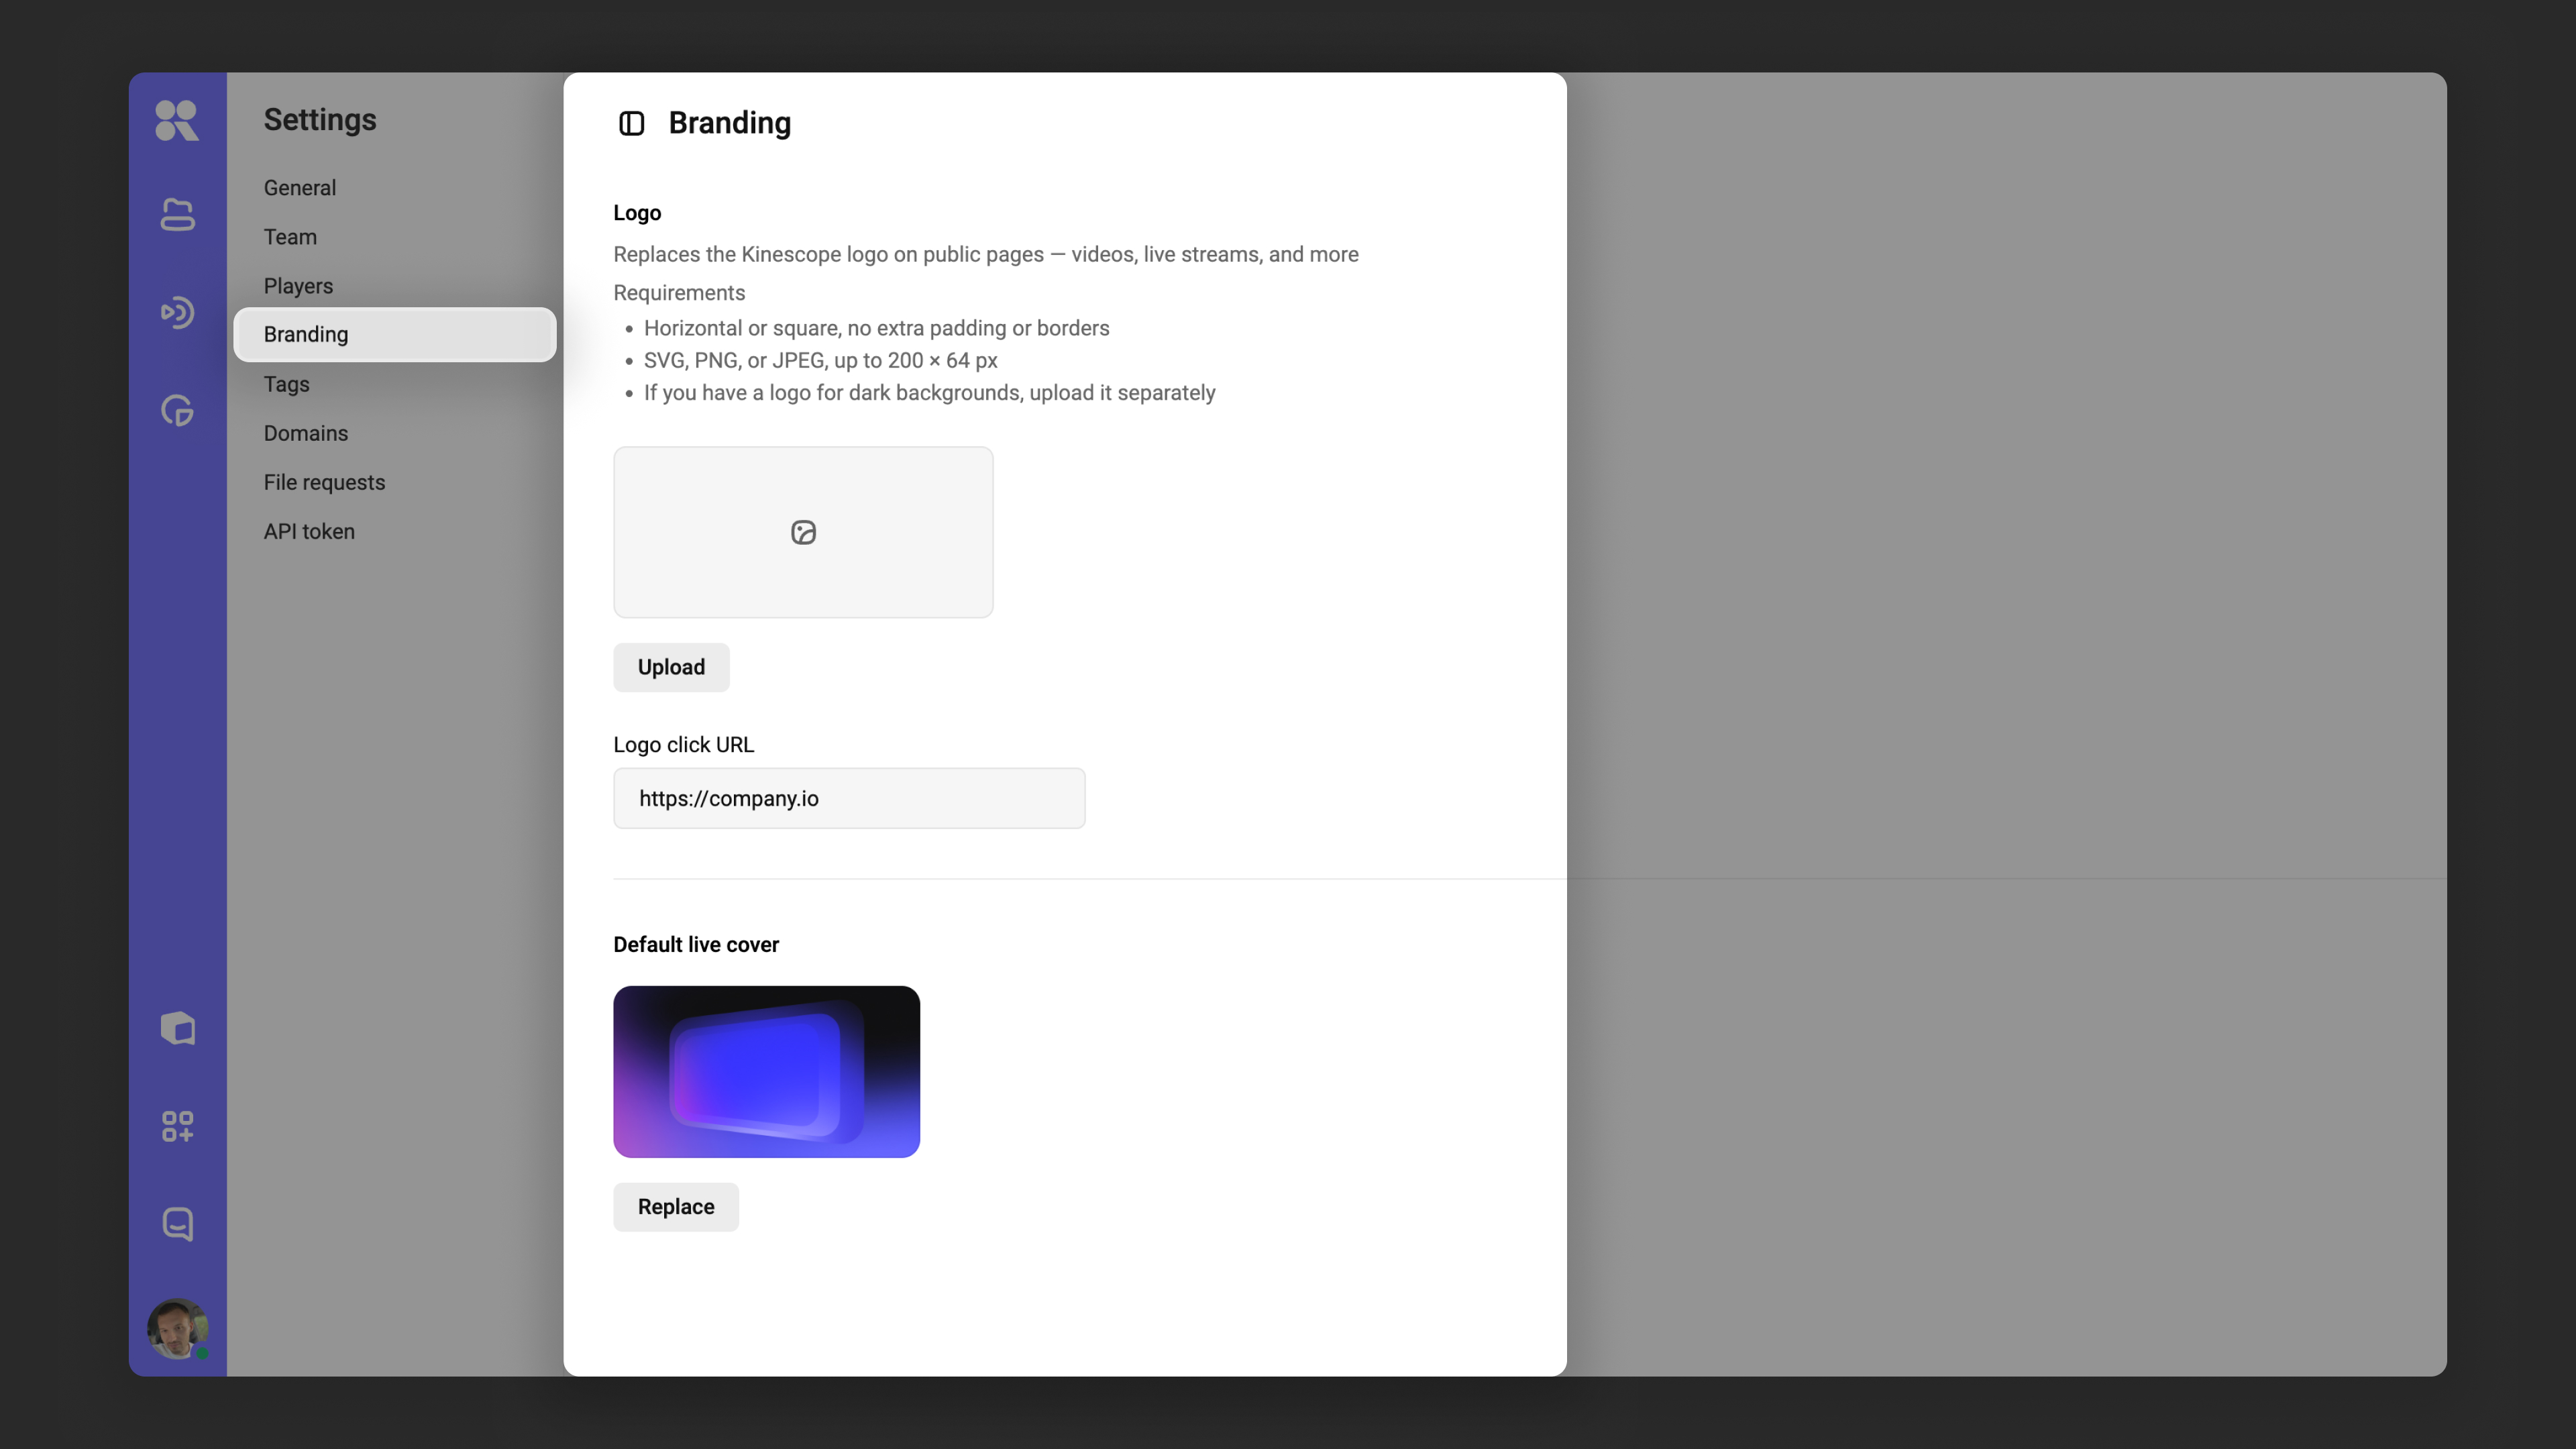
Logo
The uploaded logo replaces the default Kinescope logo on public watch pages — videos, live streams, and other open sections.
Image requirements
- Horizontal or square format, with no extra padding or borders.
- Formats: SVG, PNG, or JPEG.
- Maximum size: 200 × 64 px.
- If you have a version of your logo for dark backgrounds, upload it separately.
How to upload a logo
- In the Branding section, click the Upload button.
- Select a file in SVG, PNG, or JPEG format, up to 200 × 64 px.
- The logo will appear in the preview area and be applied to public pages immediately.
If you use a light-colored logo but your pages are displayed on a dark background, upload a separate version for dark backgrounds to ensure it displays correctly on all screens.
Logo click URL
In the Logo click URL field, enter the address where users will be taken when they click the logo — for example, your website’s homepage.
Default live cover
The live cover is a placeholder image displayed on the stream page before the broadcast begins. If no cover is set, the default Kinescope image is used.
How to replace the cover
- In the Default live cover section, click the Replace button.
- Select an image from your device.
- The new cover will apply to all upcoming streams in the workspace where no individual cover has been set.
A cover set in an individual stream’s settings takes priority over the workspace default cover.
What’s next?
- Player Customization — configure player colors, controls, and templates
- Live Streaming Guide — set up and launch live broadcasts
- Access Restrictions — manage content visibility