Team Access Rights Management
Team collaboration works best when each member has access to the functionality they need. Kinescope provides flexible access management tools that will help your team keep content secure and stay focused on tasks.
Who this article is for
- Project administrators — need to configure access rights for team members
- Account owners — need to organize team work with different access levels
- Content managers — need to restrict access to specific projects or folders
- Teams — need to organize collaborative work on video content
Users and Guests
In Kinescope, the team is divided into two types of members: Users and Guests, who work in the same workspace. You can manage members via the “Settings” → Team menu.
- “User” — a full team member who may differ in role, or set of access rights to platform functionality and sections. By default, a “User” sees all content, but they can have access restricted to specific projects and folders.
- “Guest” — an invited member with access only to specific projects or folders. They can upload and manage content, but do not have access to other platform features. This role can be changed to “User” at any time.

Team management
The “Team” section has two tabs: “Users” and “Guests”. The number of each is shown in parentheses. If you have a large team, both tabs have member search functionality.
For each member, the following is displayed:
- Name and email specified during registration.
- Last visit — date and time of the last login to the workspace.
- Role — current set of rights with the ability to edit by clicking on the role.
- Access — full or restricted, clicking shows restriction details.
- Context menu (three-dot icon) for removal, role change, invitation cancellation, or resending.
To change the role of a “User” or “Guest”, click on the current role of the selected member and choose a new one.
To remove a member, click on the three dots in the row of the selected member → “Remove user”.
Roles in Kinescope
For “Users”:
- “Administrator” — full rights, including account management and project deletion.
- “Editor Plus” — access to all “Administrator” features except billing and payment management.
- “Editor” — creating, editing, and deleting content, without access to financial data and user management.
- “Manager” — uploading and editing content without the ability to delete files, projects, and folders.
- “Financial Manager” — access to the “Invoices” and “Billing” sections, viewing videos, and copying the player code.
- “Viewer” — view-only and copy video code.
For “Guests”:
- “Guest Editor” — creating, editing, and deleting media files, projects, and folders. No access to “Invoices” and “Billing” sections, and no ability to invite and manage users.
- “Guest Manager” — uploading and editing media files, creating folders without the right to delete or change the catalog structure.
Inviting new members
Kinescope has no limit on the number of member invitations, and catalog work is free for all team members regardless of the number of workspaces.
To send an invitation:
- Go to “Settings” → "Team " → click the “New user” button in the top right corner. Enter the email, select a role, and send the invitation.
- After this, the invited user will appear in the “Team” menu with the status “Awaiting registration”.
- To send a repeat invitation, hover over the user’s row, click the three-dot icon, and find “Send repeat invitation”.
- Alternative method: via the quick menu in the top right corner of the catalog.
When a new user follows the link from the invitation, they complete registration or gain access to a new workspace if they already have a Kinescope account.
After accepting the invitation, the member becomes a “User” and has full content access; it can be restricted in the next step. Unlike a “User”, a “Guest” gets access to a strictly defined location in the Catalog.
Restricting access to projects and folders
Users with “Administrator” and “Editor Plus” roles can hide selected projects and folders from all or some users.
To restrict access:
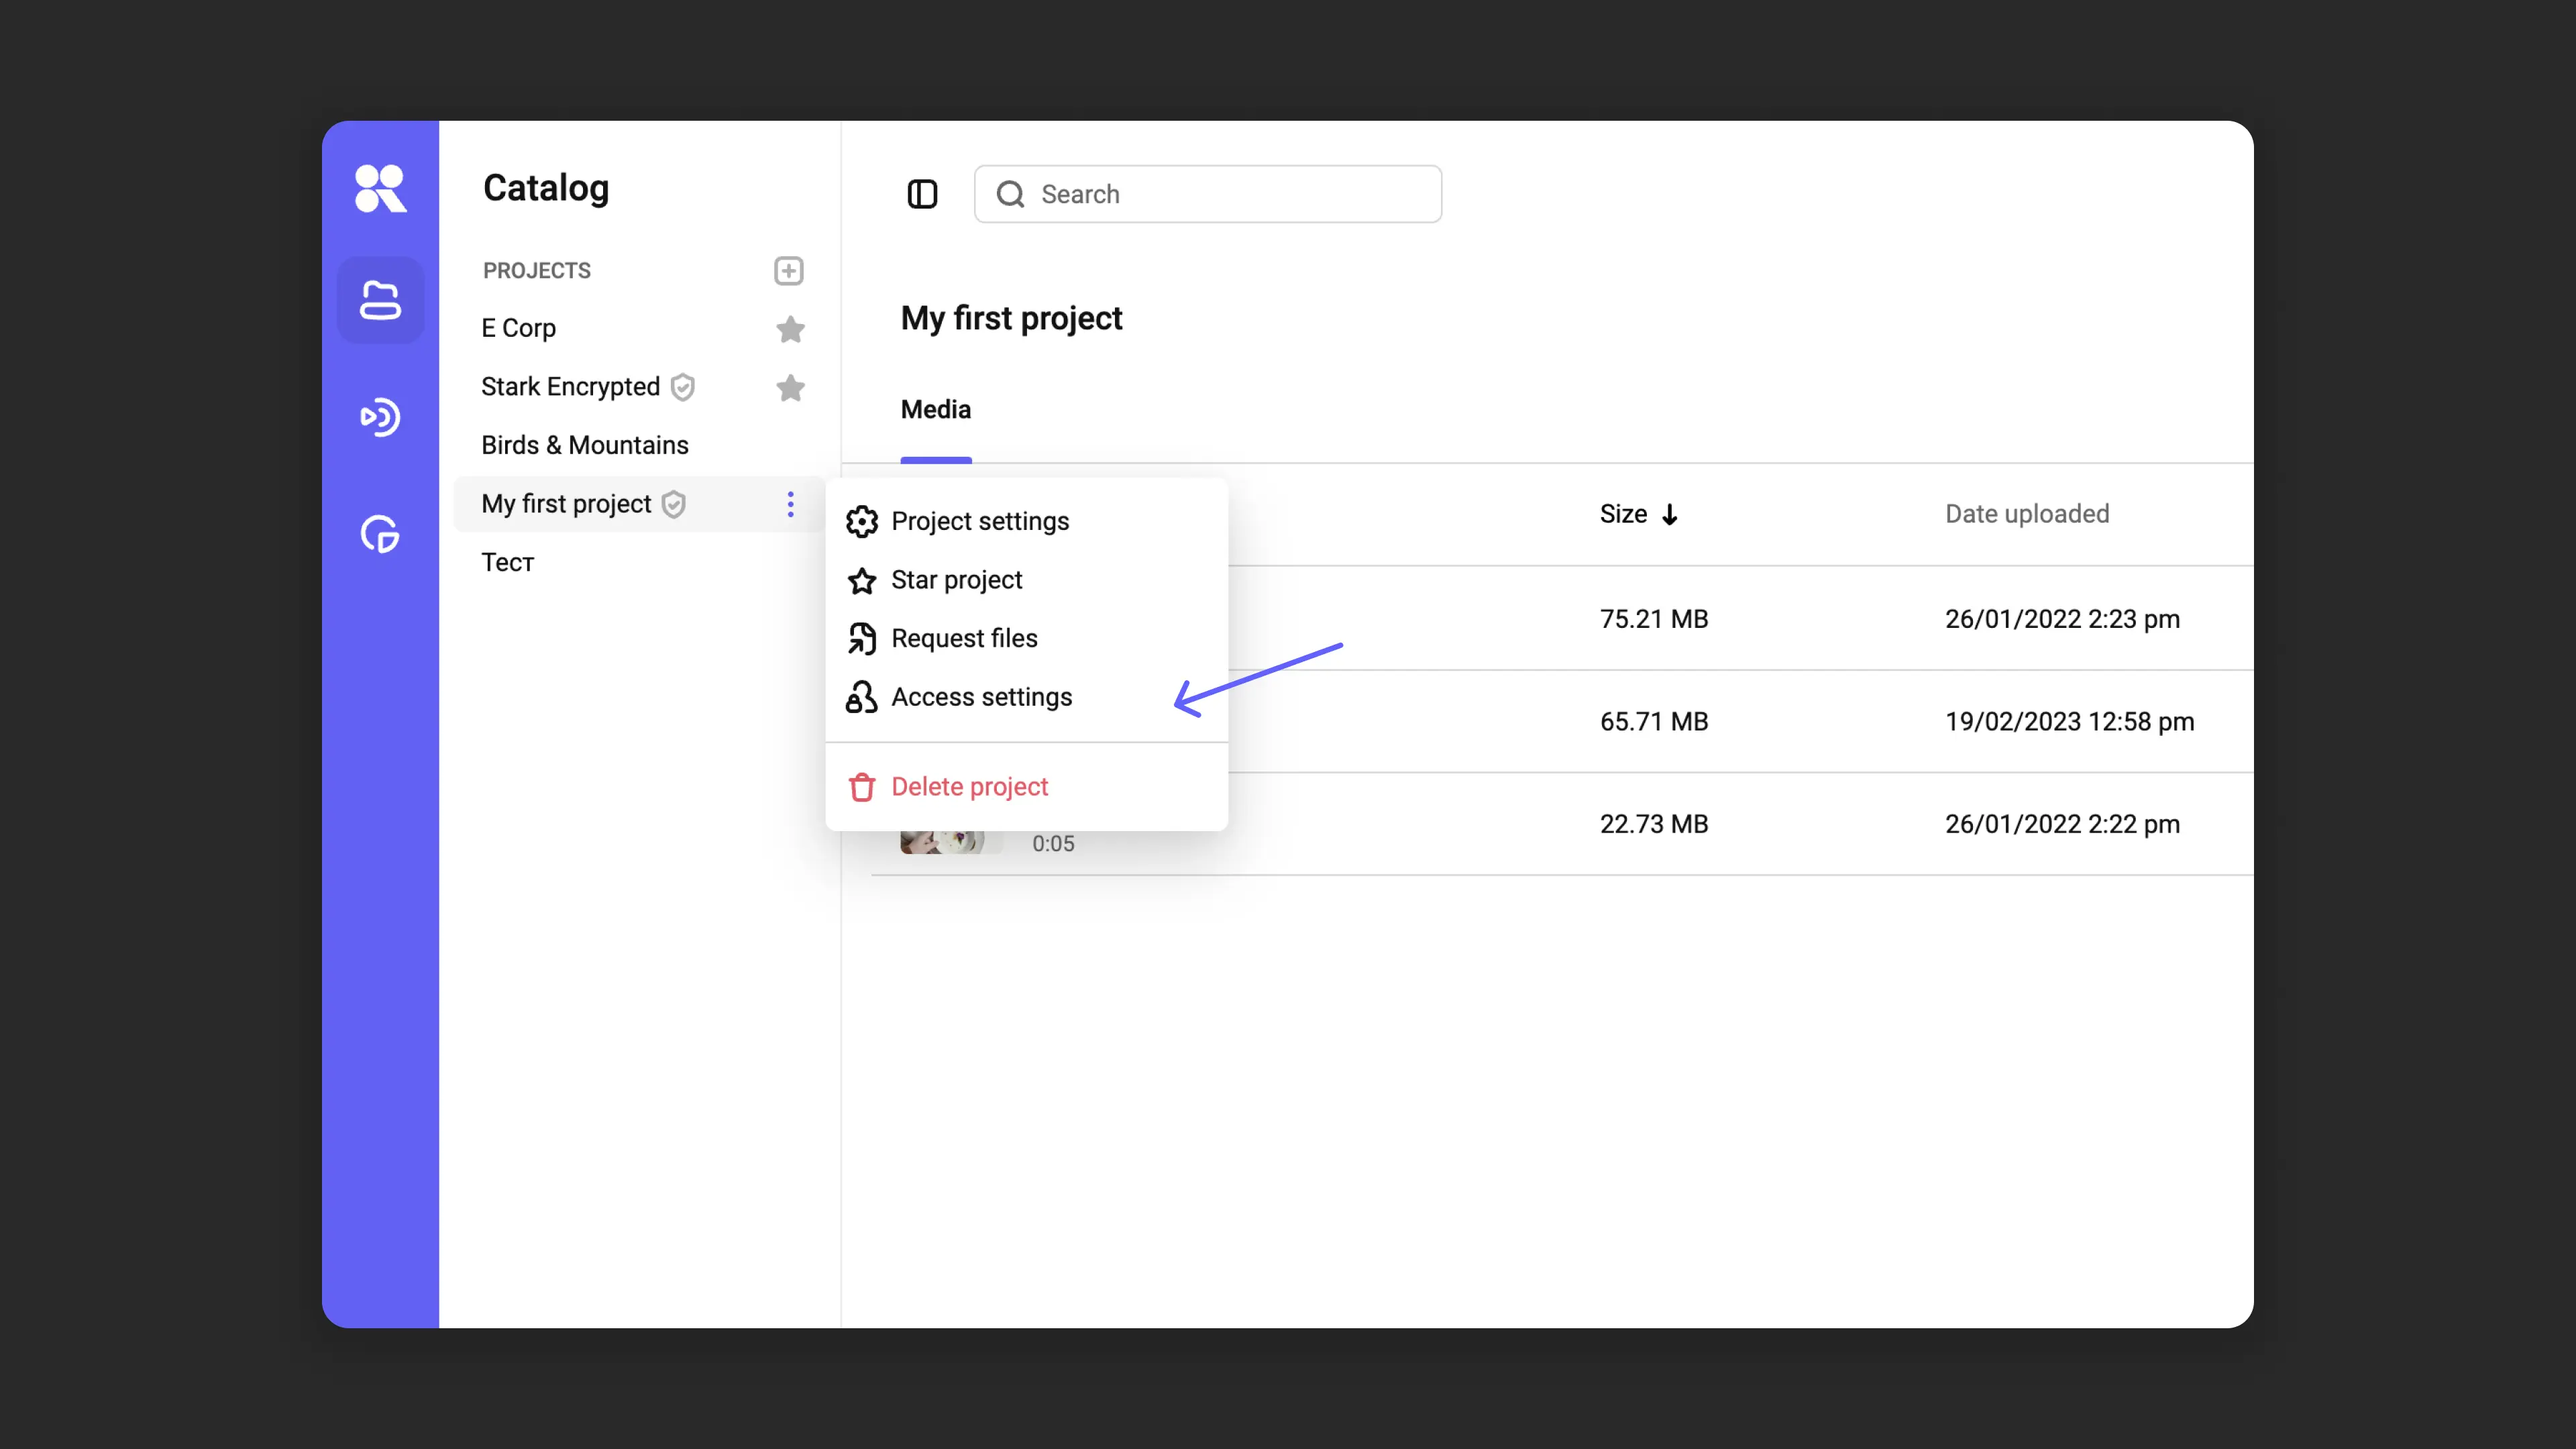
- To a project: open the “Access settings” menu (via three dots next to the project).
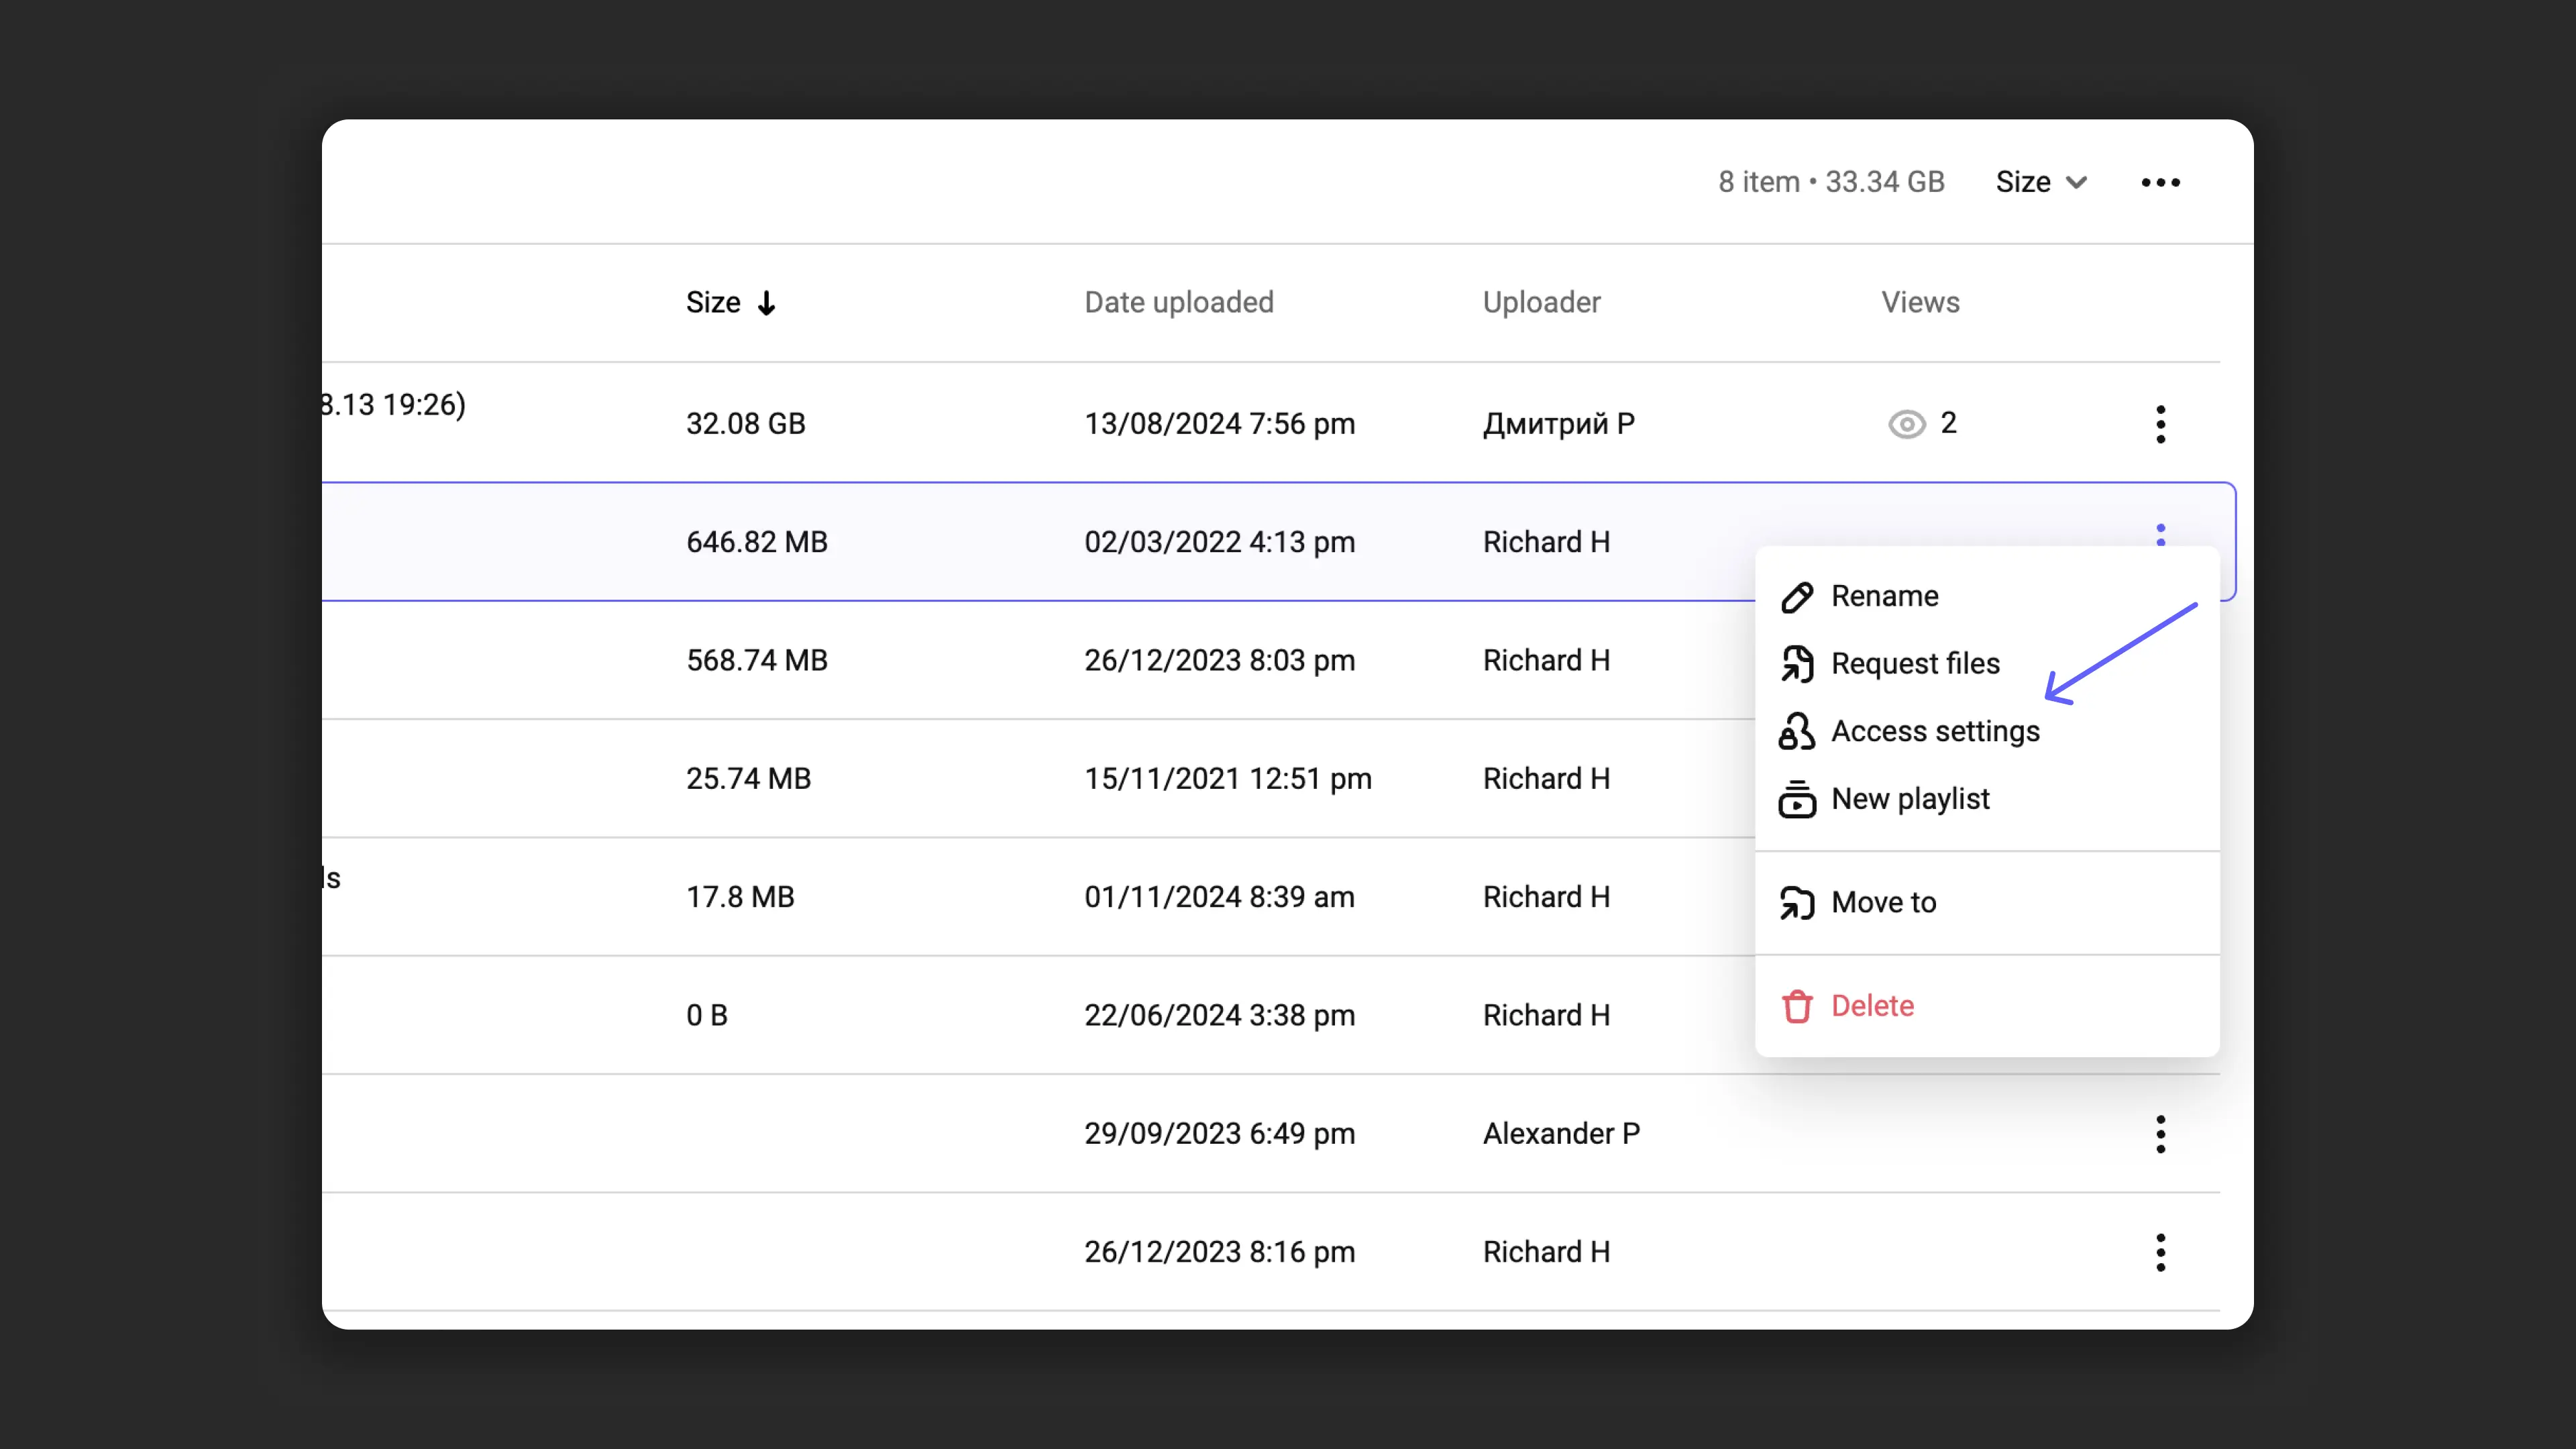
- To a folder: hover over the folder in the catalog and click on the three-dot icon. Select the members you want to restrict access for.
These restrictions can be removed at any time via the “Settings” → “Team” menu or quick navigation to team management in the access settings window. In the “Access” column in the table, restrictions for each team member are visible. Click on “Restricted access” in the row of the needed member, hover over the project or folder you want to remove the restriction from, and click the “X”.
How to restrict access through “Team Management”:
What’s next?
After configuring access rights, we recommend:
- Configure profile and workspace — configure personal and workspace parameters
- Organize media library — create projects and folders to structure content
- Configure content protection — restrict access to videos by domain or password
Still have questions? Write to the support chat within the Kinescope interface — our specialists will help!