Profile and Workspace Settings
Kinescope has two settings sections: “My Profile” — personal settings, and “General” — workspace settings. Personal settings apply to all workspaces, while workspace settings apply only to the current workspace.
Who this article is for
- All users — need to configure personal details and account security
- Project administrators — need to configure workspaces to organize team work
- Account owners — need to configure two-factor authentication to protect content
- Teams — need to organize work across multiple workspaces
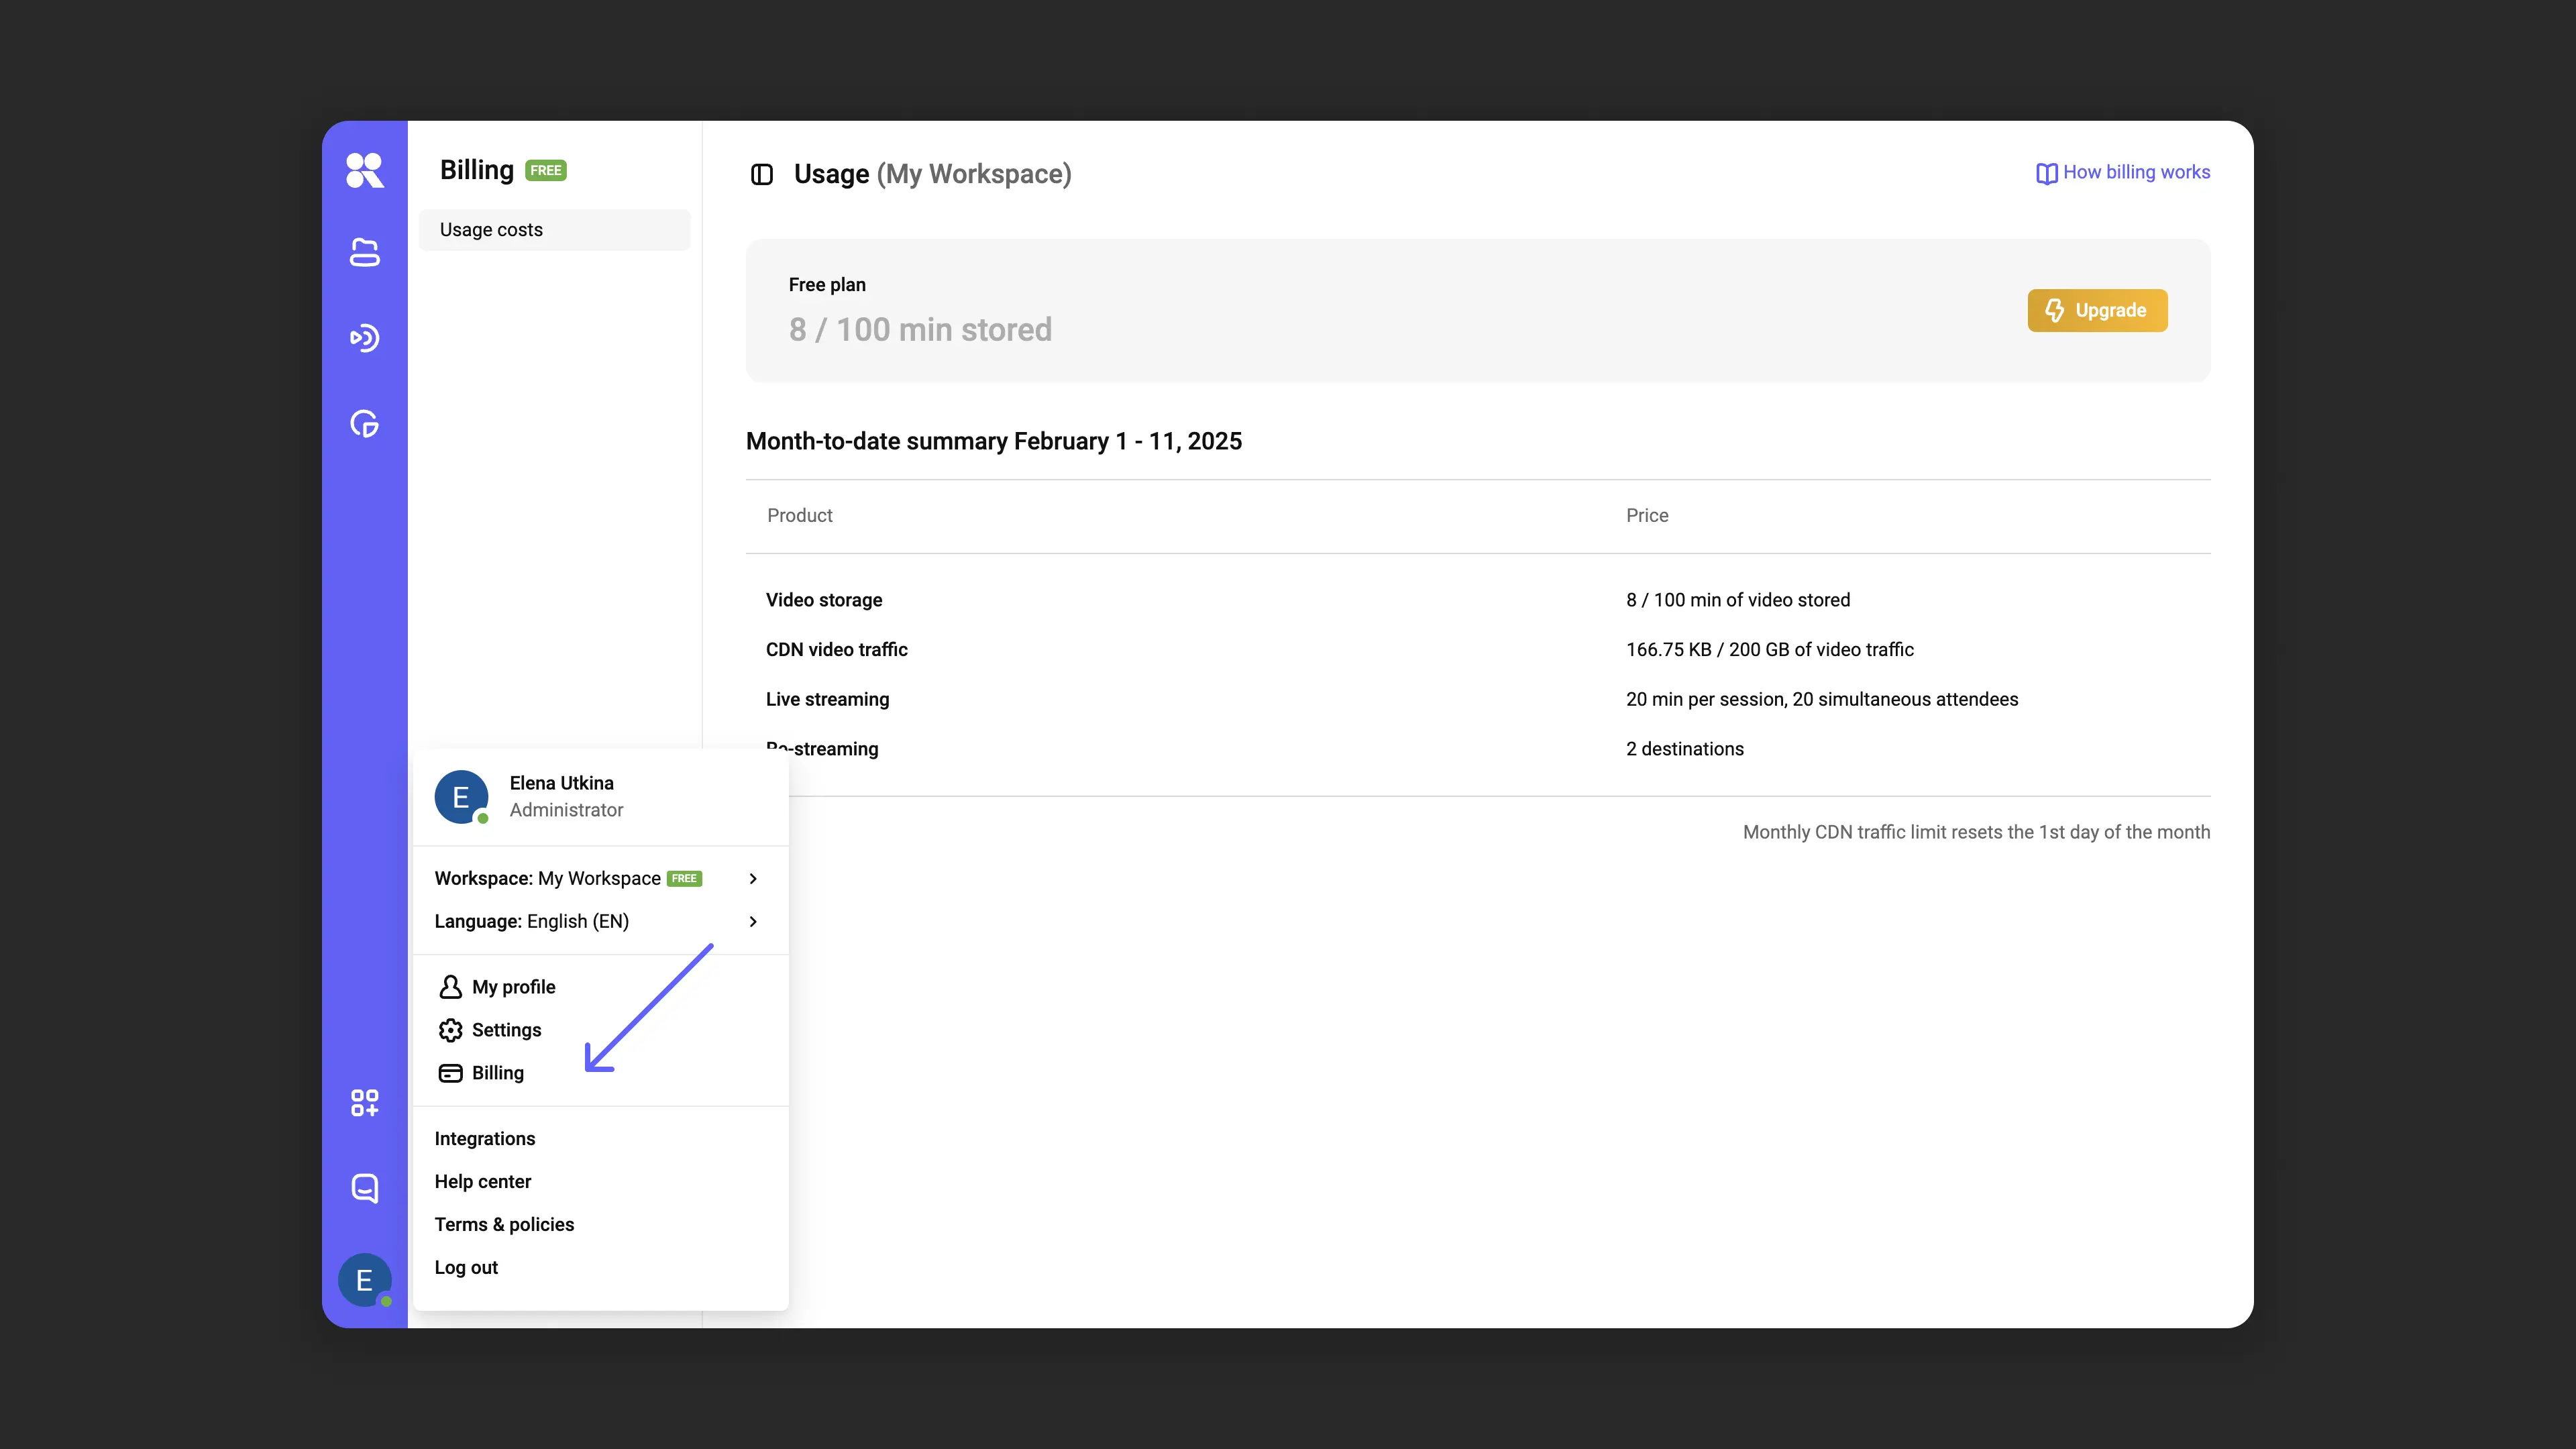
How to access profile settings?
- Log in to Kinescope .
- Hover over the avatar or initials icon in the bottom left corner.
- In the dropdown menu, select “My Profile”.
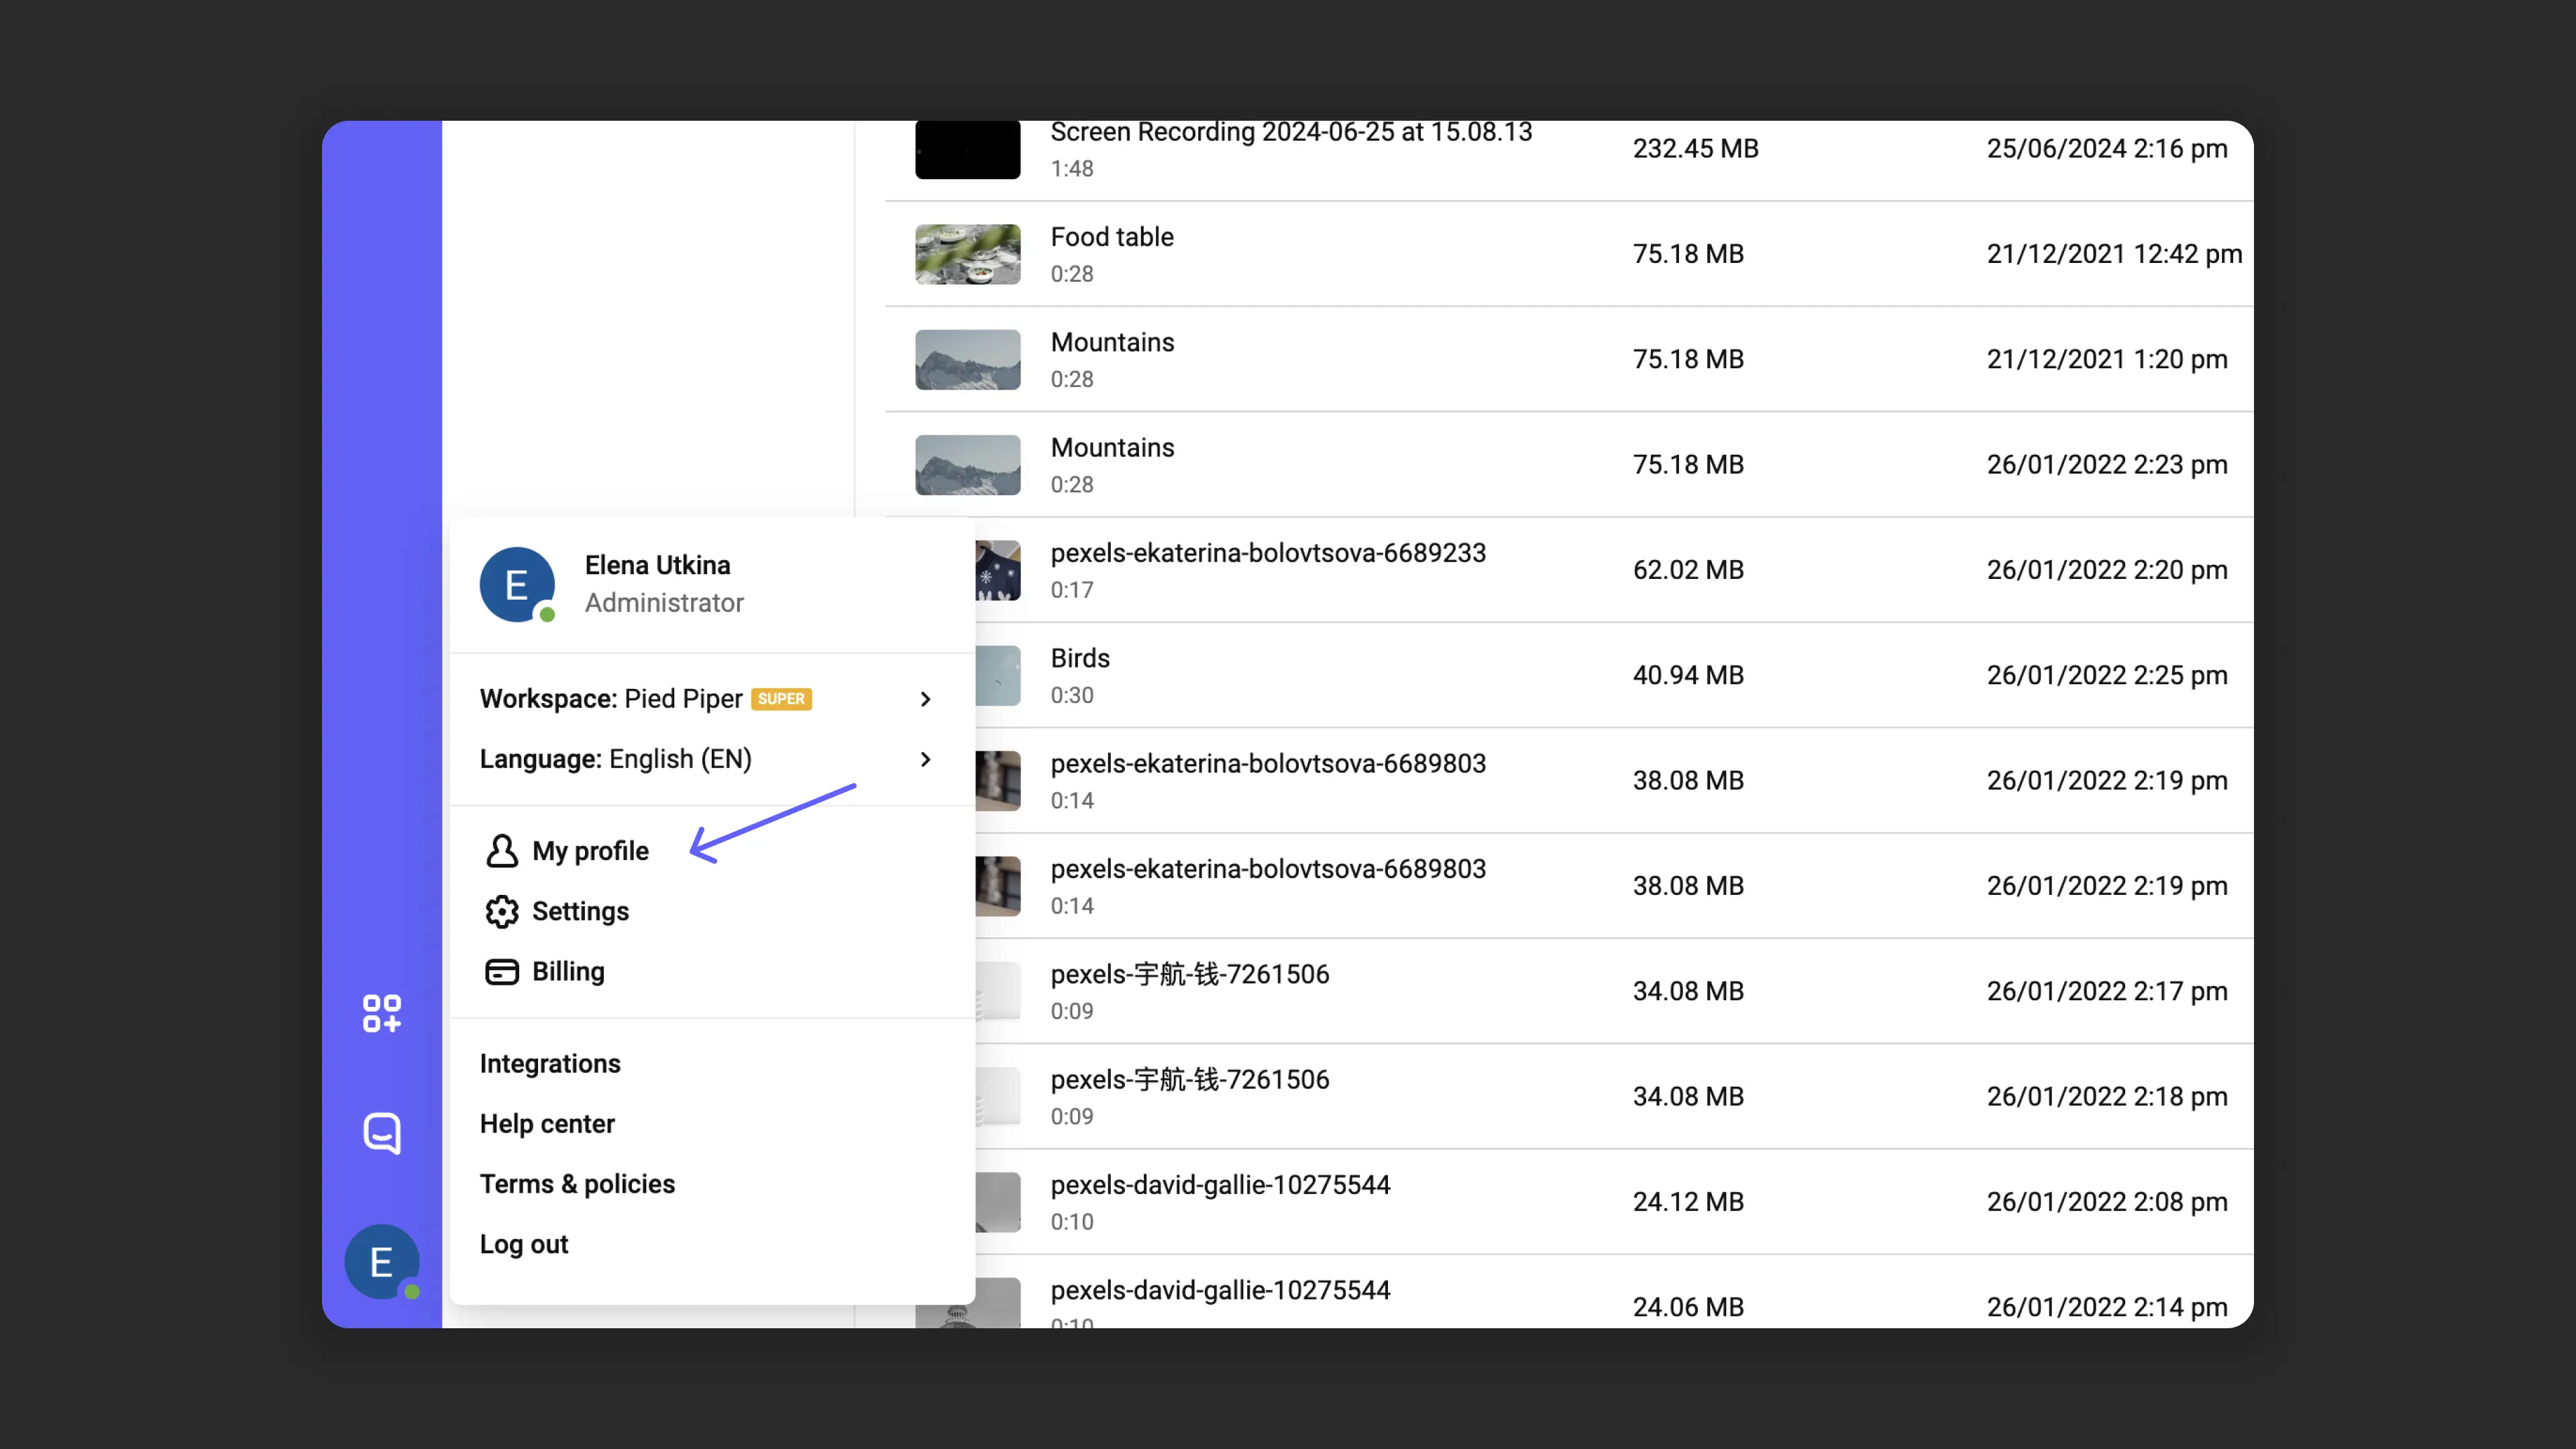
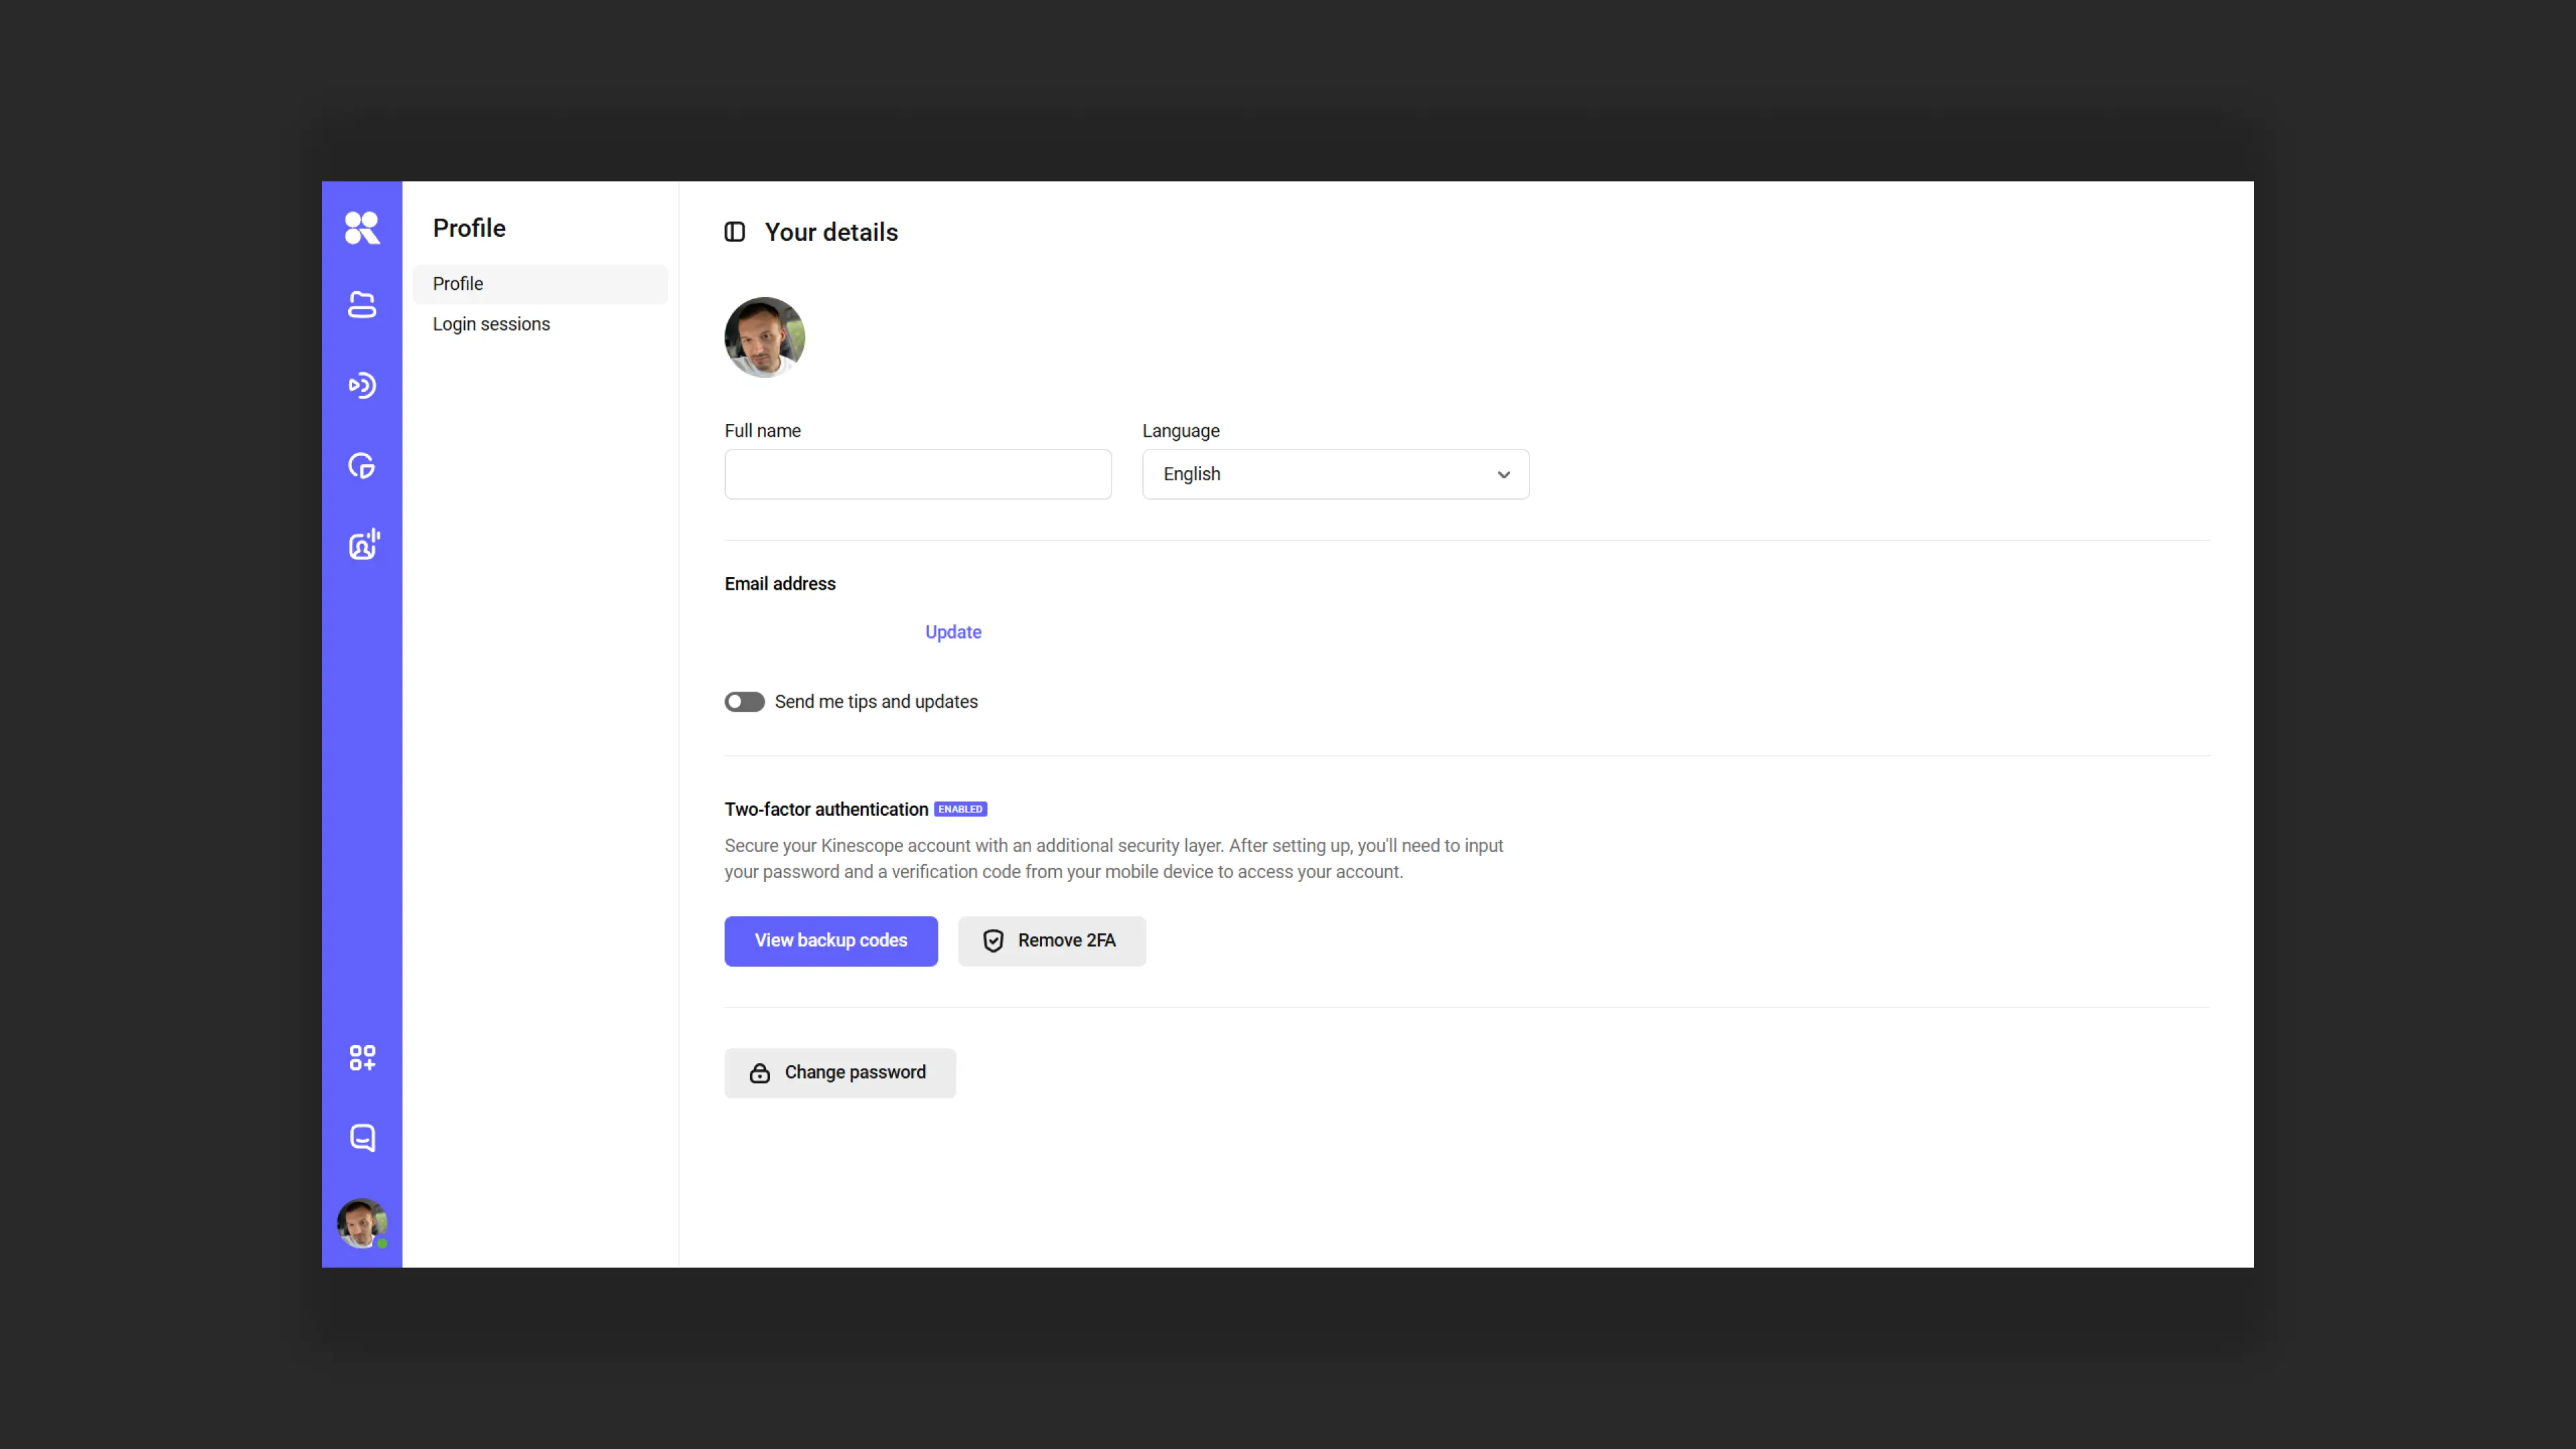
What can you configure in your profile?
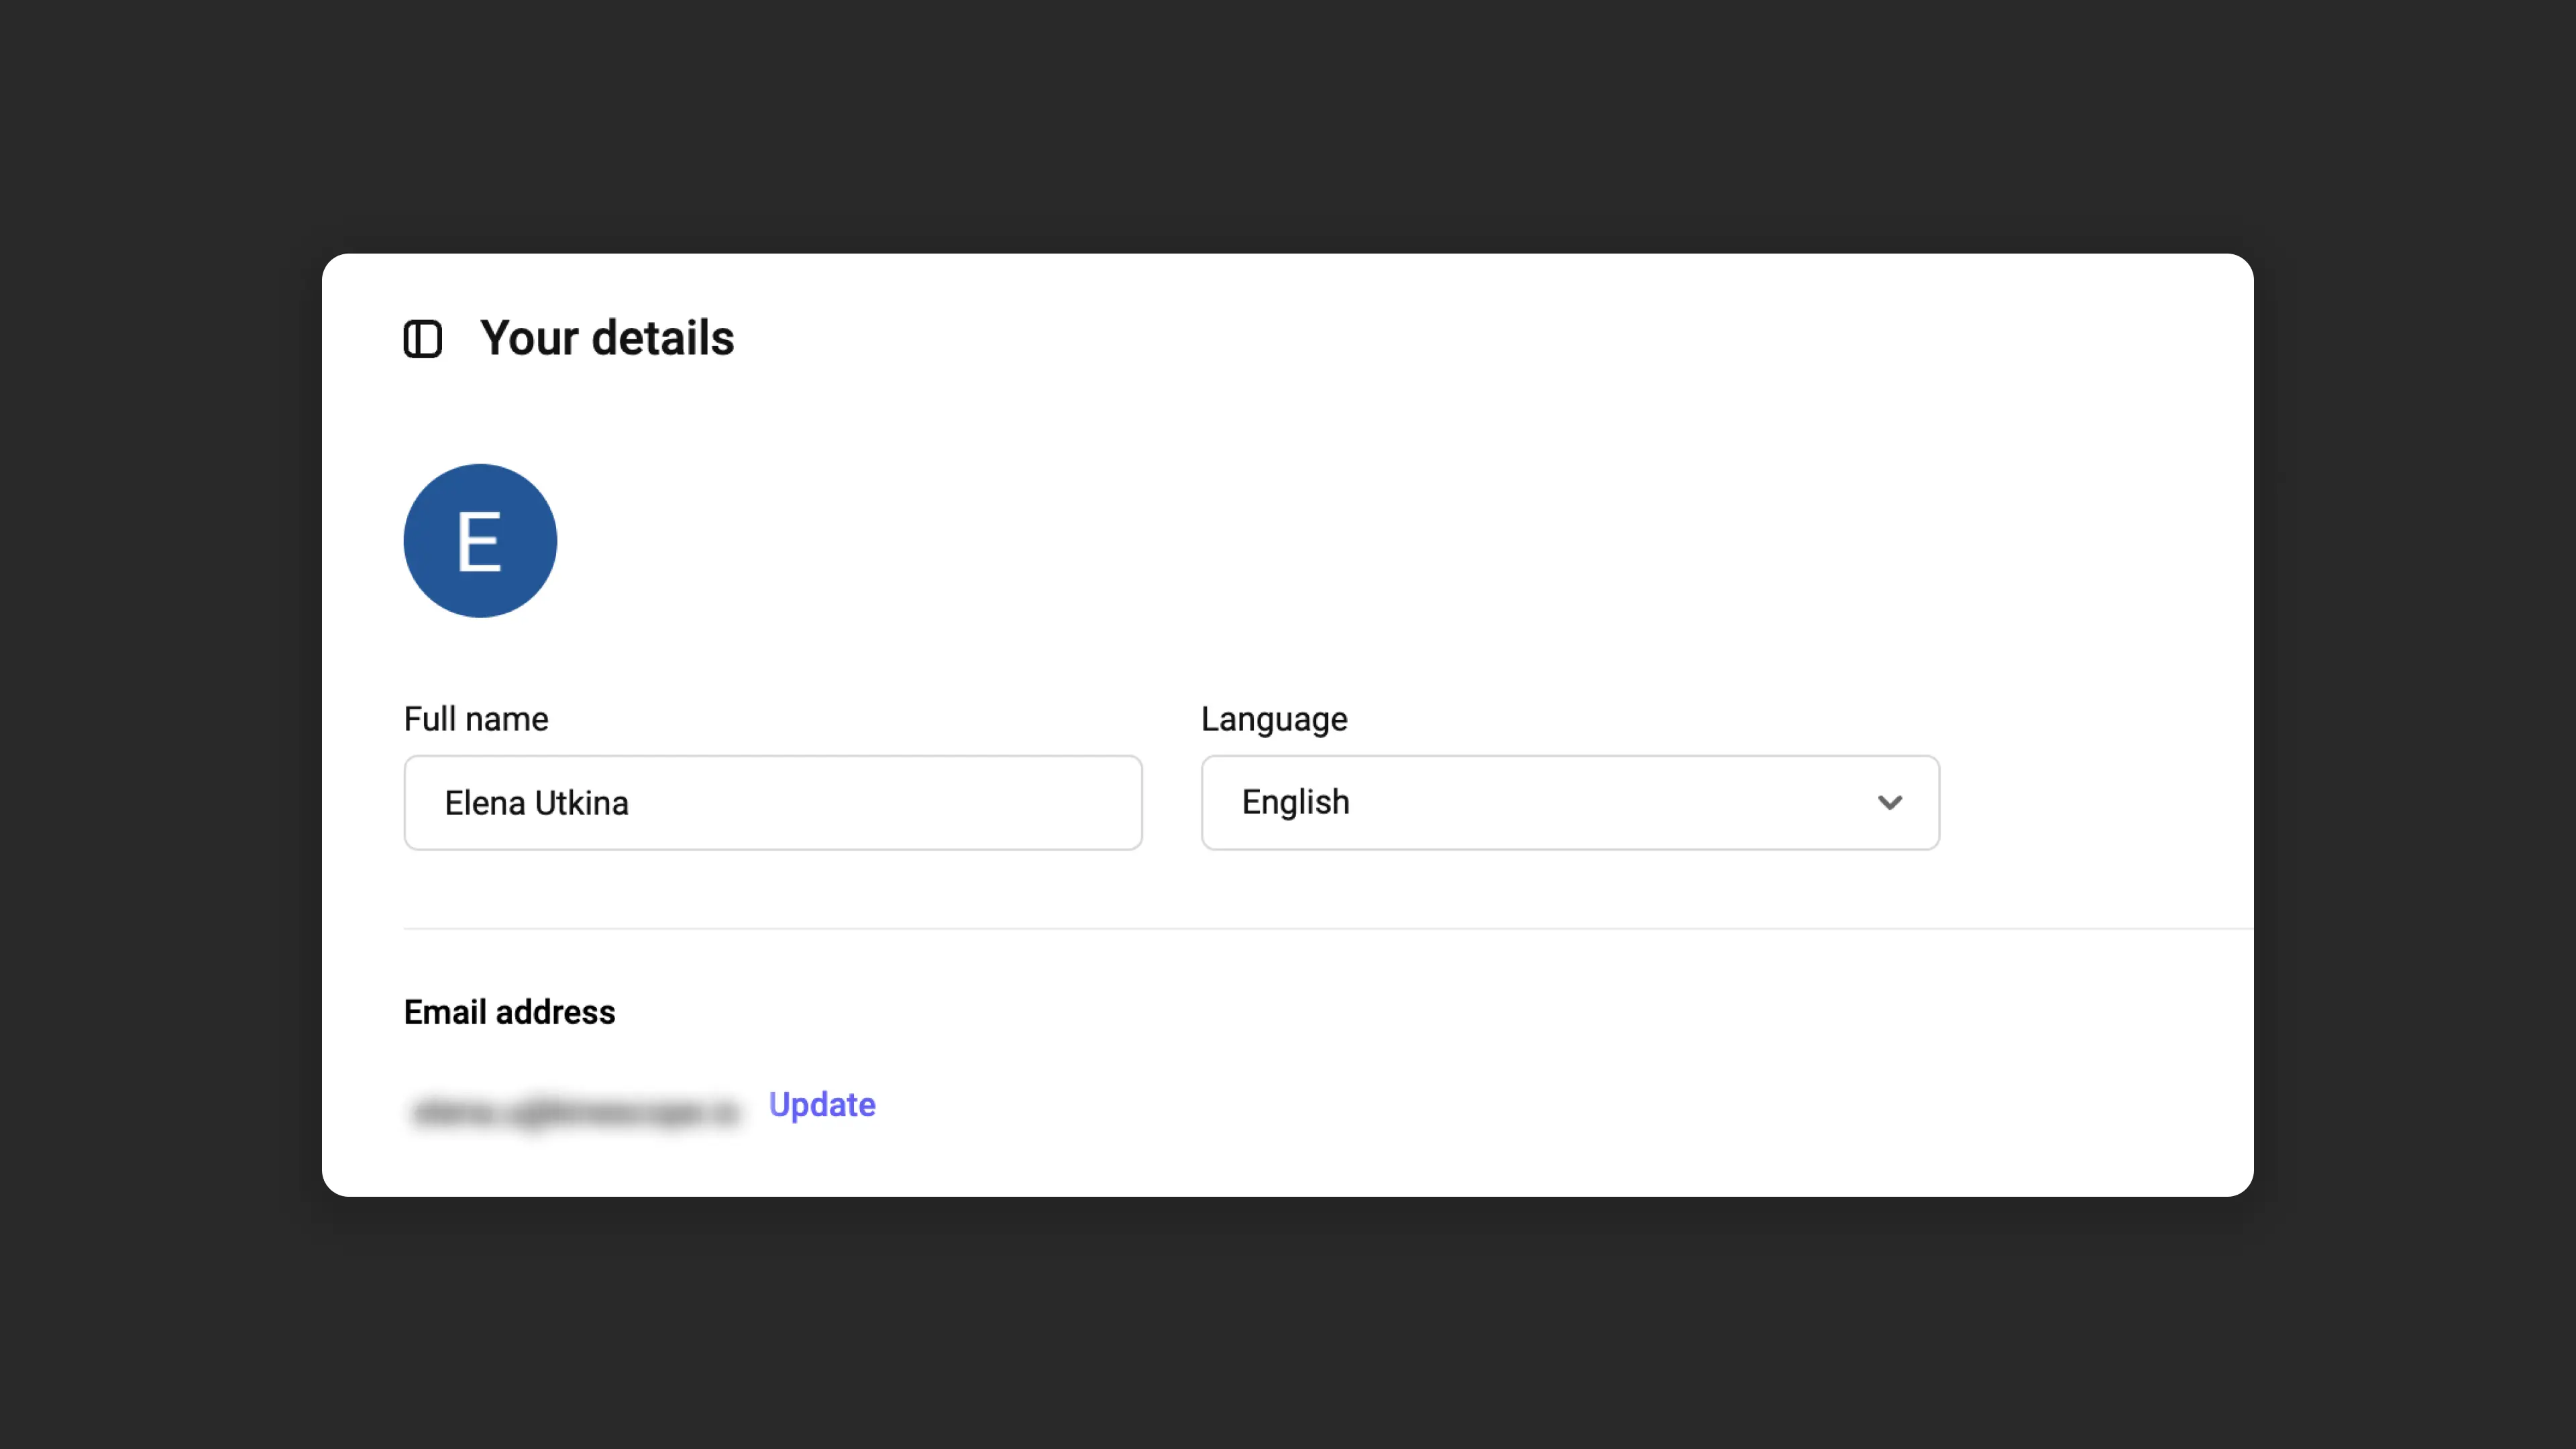
Personal details
- First and last name: displayed within the team and in comments.
- Interface language.
- Email: primary contact method and notification recipient. Changing the email requires confirmation.
Security
- Change password.
- Two-factor authentication (2FA): an additional layer of account protection using one-time codes.
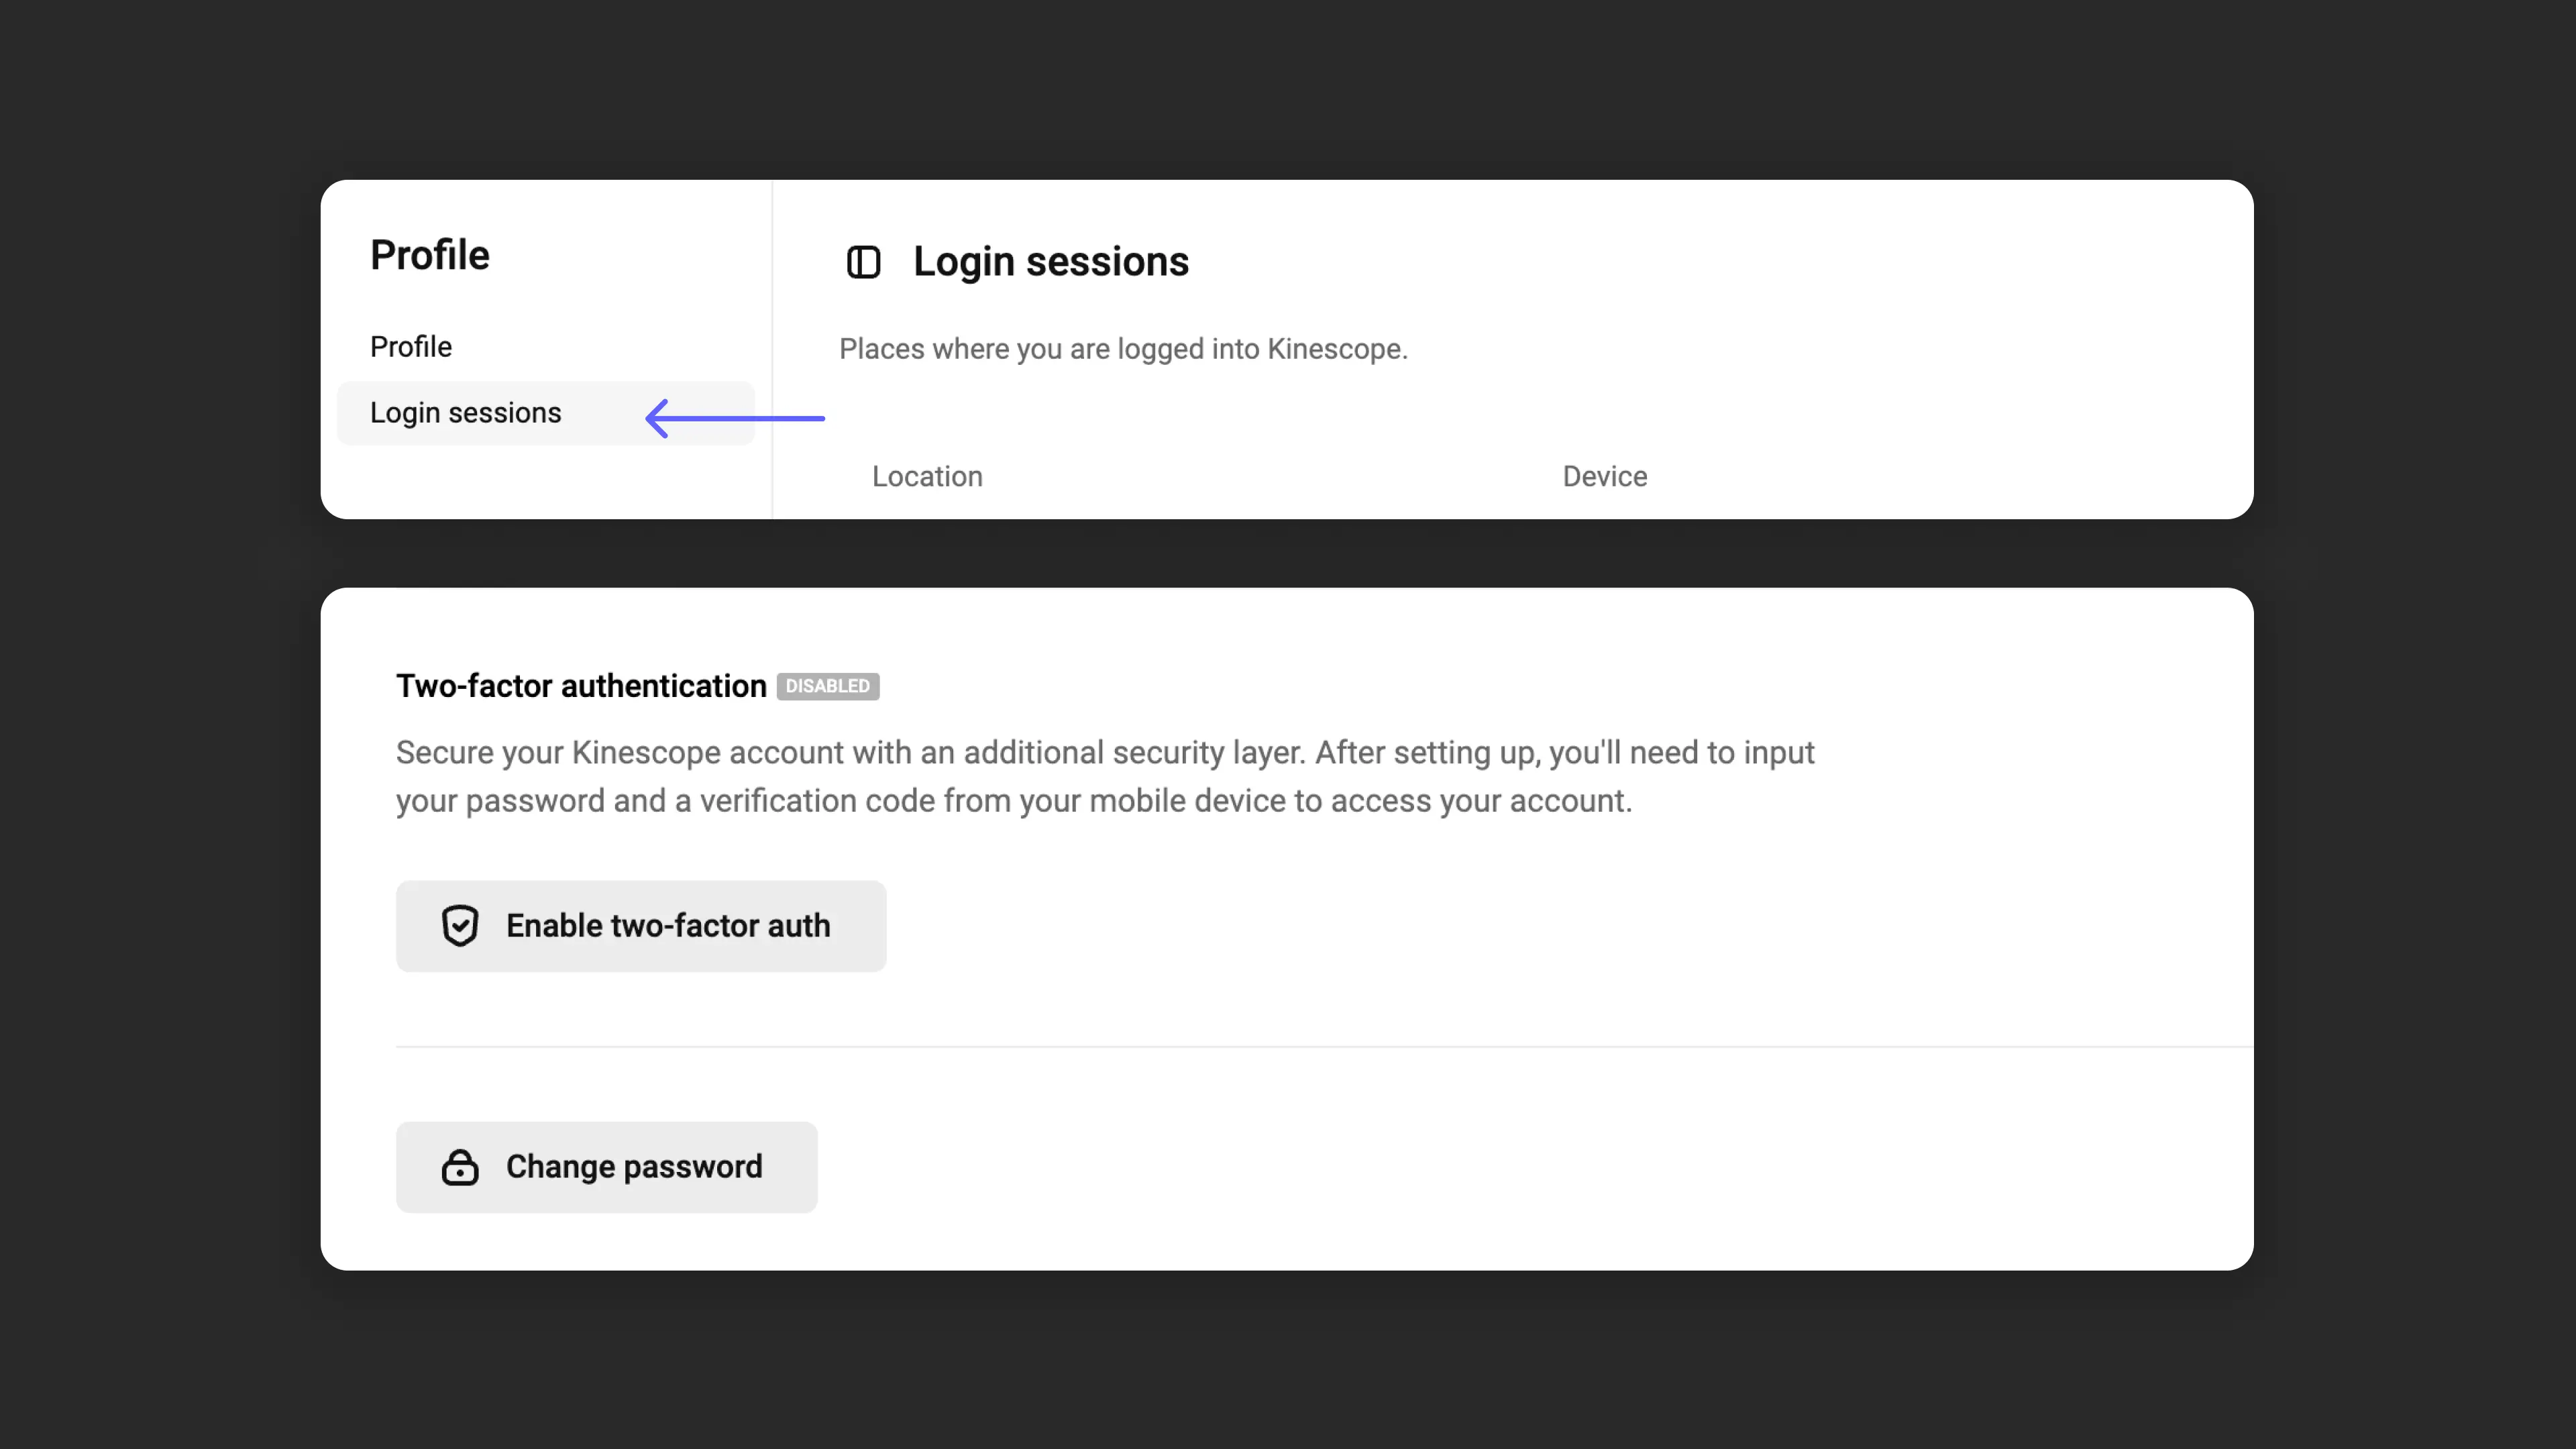
- Login sessions: track your Kinescope login history.
How to configure two-factor authentication
Two-factor authentication (2FA) is an additional layer of protection for your account. Even if someone learns your password, they cannot log in without access to your phone. Let’s walk through how to set this up in a couple of minutes.
Step-by-step instructions
Step 1. Open profile settings
- Log in to Kinescope
- Hover over the avatar or initials icon in the bottom left corner
- In the dropdown menu, select “My Profile”
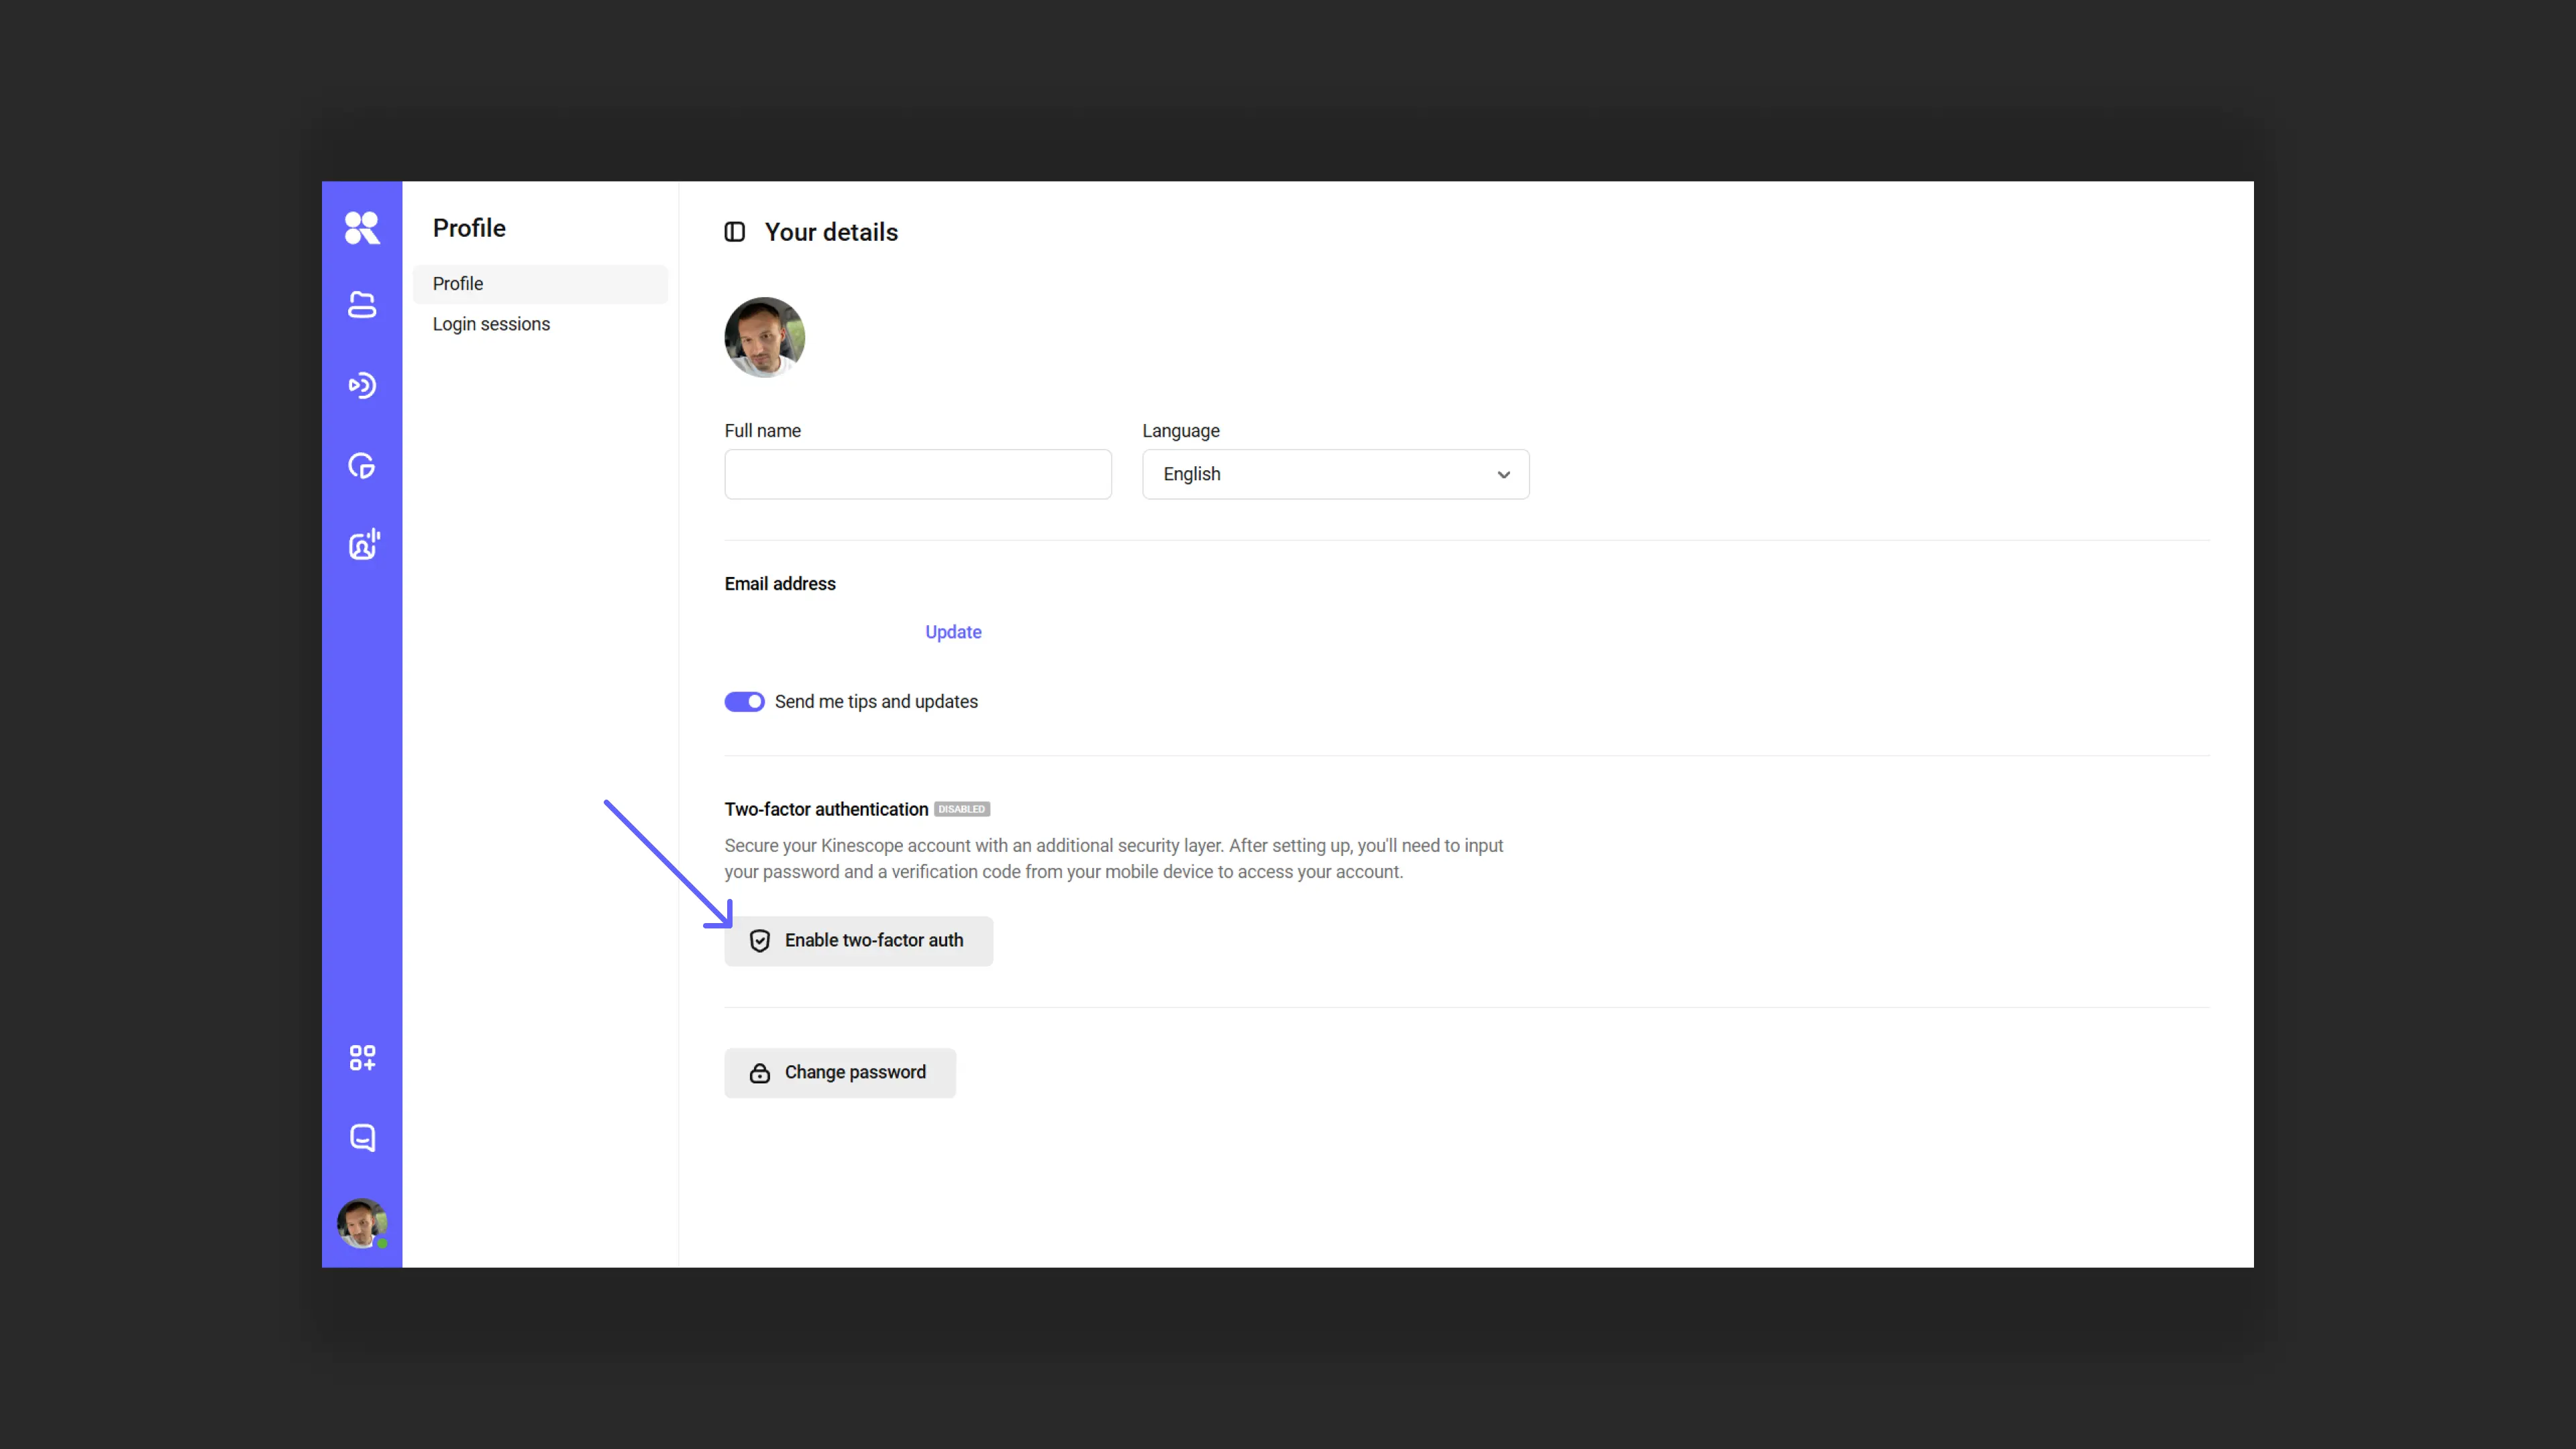
Step 2. Go to 2FA settings
In the “Two-factor authentication” section, click the “Enable two-factor authentication” button.
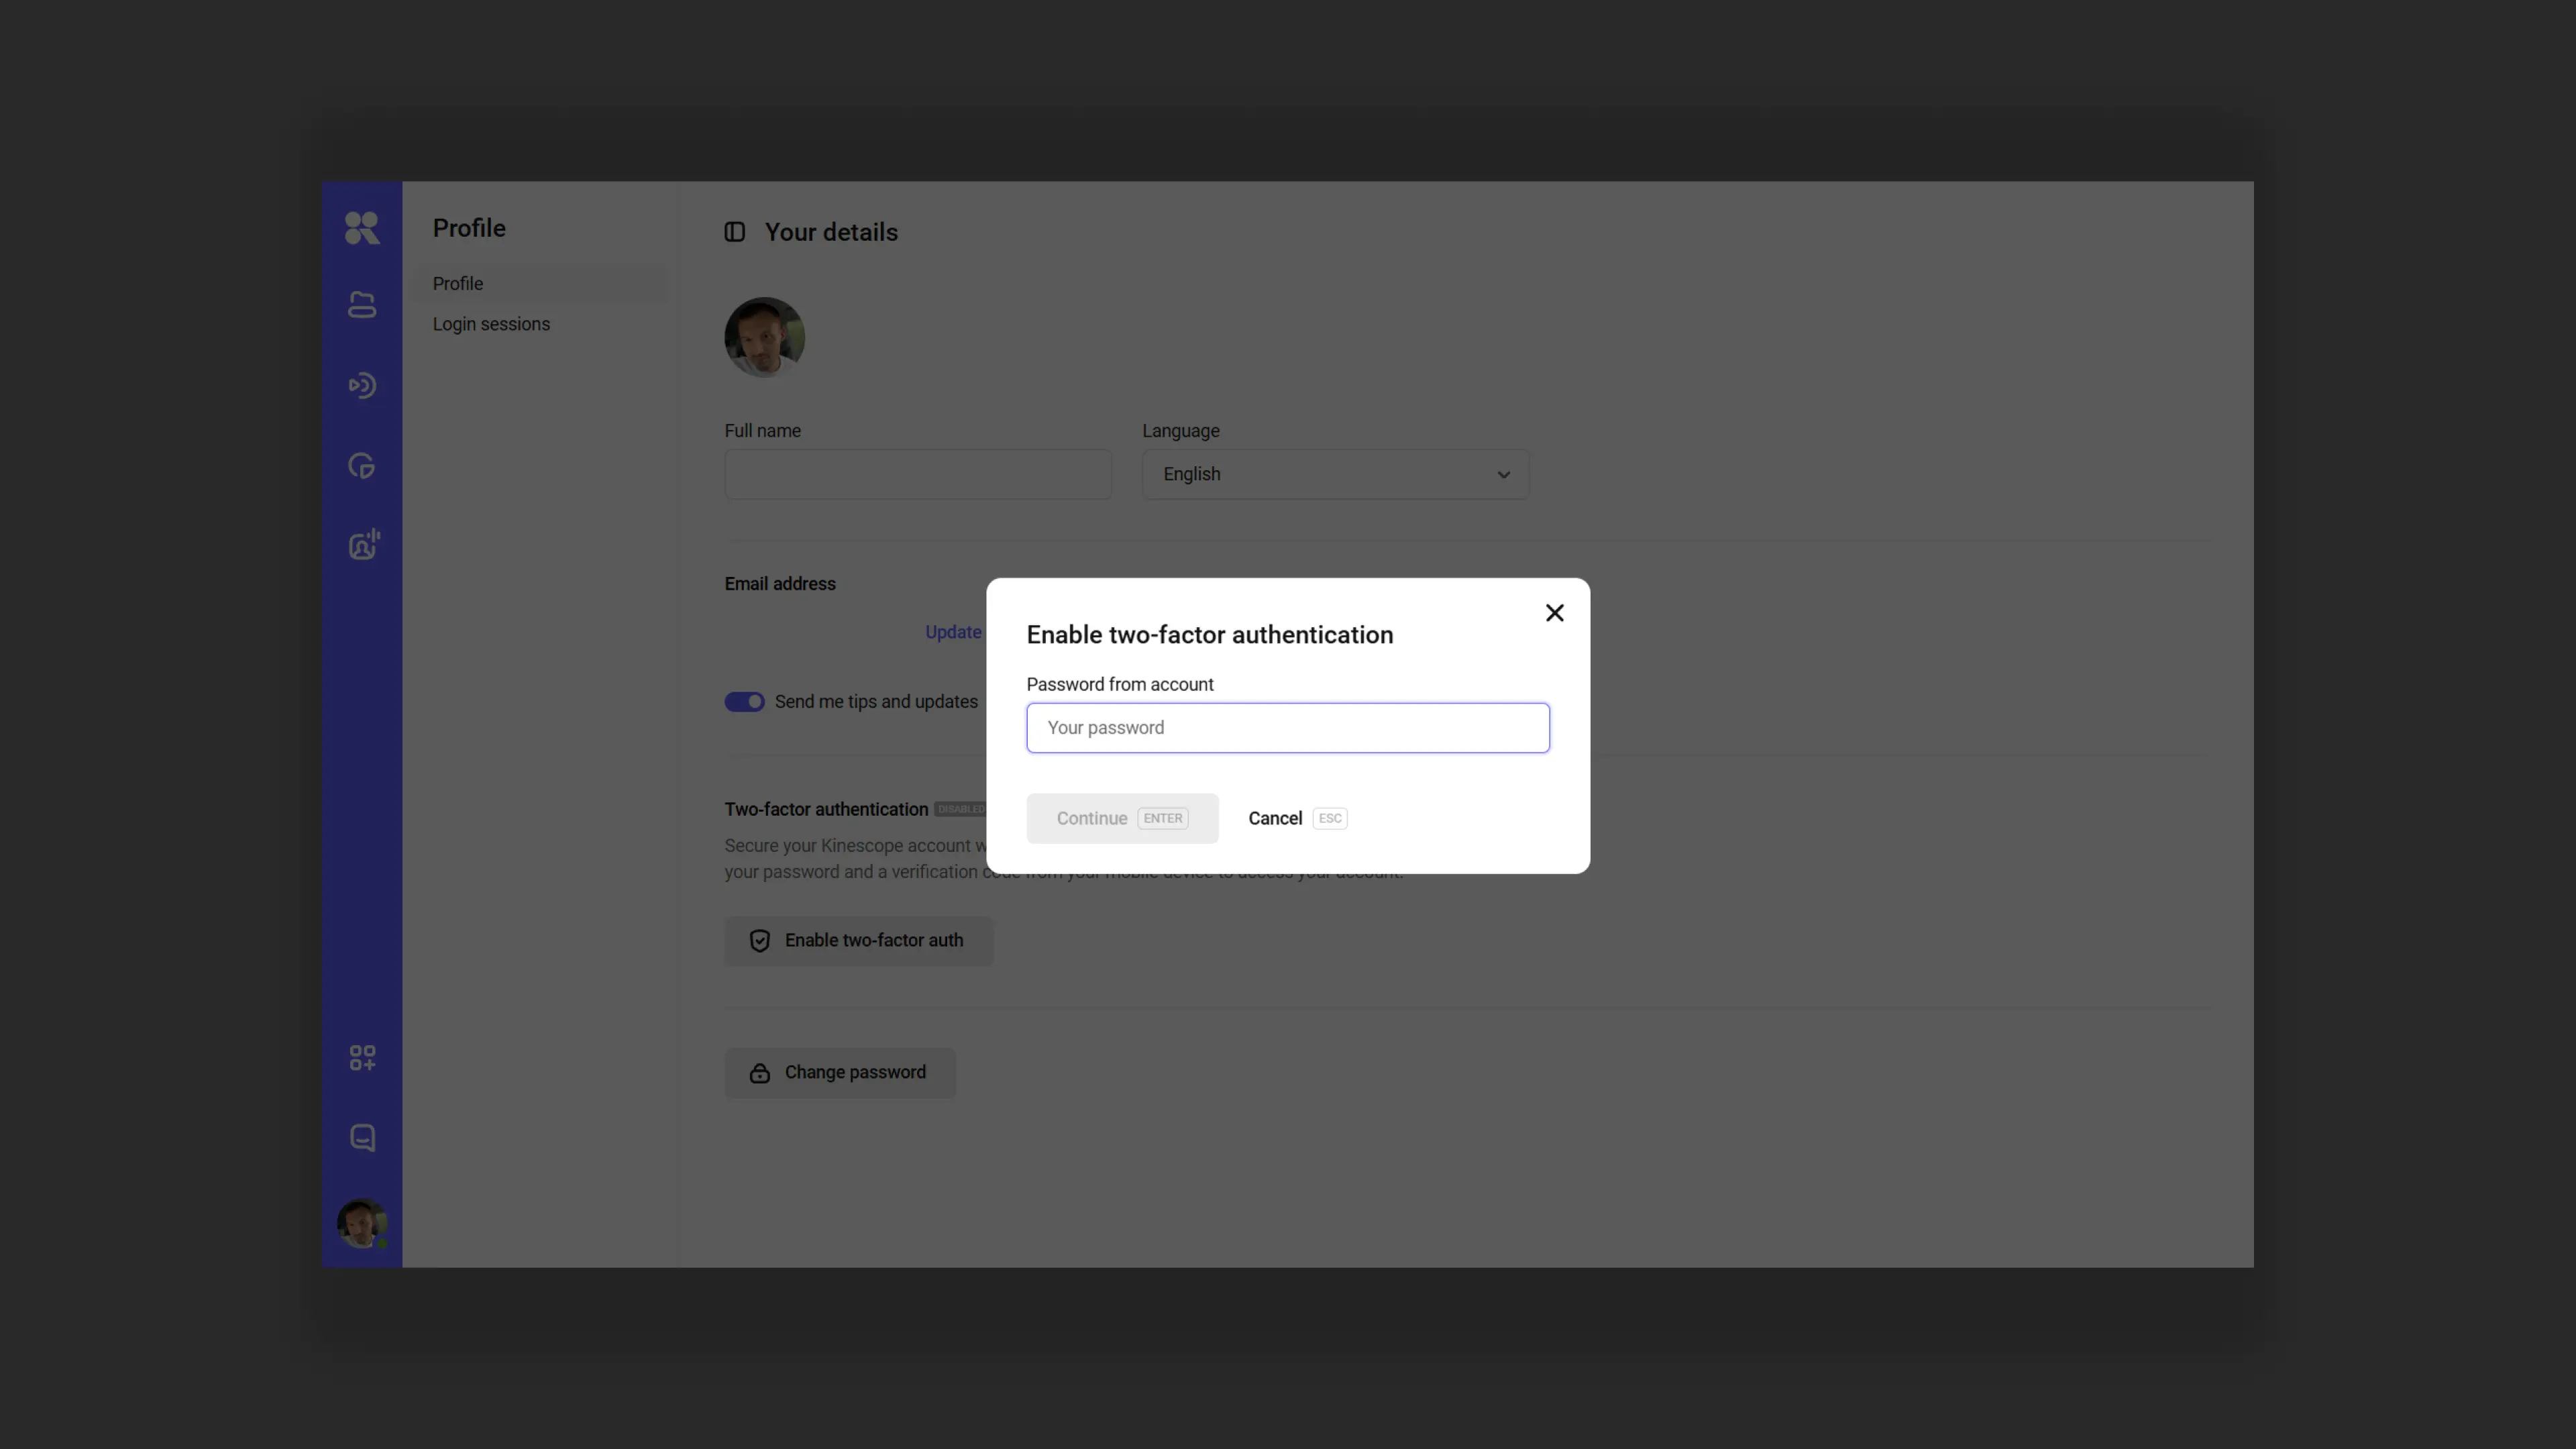
- Enter the account password for confirmation
- Follow the steps in the expanded window
Step 3. Install an authenticator app
For 2FA to work, you will need a special app on your phone. Download and install one of these options:
- Google Authenticator (iOS, Android)
- Authy (iOS, Android, desktop)
Both apps are free and work the same way.
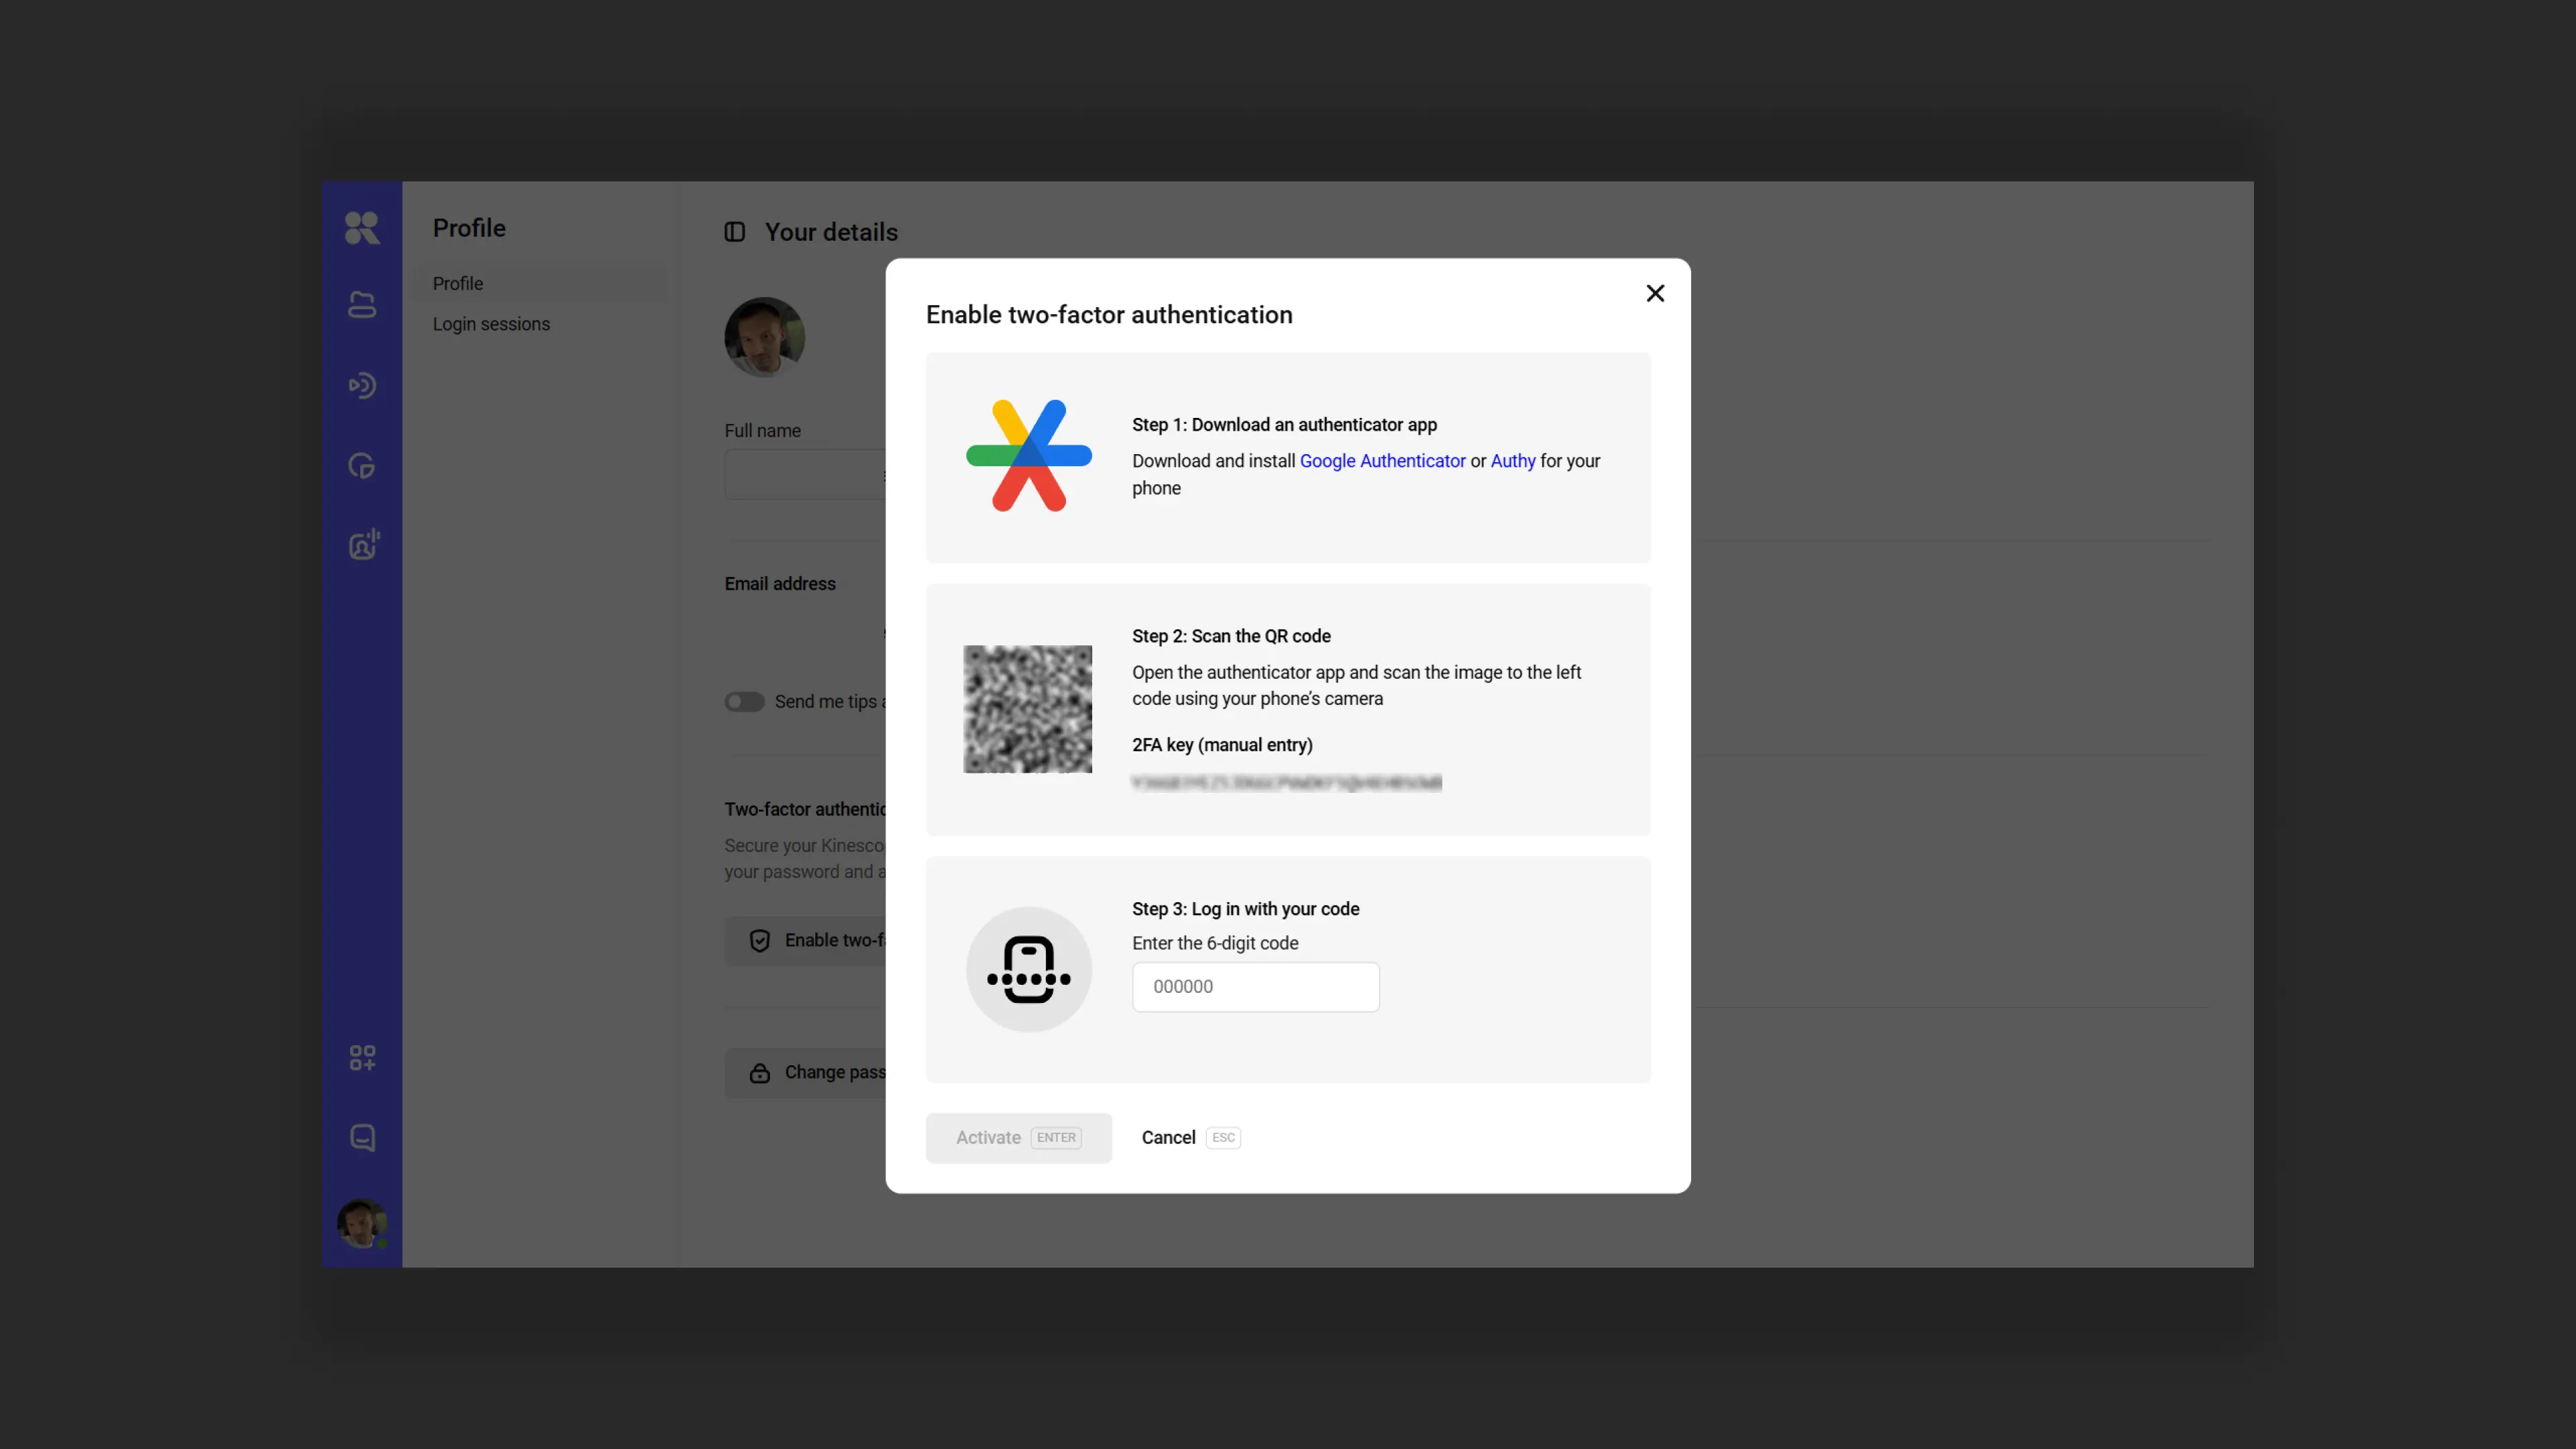
Step 4. Scan the QR code
- Open the authenticator app on your phone
- Tap “Add account” or the “+” icon
- Point the camera at the QR code that appears in Kinescope
- The app will automatically add your Kinescope account
Step 5. Enter the code from the app
- The authenticator app will generate a six-digit code
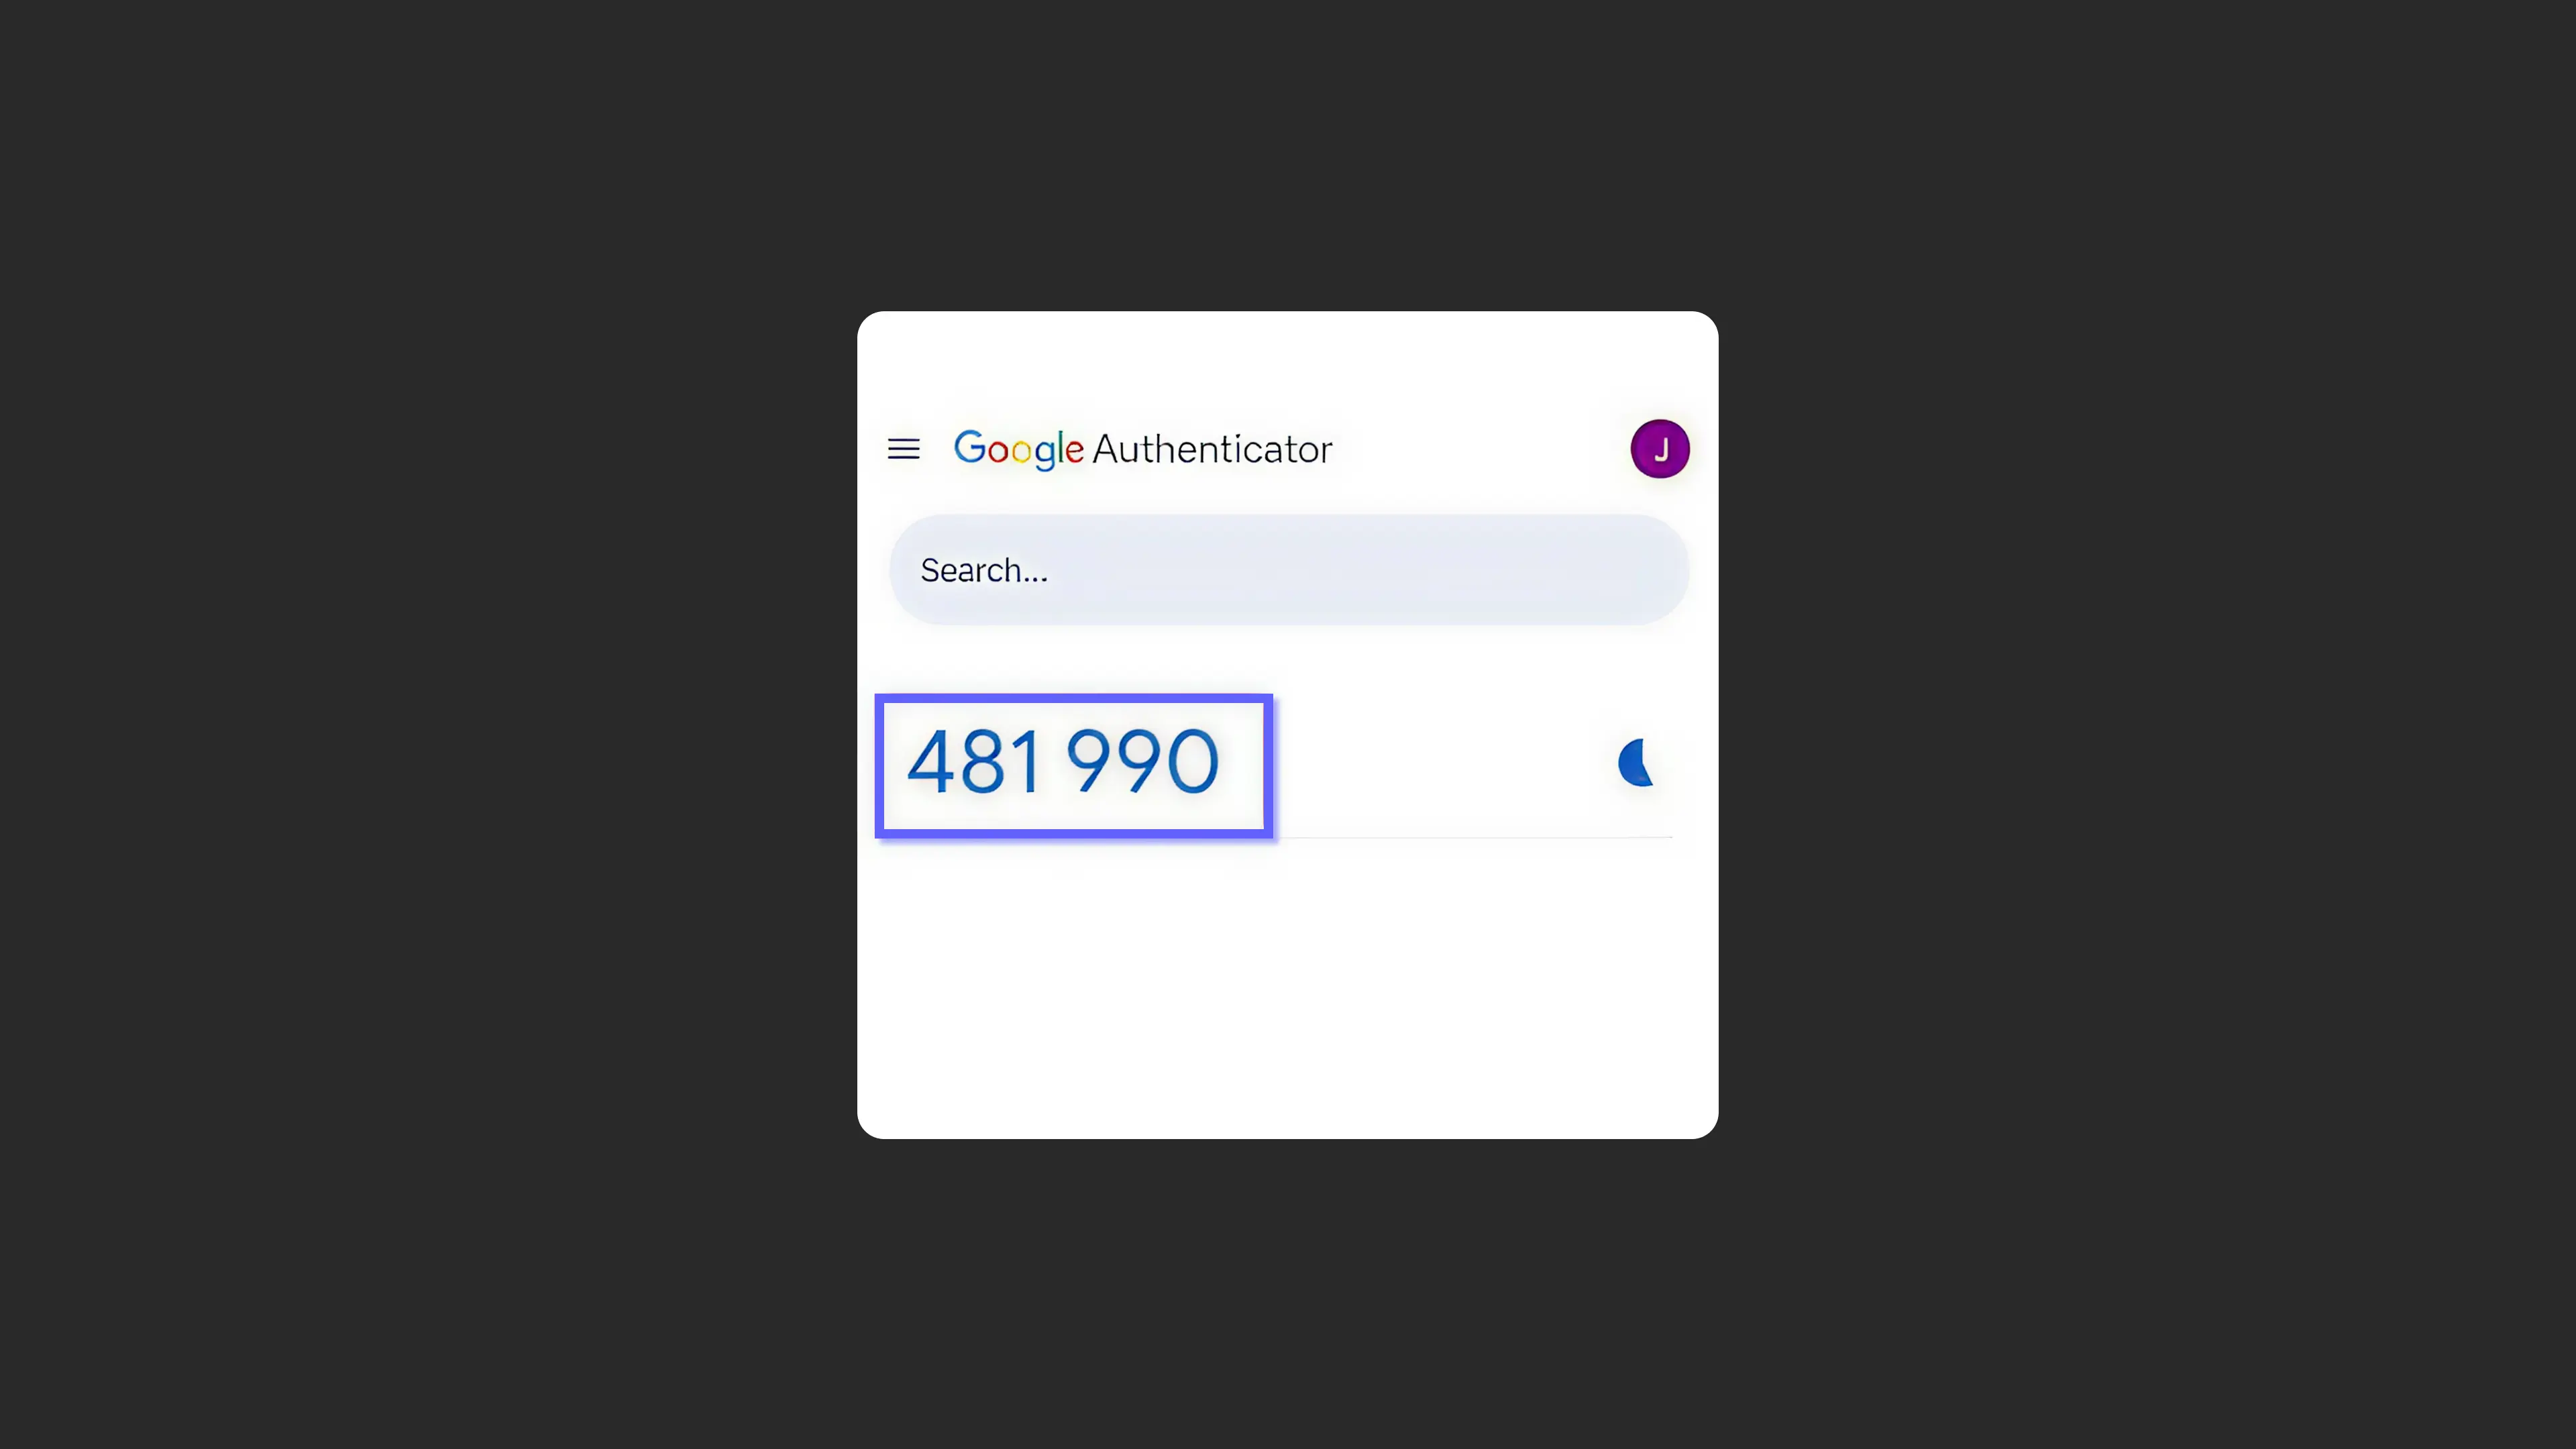
- Enter this code in the “Enter 6-digit code” field in Kinescope
- Click “Activate” (or press Enter)
Done! Two-factor authentication is enabled.
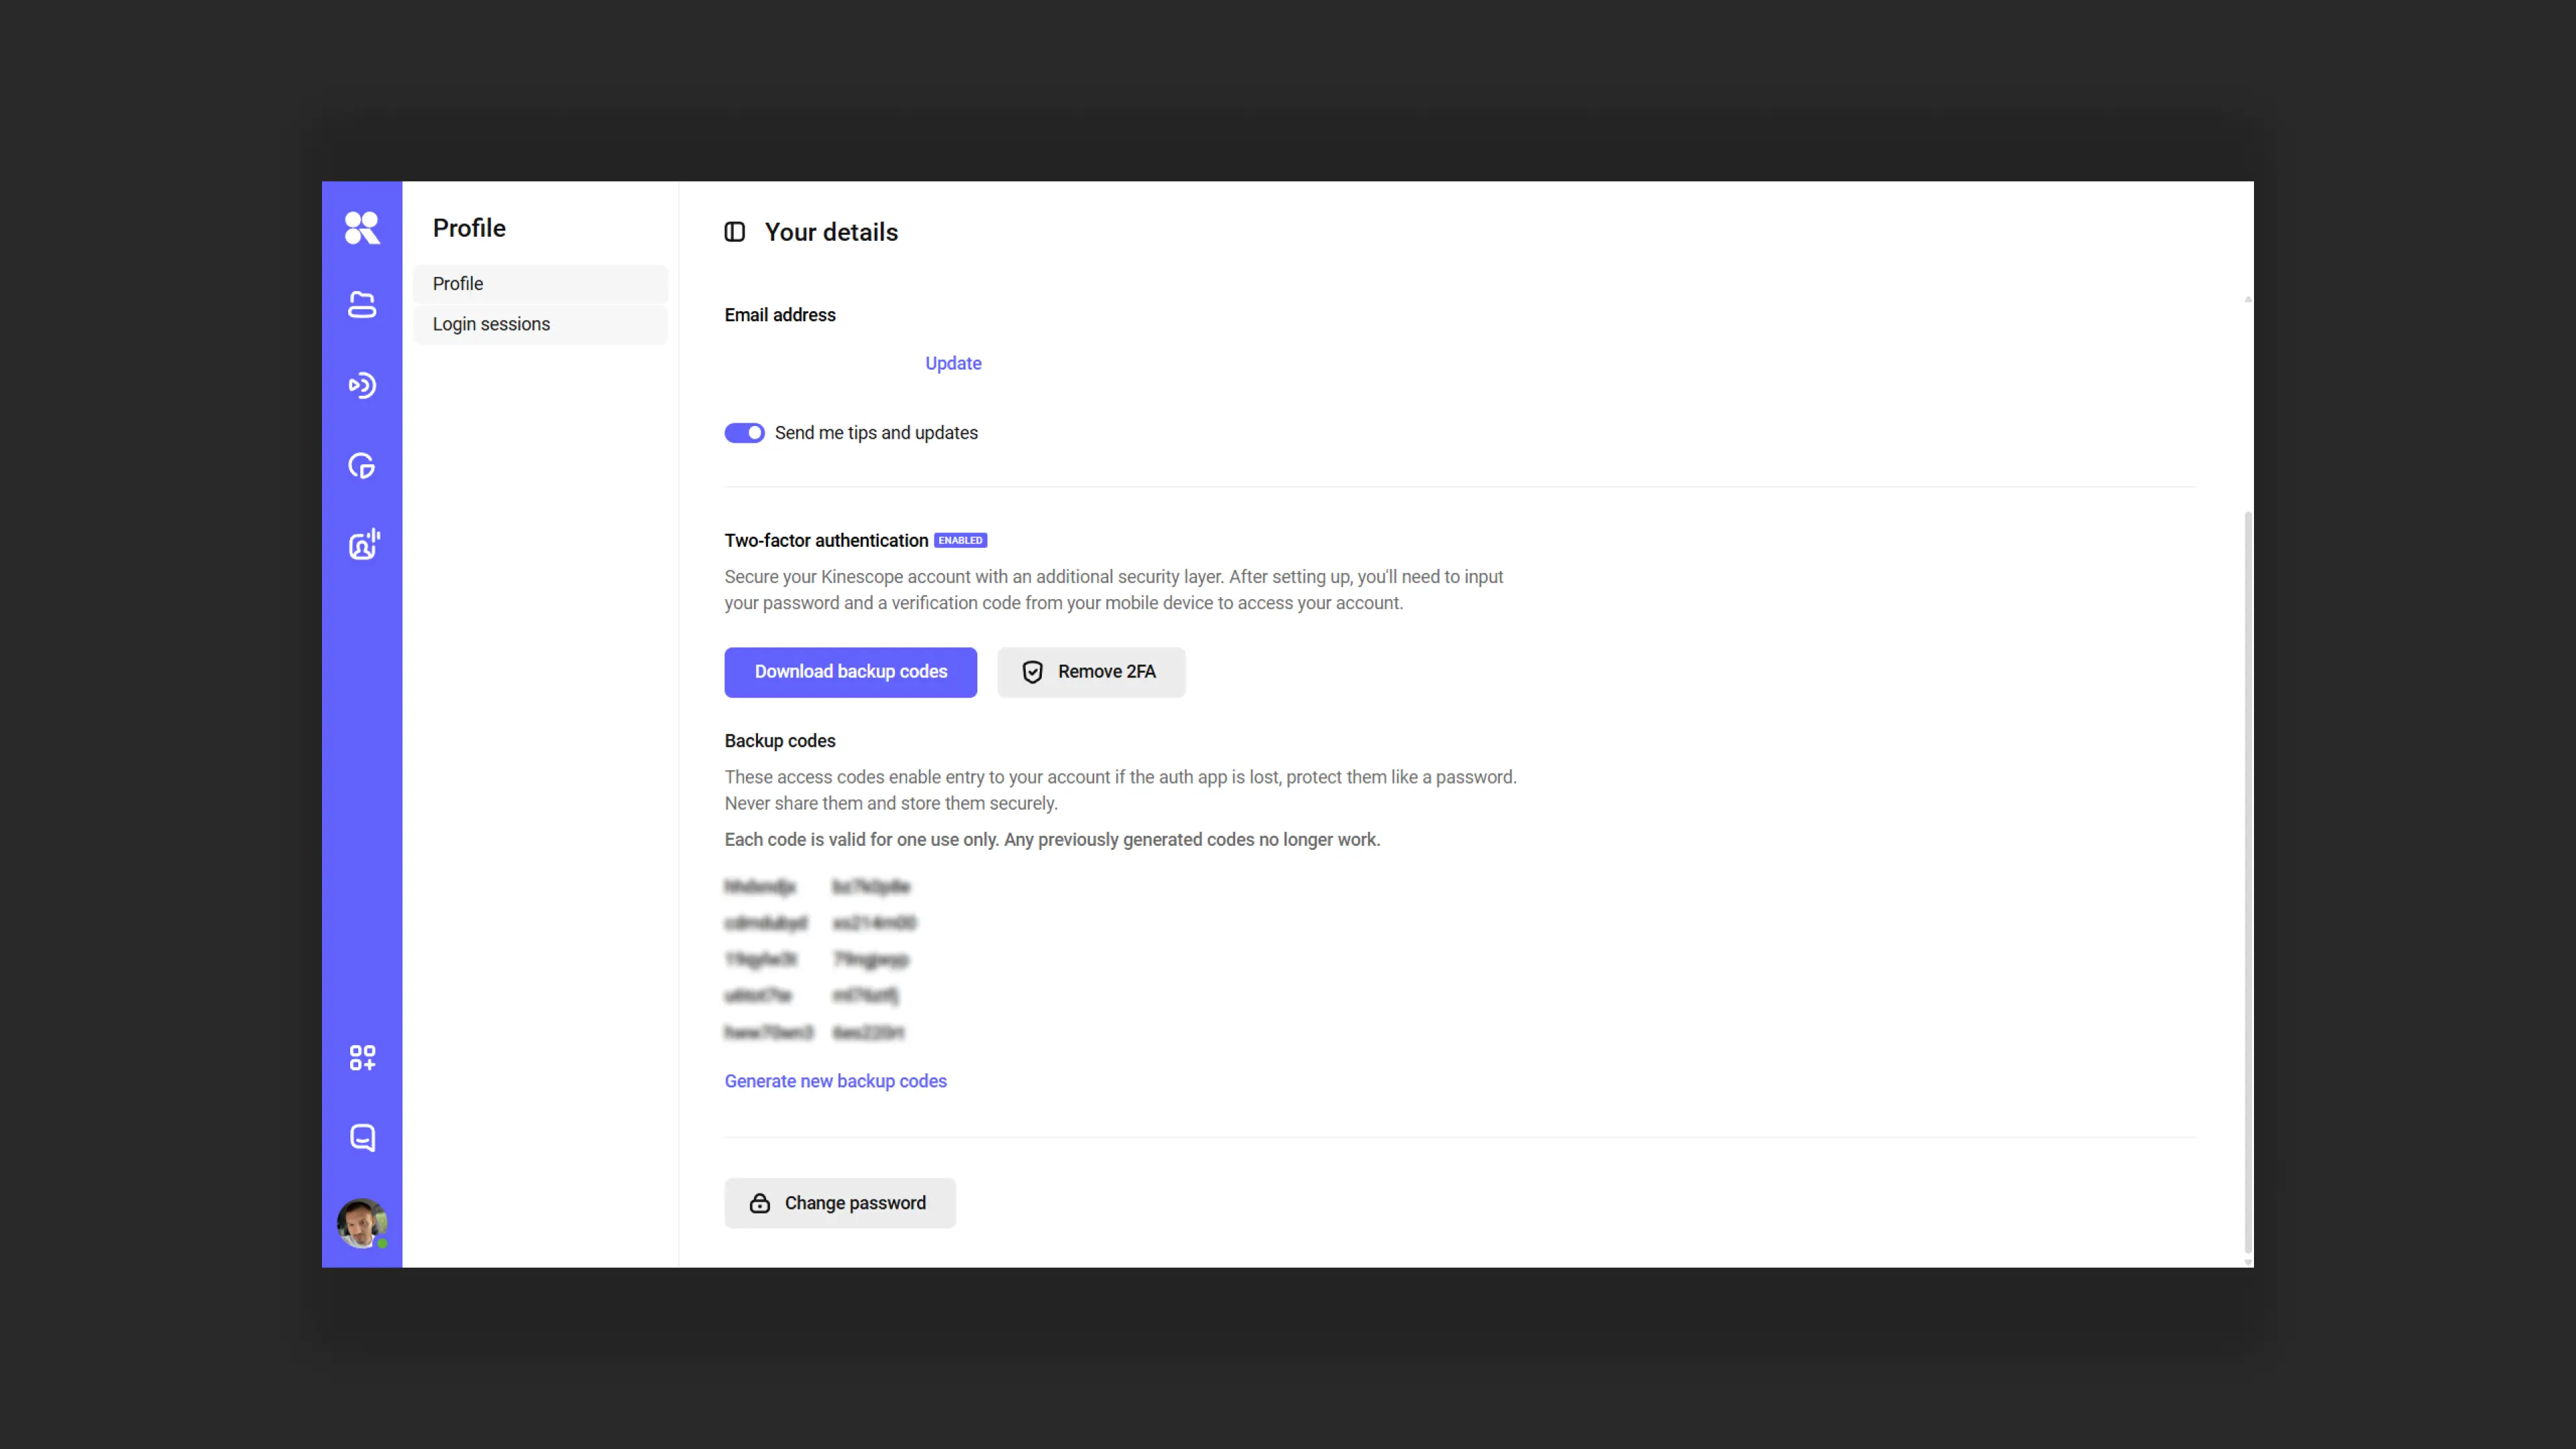
Step 6. Save backup codes
After activating 2FA, the system will offer to save backup codes. Never share them and store them in a safe place.
Backup codes are needed if:
- You lost your phone
- The authenticator app stopped working
- You need to log in to the account but do not have access to your phone
How login with two-factor authentication works
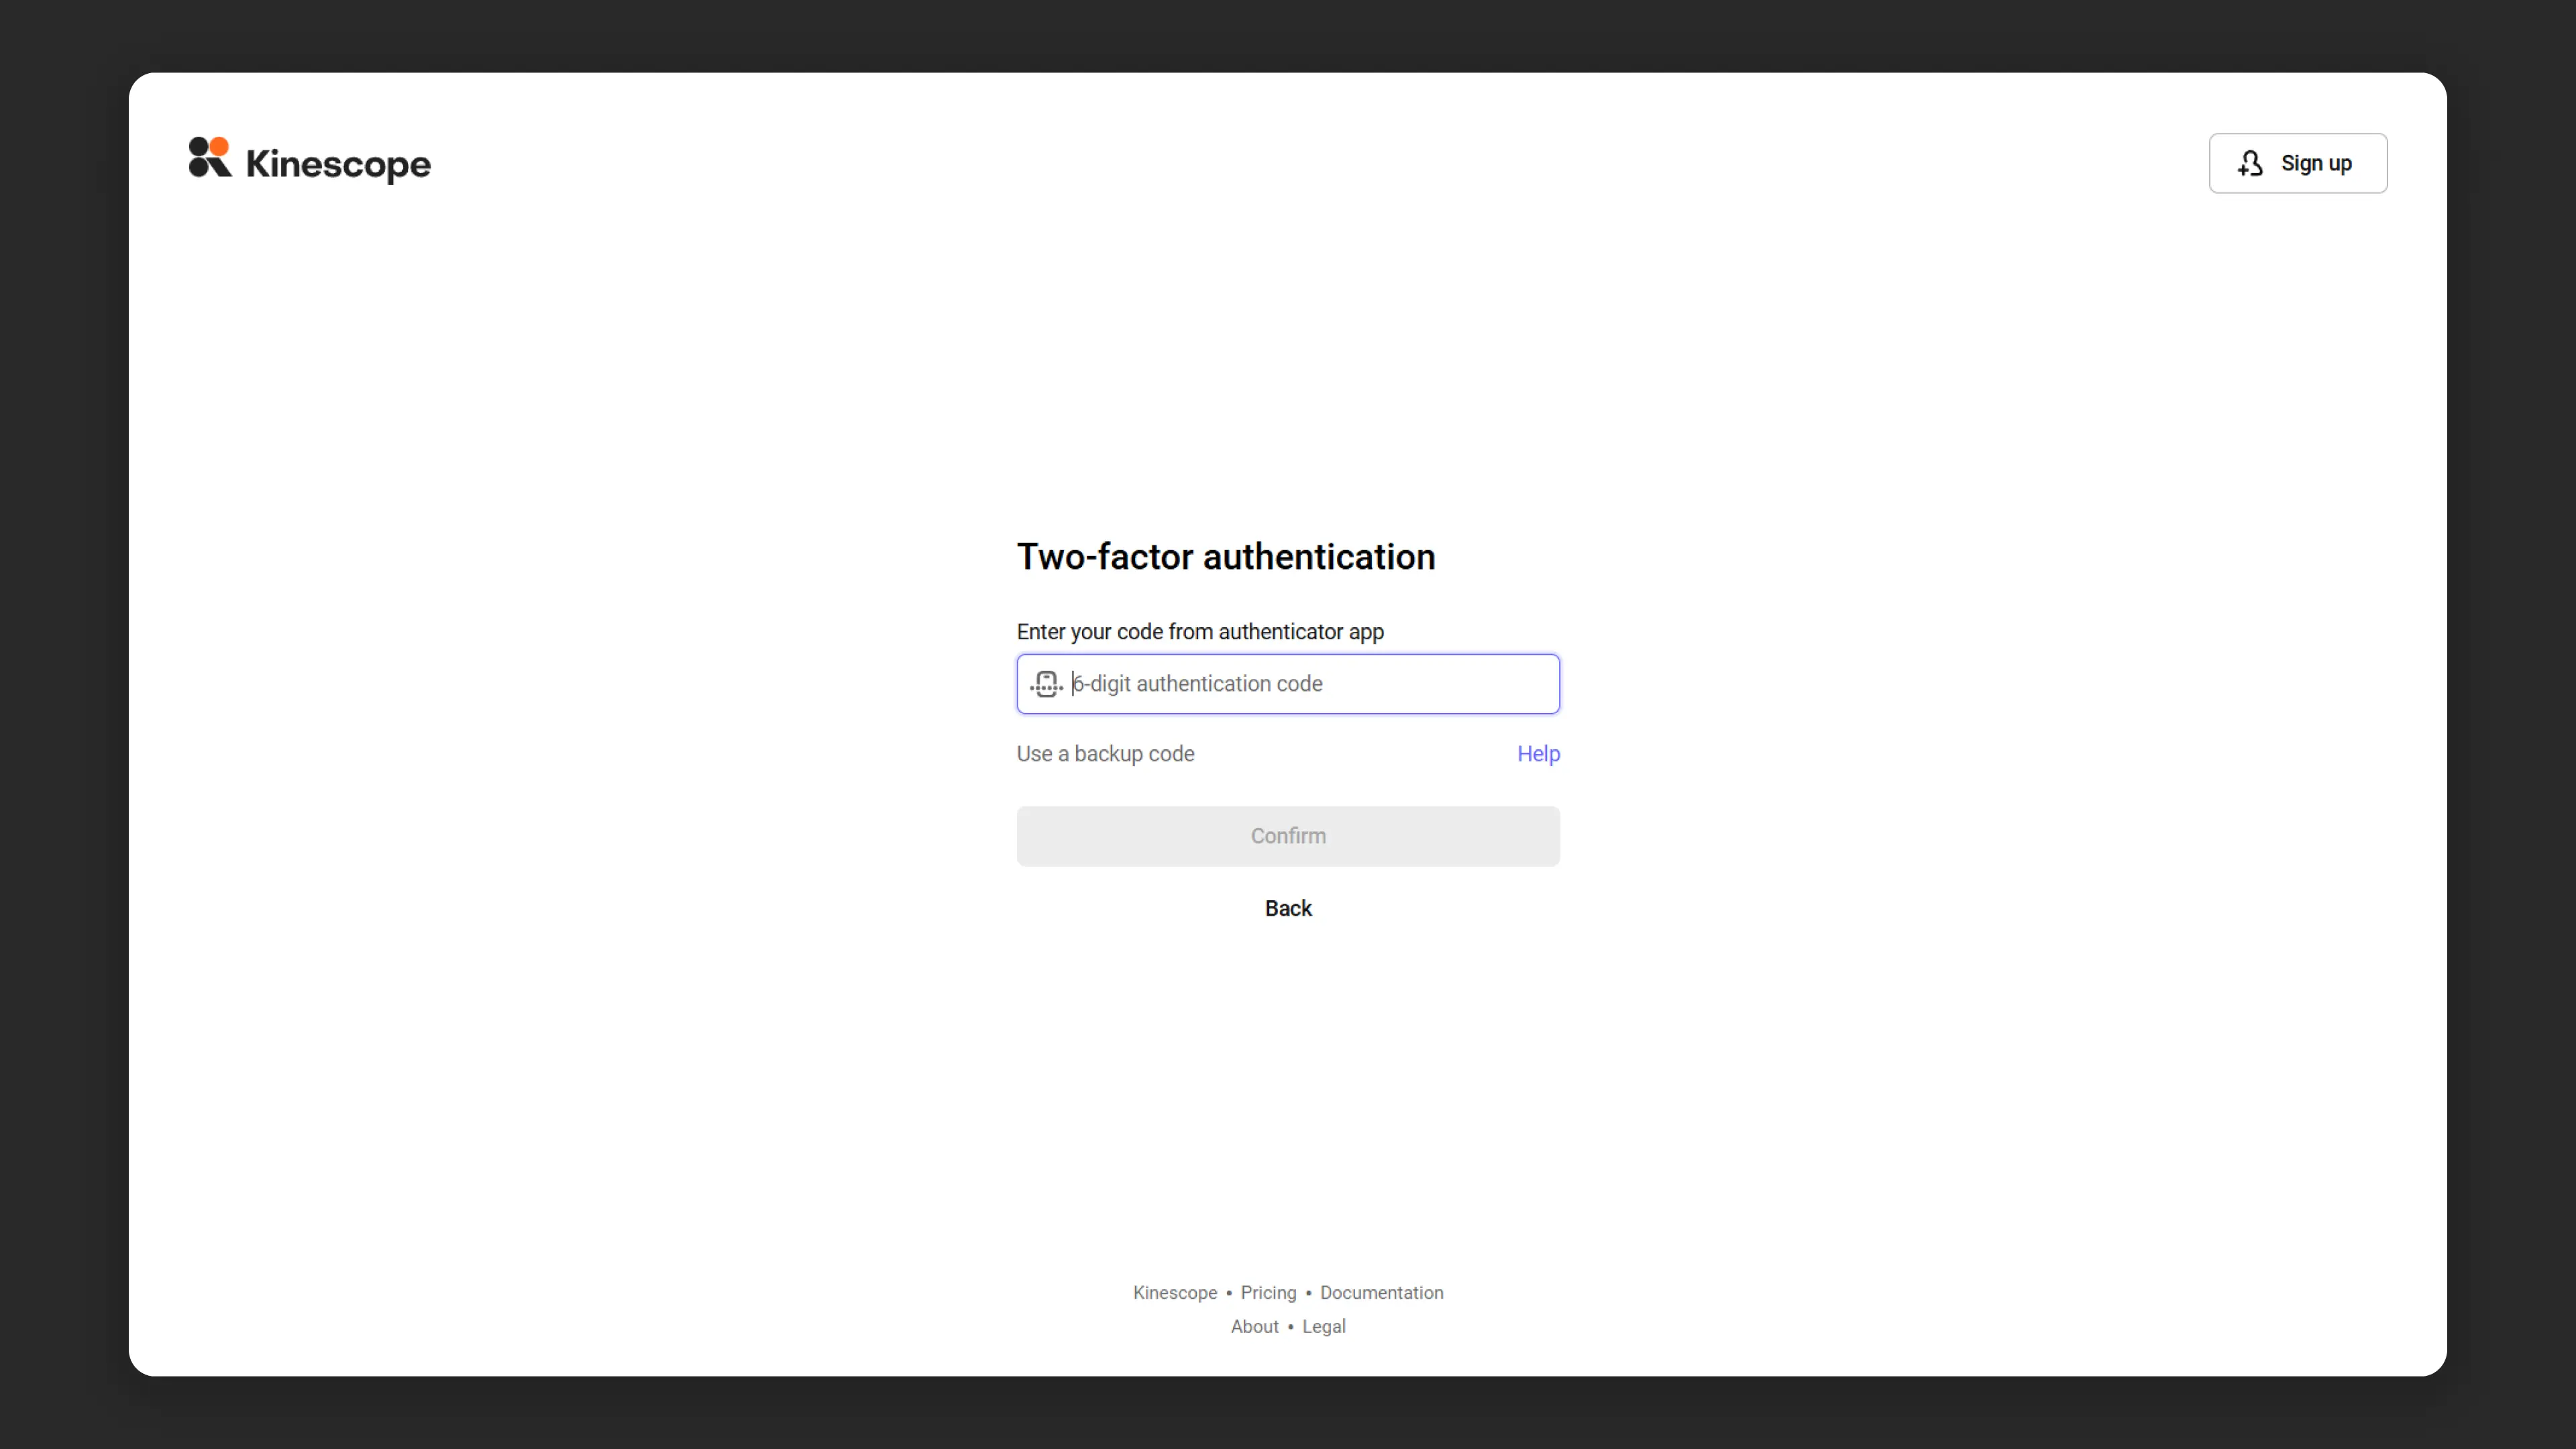
After enabling 2FA, the login process will look like this:
- Enter your email and password as usual
- The system requests a confirmation code
- Open the authenticator app on your phone
- Enter the six-digit code from the app (it updates every 30 seconds)
- You gain access to your account
How to disable two-factor authentication
If you need to disable 2FA:
- Go to “My Profile”
- In the “Two-factor authentication” section, click “Disable 2FA”
- Enter the account password for confirmation
Note: disabling two-factor authentication without a serious reason is not recommended. This reduces the level of protection for your content.
Workspaces in Kinescope
Workspaces are designed for organizing projects, separating tasks, and team collaboration. Creating multiple workspaces is only available on “Super” and “Mega” plans. Full workspace settings management is only available to “Administrator” and “Editor Plus” roles. Learn more about roles and their rights in the article Team Access Rights Management .
Workspace capabilities
- Data separation: each workspace stores its own projects, folders, and files that are not accessible in other workspaces.
- Access management: roles and member rights can be configured for each workspace.
- Personalization: unique player settings can be set and custom integrations can be created for each workspace.
How to go to a workspace?
- Hover over the avatar or initials icon in the bottom left corner, then hover over “Workspace”.
- Select the needed workspace from the dropdown list or create a new one.
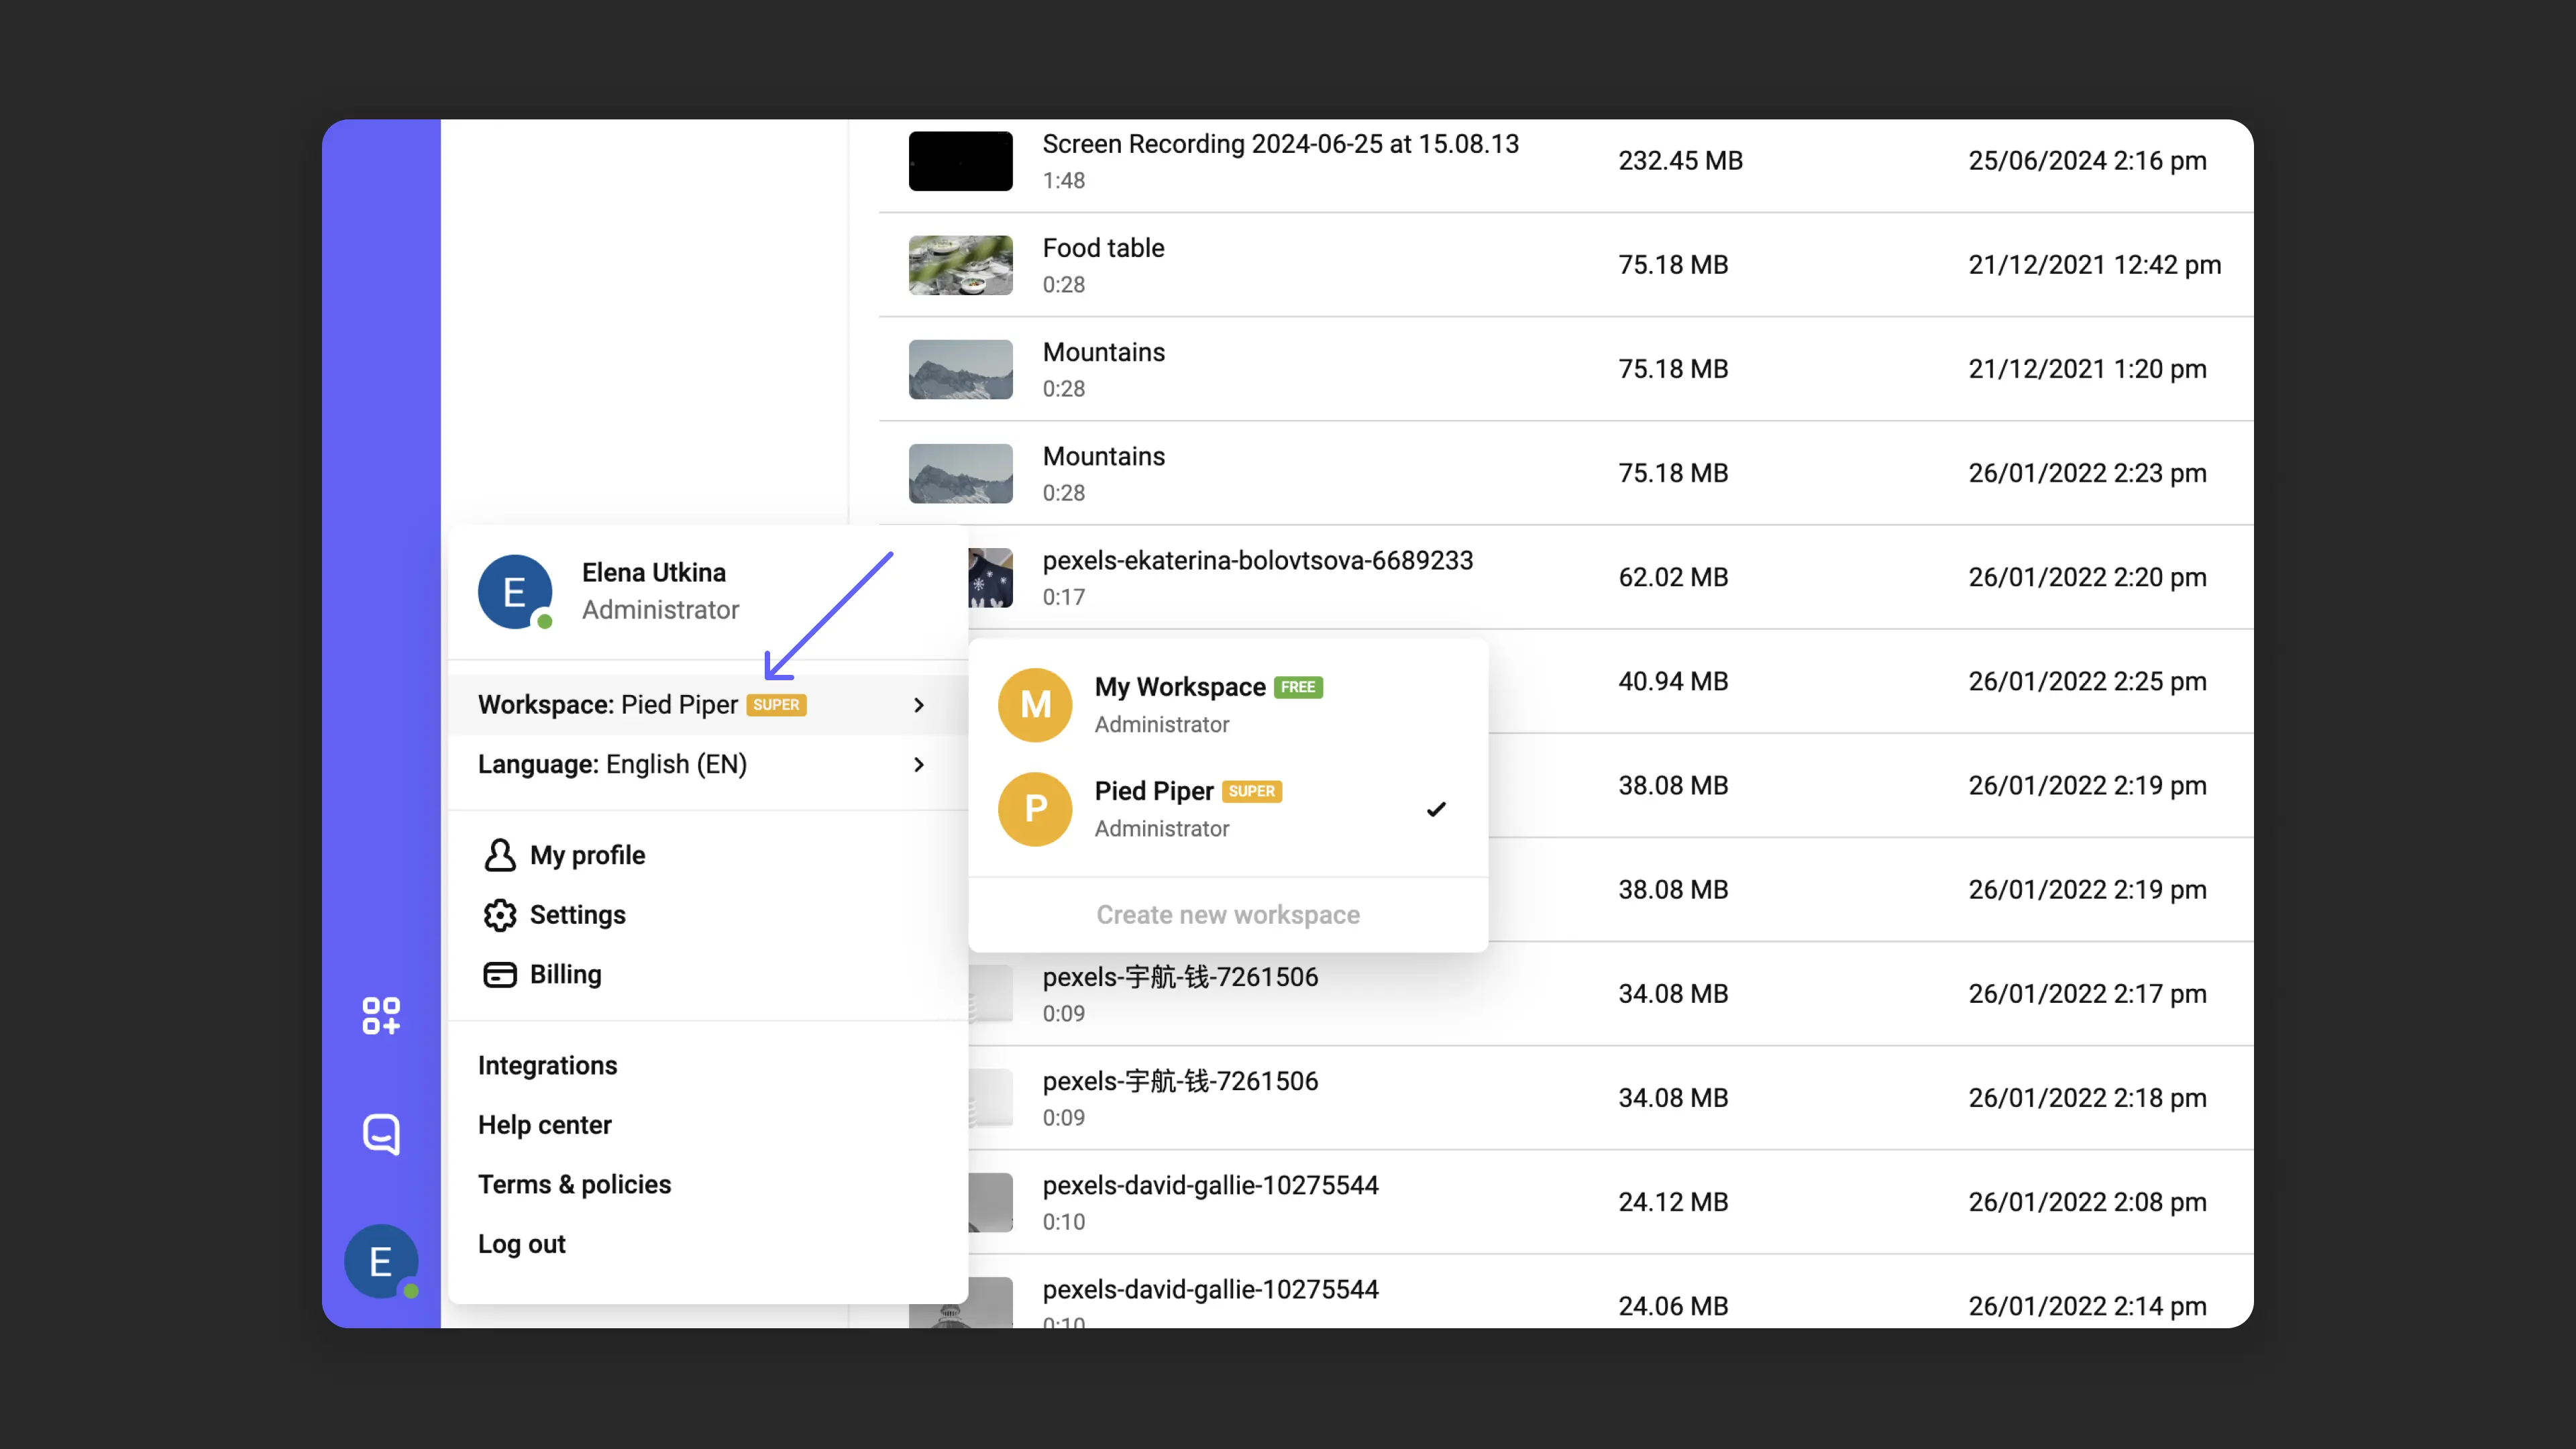
How to create a new workspace?
- In the workspace dropdown list, click “Create workspace”.
- Enter a name for the new workspace → “Create”.
- You will be taken to the catalog of the new workspace.

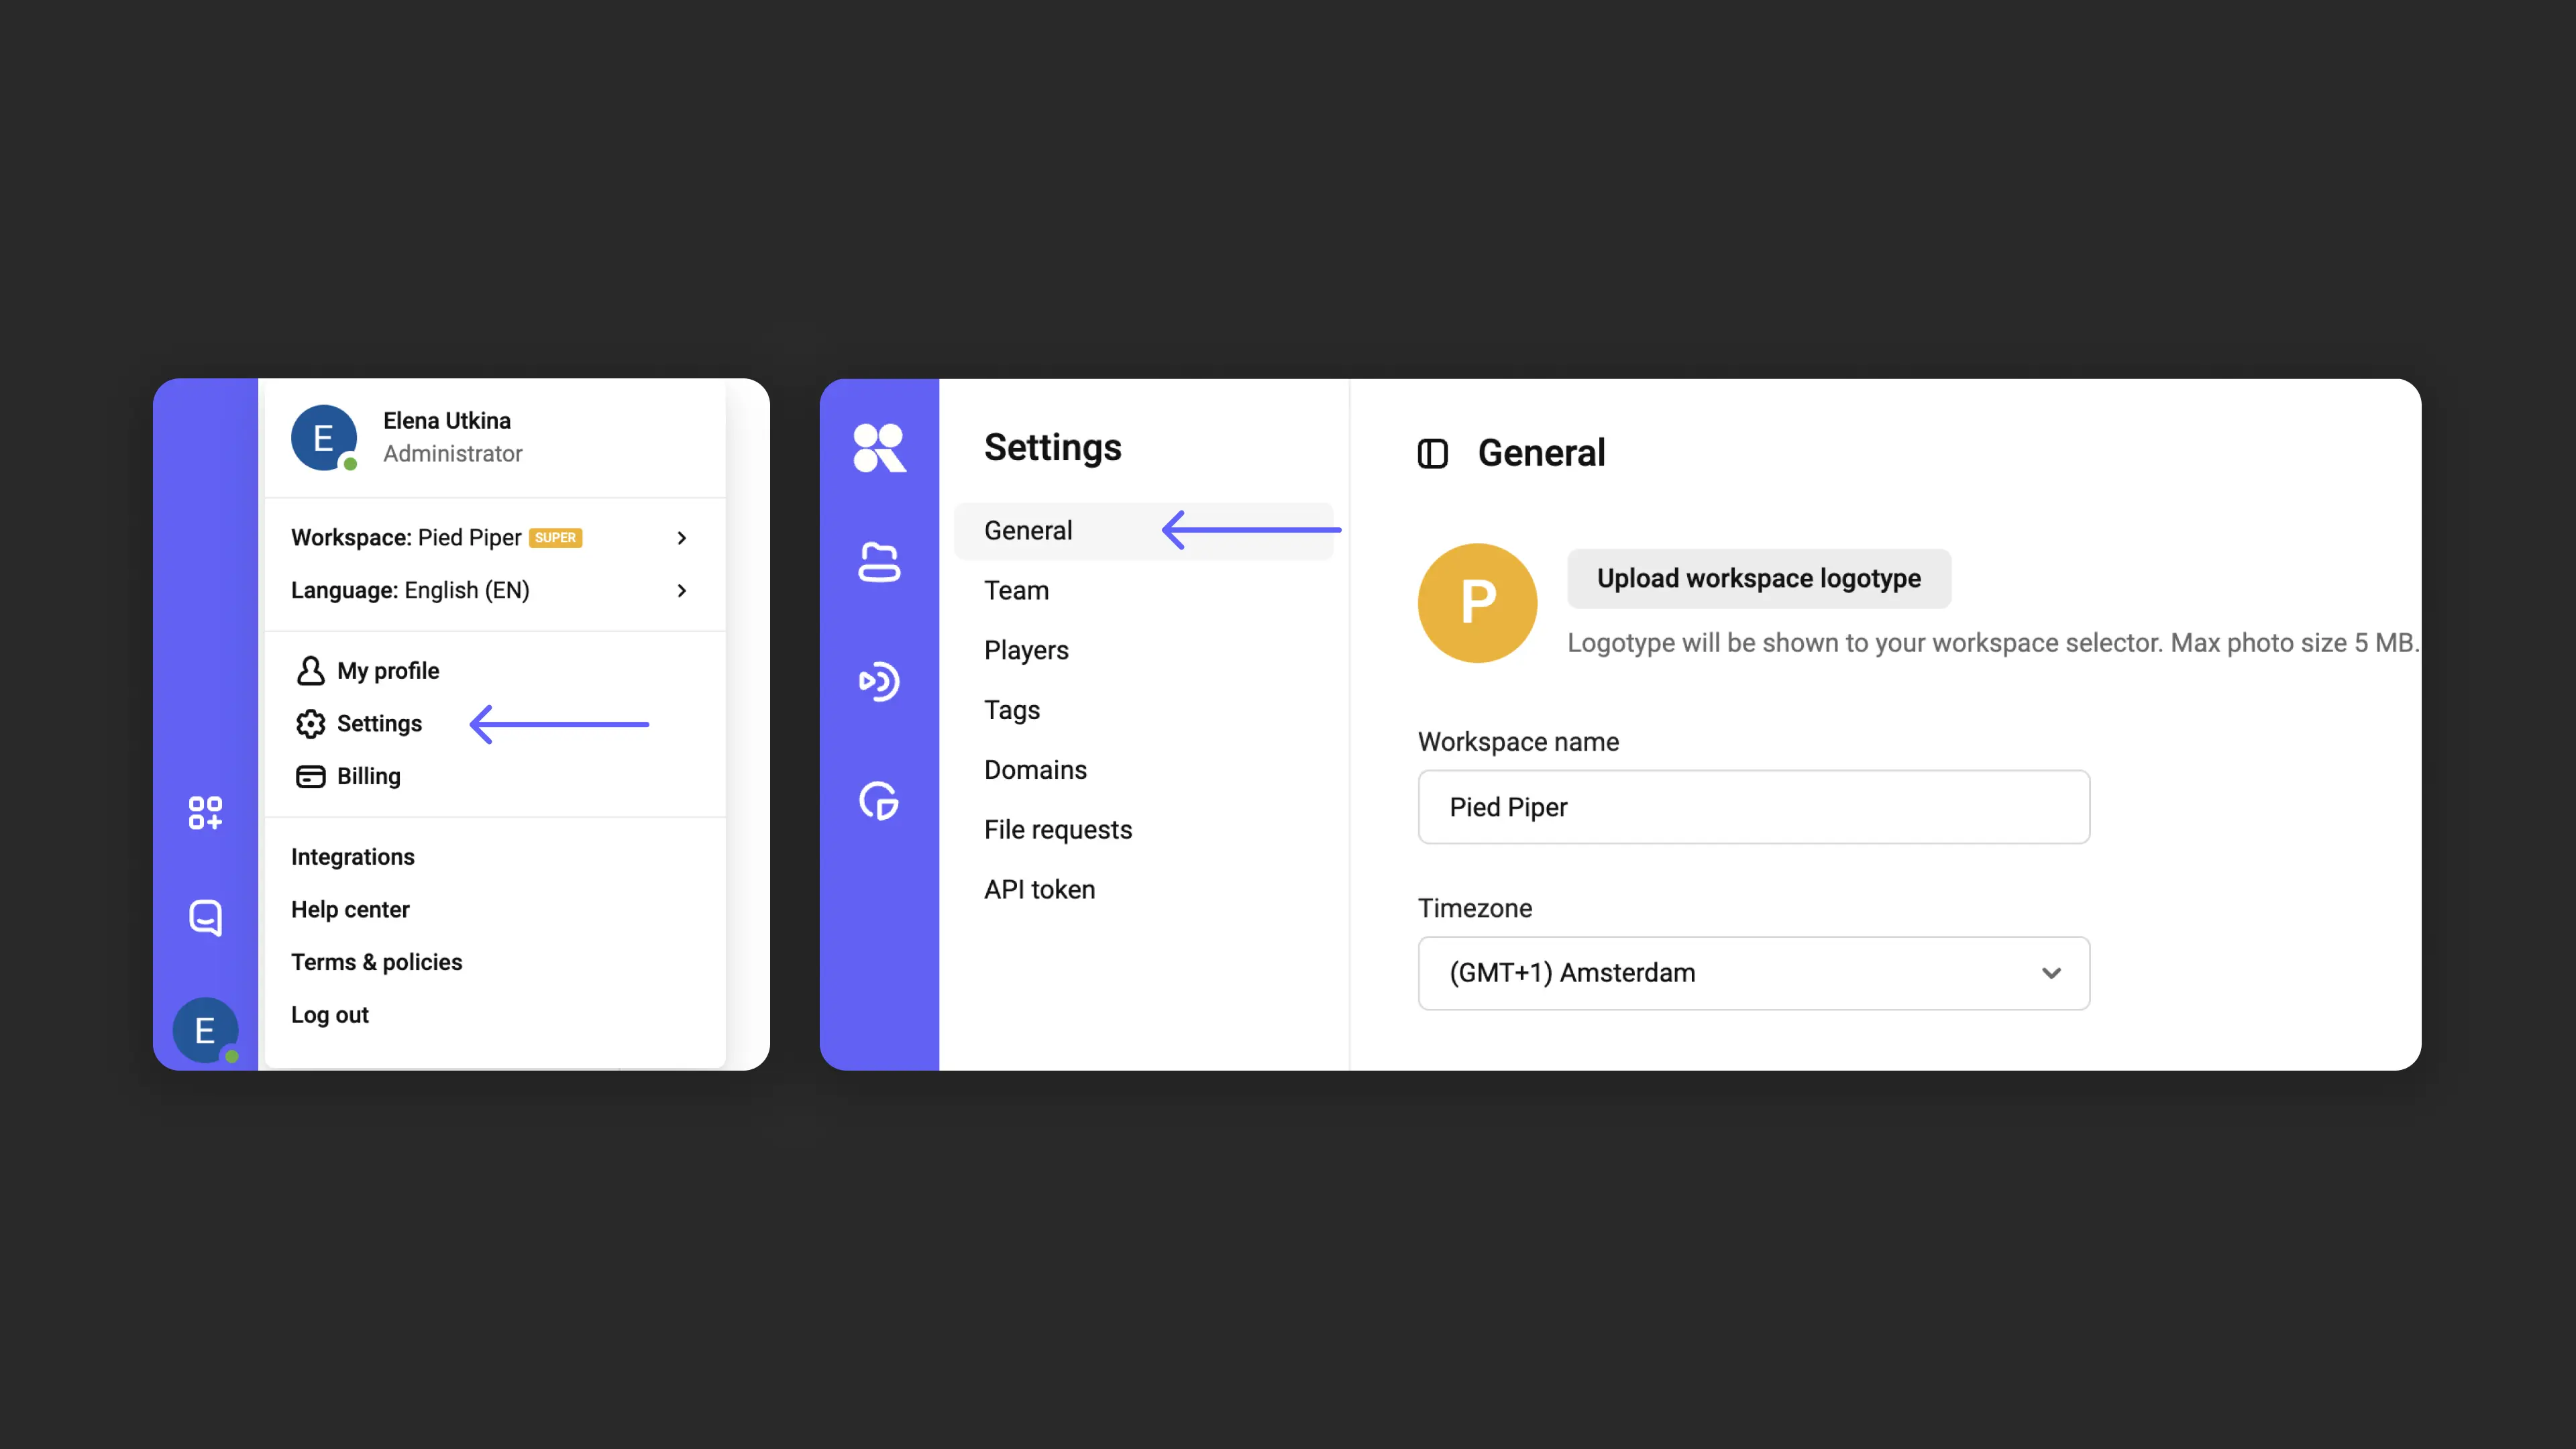
Workspace settings
Hover over the avatar or initials icon in the bottom left corner → “General”.
Here you can set the workspace name, choose a timezone, and upload a logo.
On the left there is a list of sections: “Team”, “Players”, “Tags”, “Domains”, “File requests”, “API tokens”. These sections apply only to the selected workspace and help manage everything in one place.
Here you can add data corresponding to the sections. Sections will also be populated from your actions in the catalog. For example, if you create a new player when uploading a video, it will appear in the “Players” section list.
Payment settings in the “Invoice payment” section are available for “Administrator” and “Financial Manager” roles. They are also individual for each workspace.
Inside the section:
- Payment methods: adding and updating billing details.
- View current plan conditions.
- Resource consumption details and preliminary invoice request.
Frequently asked questions
Can a workspace be deleted?
How do I configure access in a workspace?
What’s next?
After configuring the profile and workspace, we recommend:
- Configure access rights — add team members and assign them roles
- Organize media library — create projects and folders to structure content
- Configure content protection — restrict access to videos by domain or password
If you have questions, write to the support chat within the Kinescope interface — our specialists will help!