Creating Your First Project and Uploading Files
Not sure where to begin? This guide will help you create a project and share your first media file.
Registering with Kinescope
The first step to hosting video is registering on the platform. The process is simple and takes just a few minutes.
Getting to know the dashboard
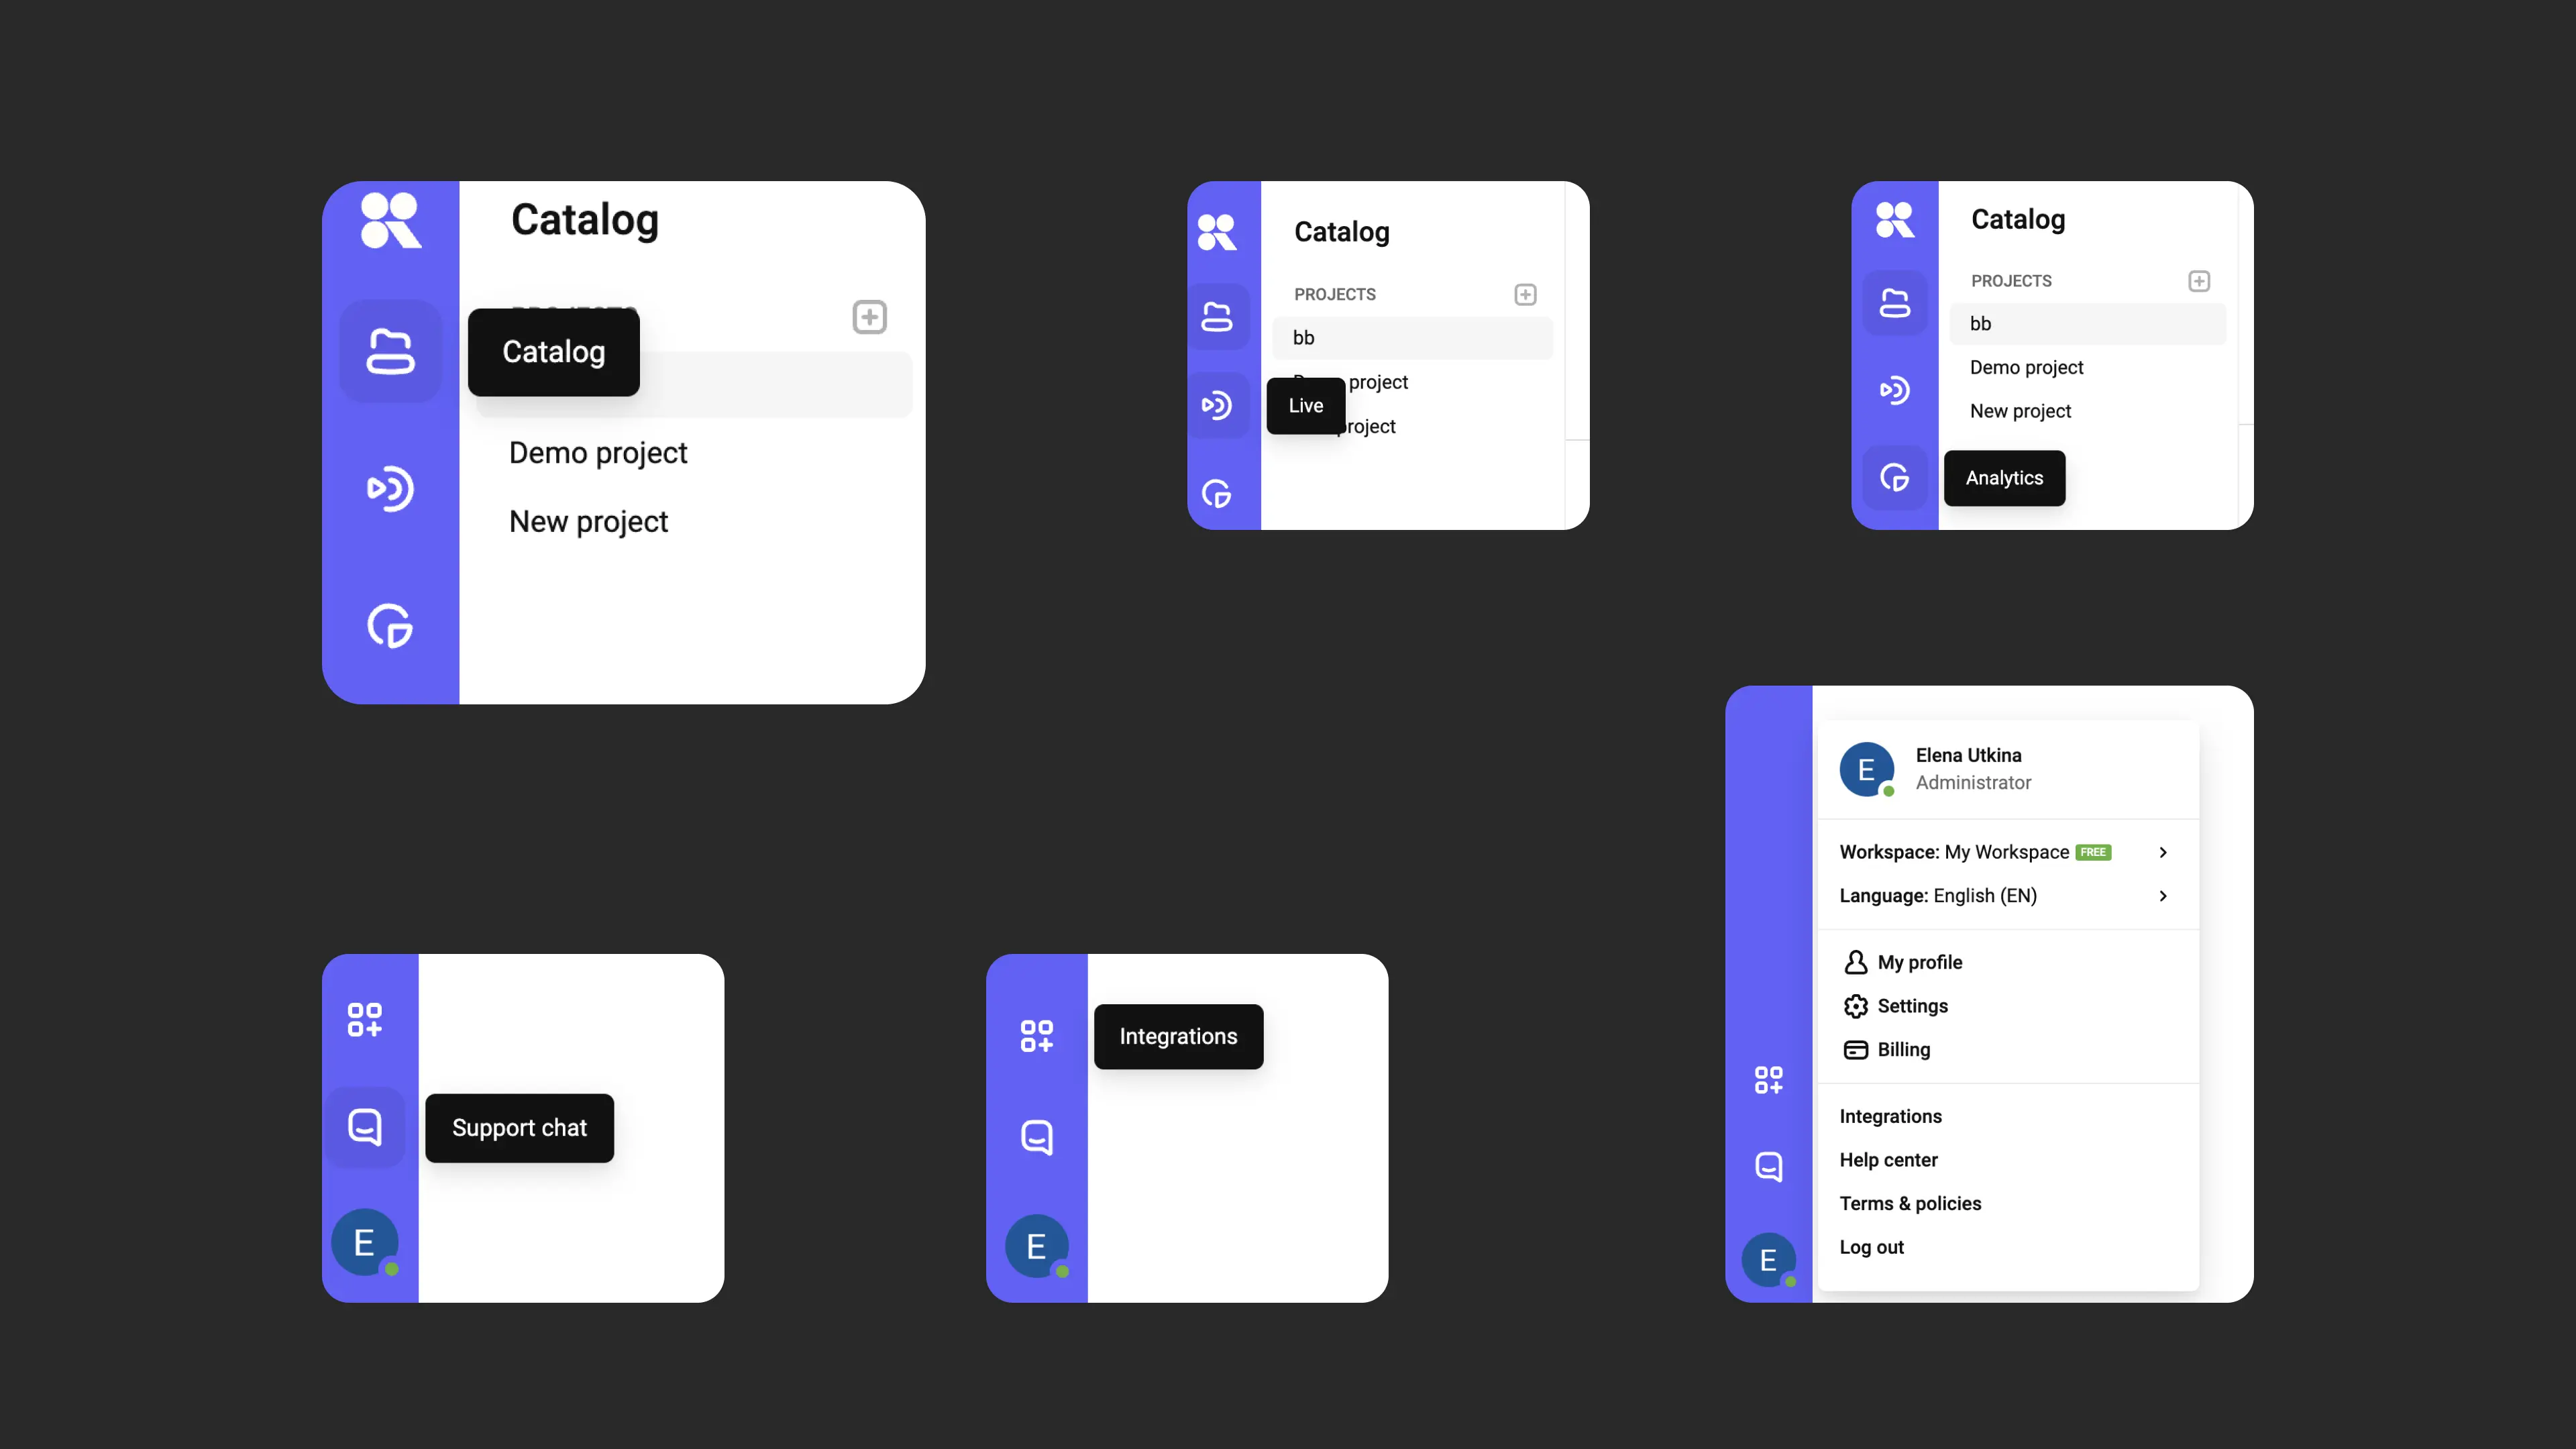
Work in Kinescope begins with the dashboard, which is always pinned to the left side of the screen.
The dashboard has three key sections: “Catalog”, “Live Streams”, and “Analytics”. At the bottom of the panel you’ll find the support chat, integration settings, and the user center. From the user center you can switch to another workspace and configure it, update your personal profile, and view resource usage data and pay invoices.
Creating a project
After signing in, you are taken to the Catalog, where all your projects and media files are located. To get started:
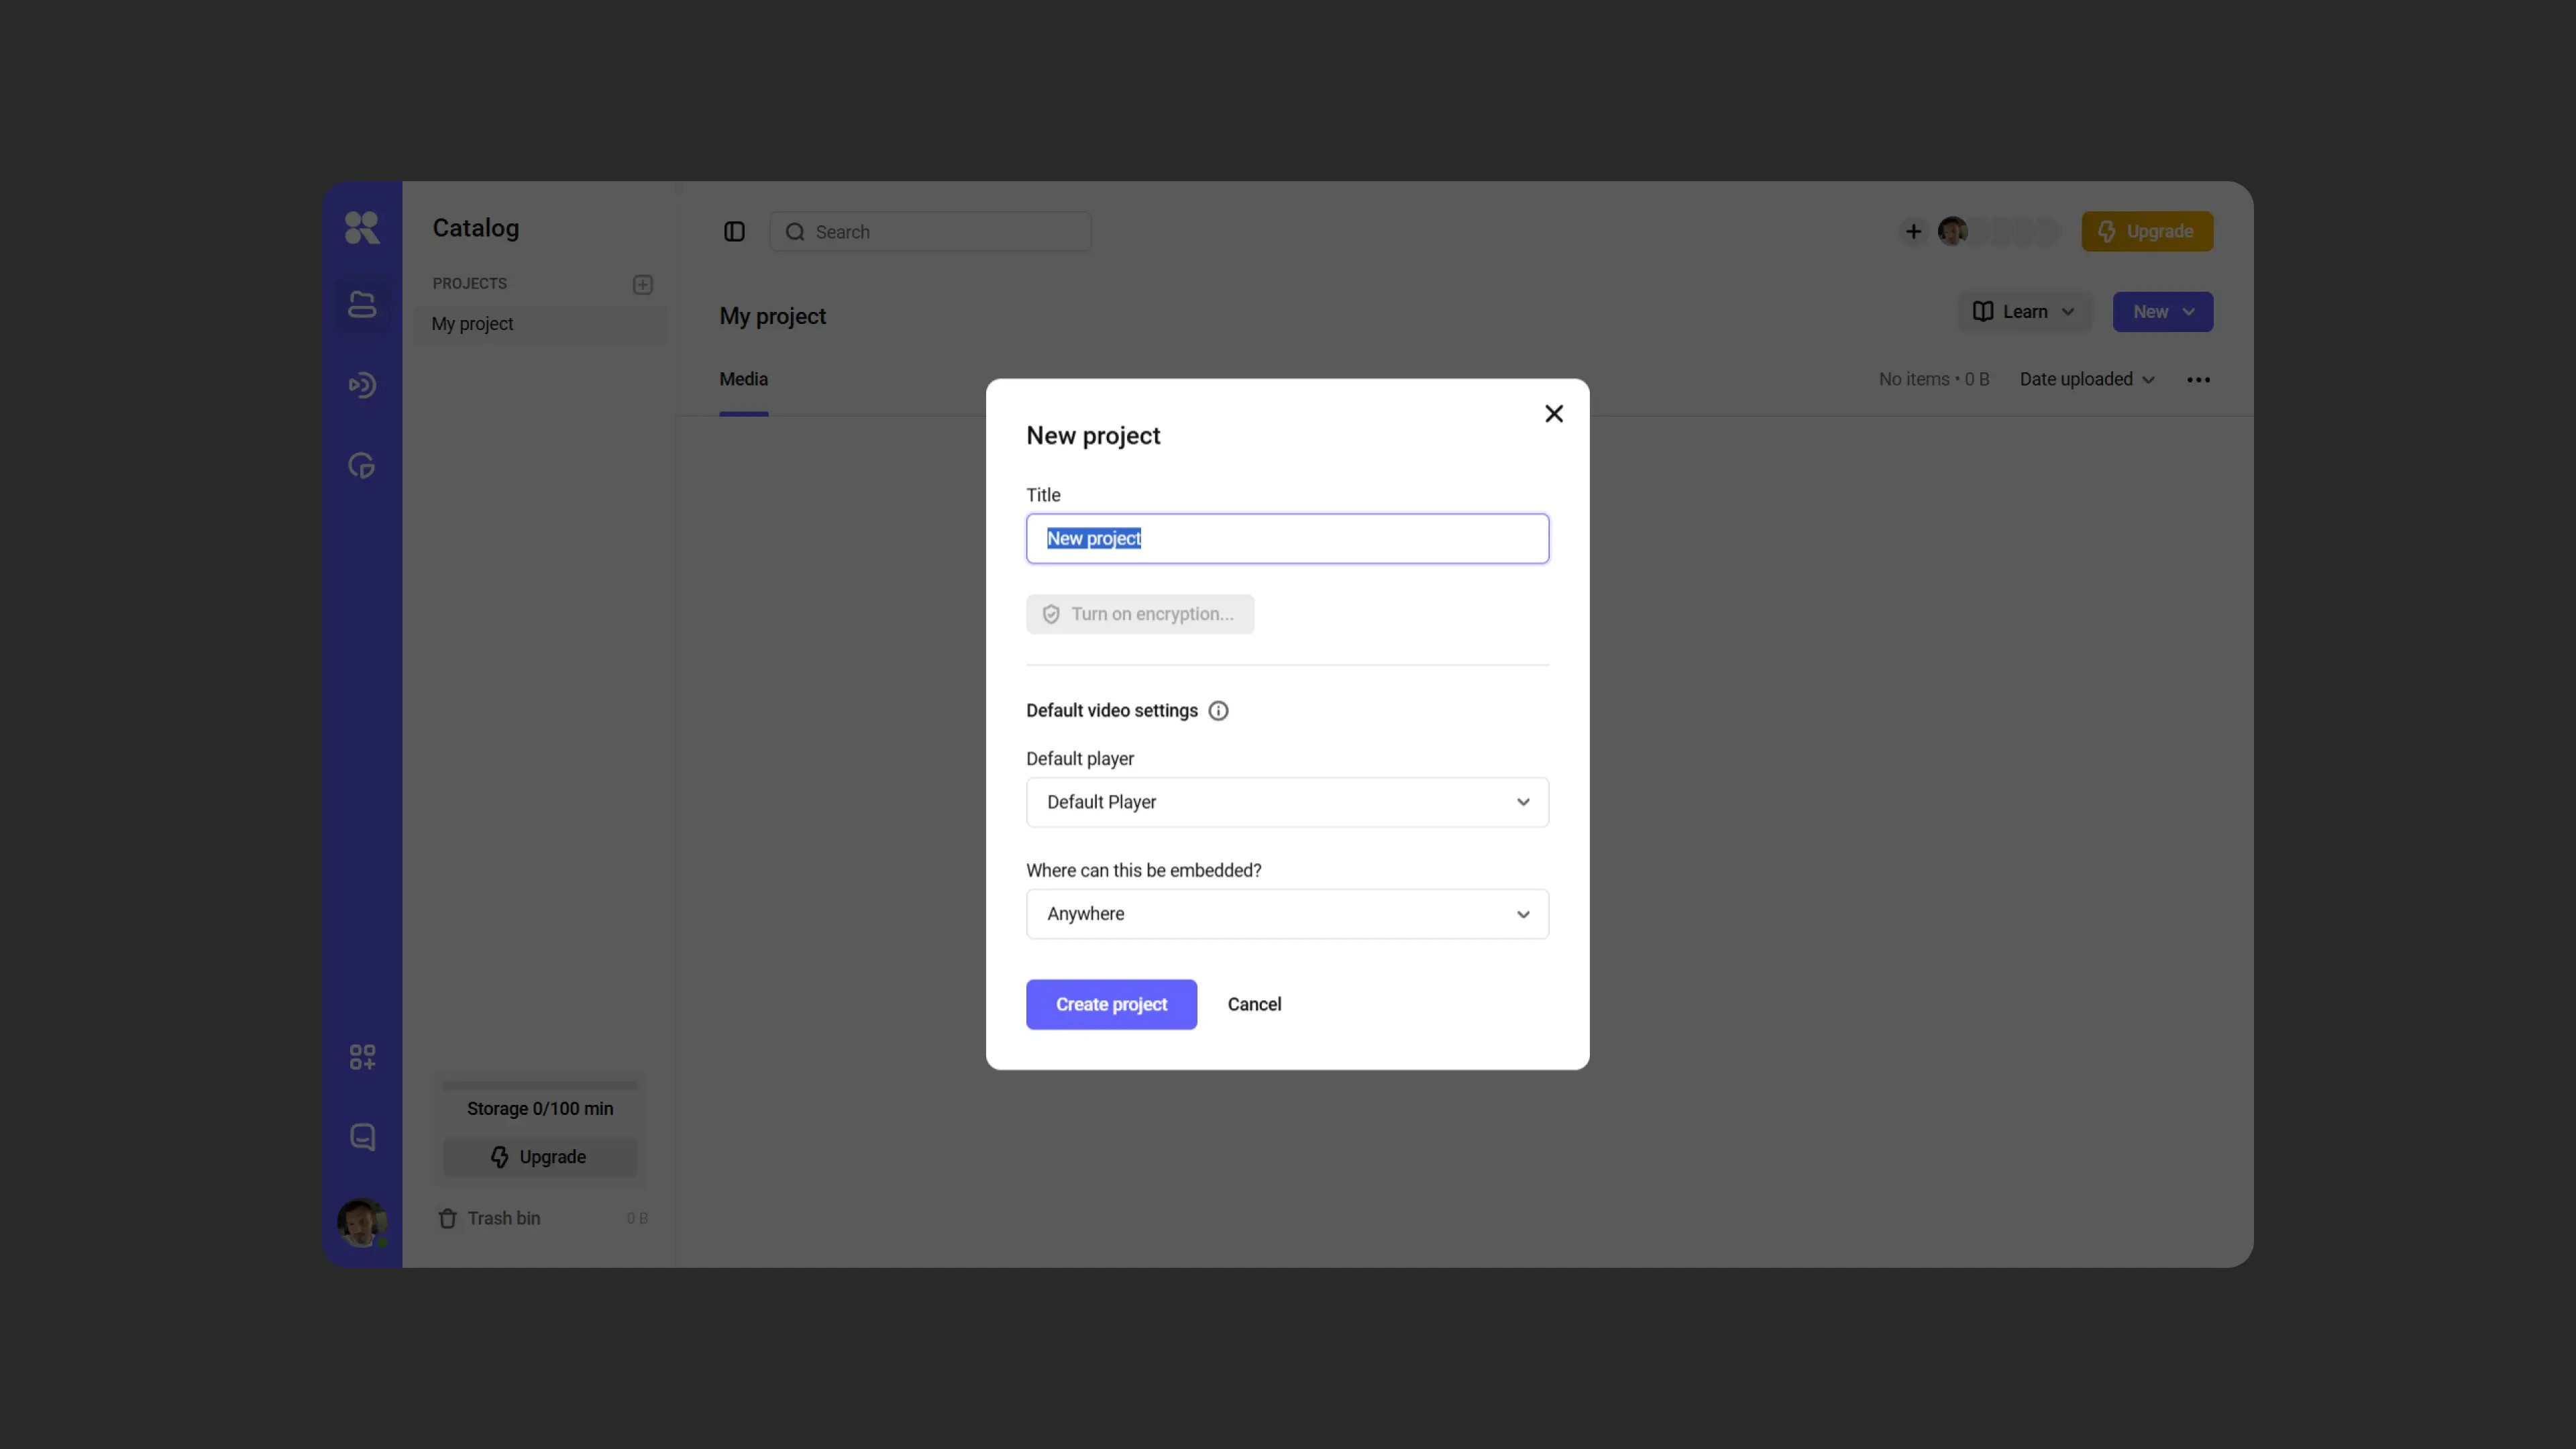
Click the “New project” button in the center of the screen or in the upper-left area.
You can also start working in the pre-created demo project (Demo Project, which opens immediately after registration) and rename it.Give your project a name.
If you need to restrict content downloads, enable encryption for the project. Learn more about configuring DRM in the article DRM file encryption .
Set a default player and specify where media files can be embedded:
- Everywhere — the player is available for embedding without restrictions
- Nowhere — the player is only accessible in the dashboard
- On specified domains — embedding is restricted to the domains you specify
Click “Create”.
Uploading a media file
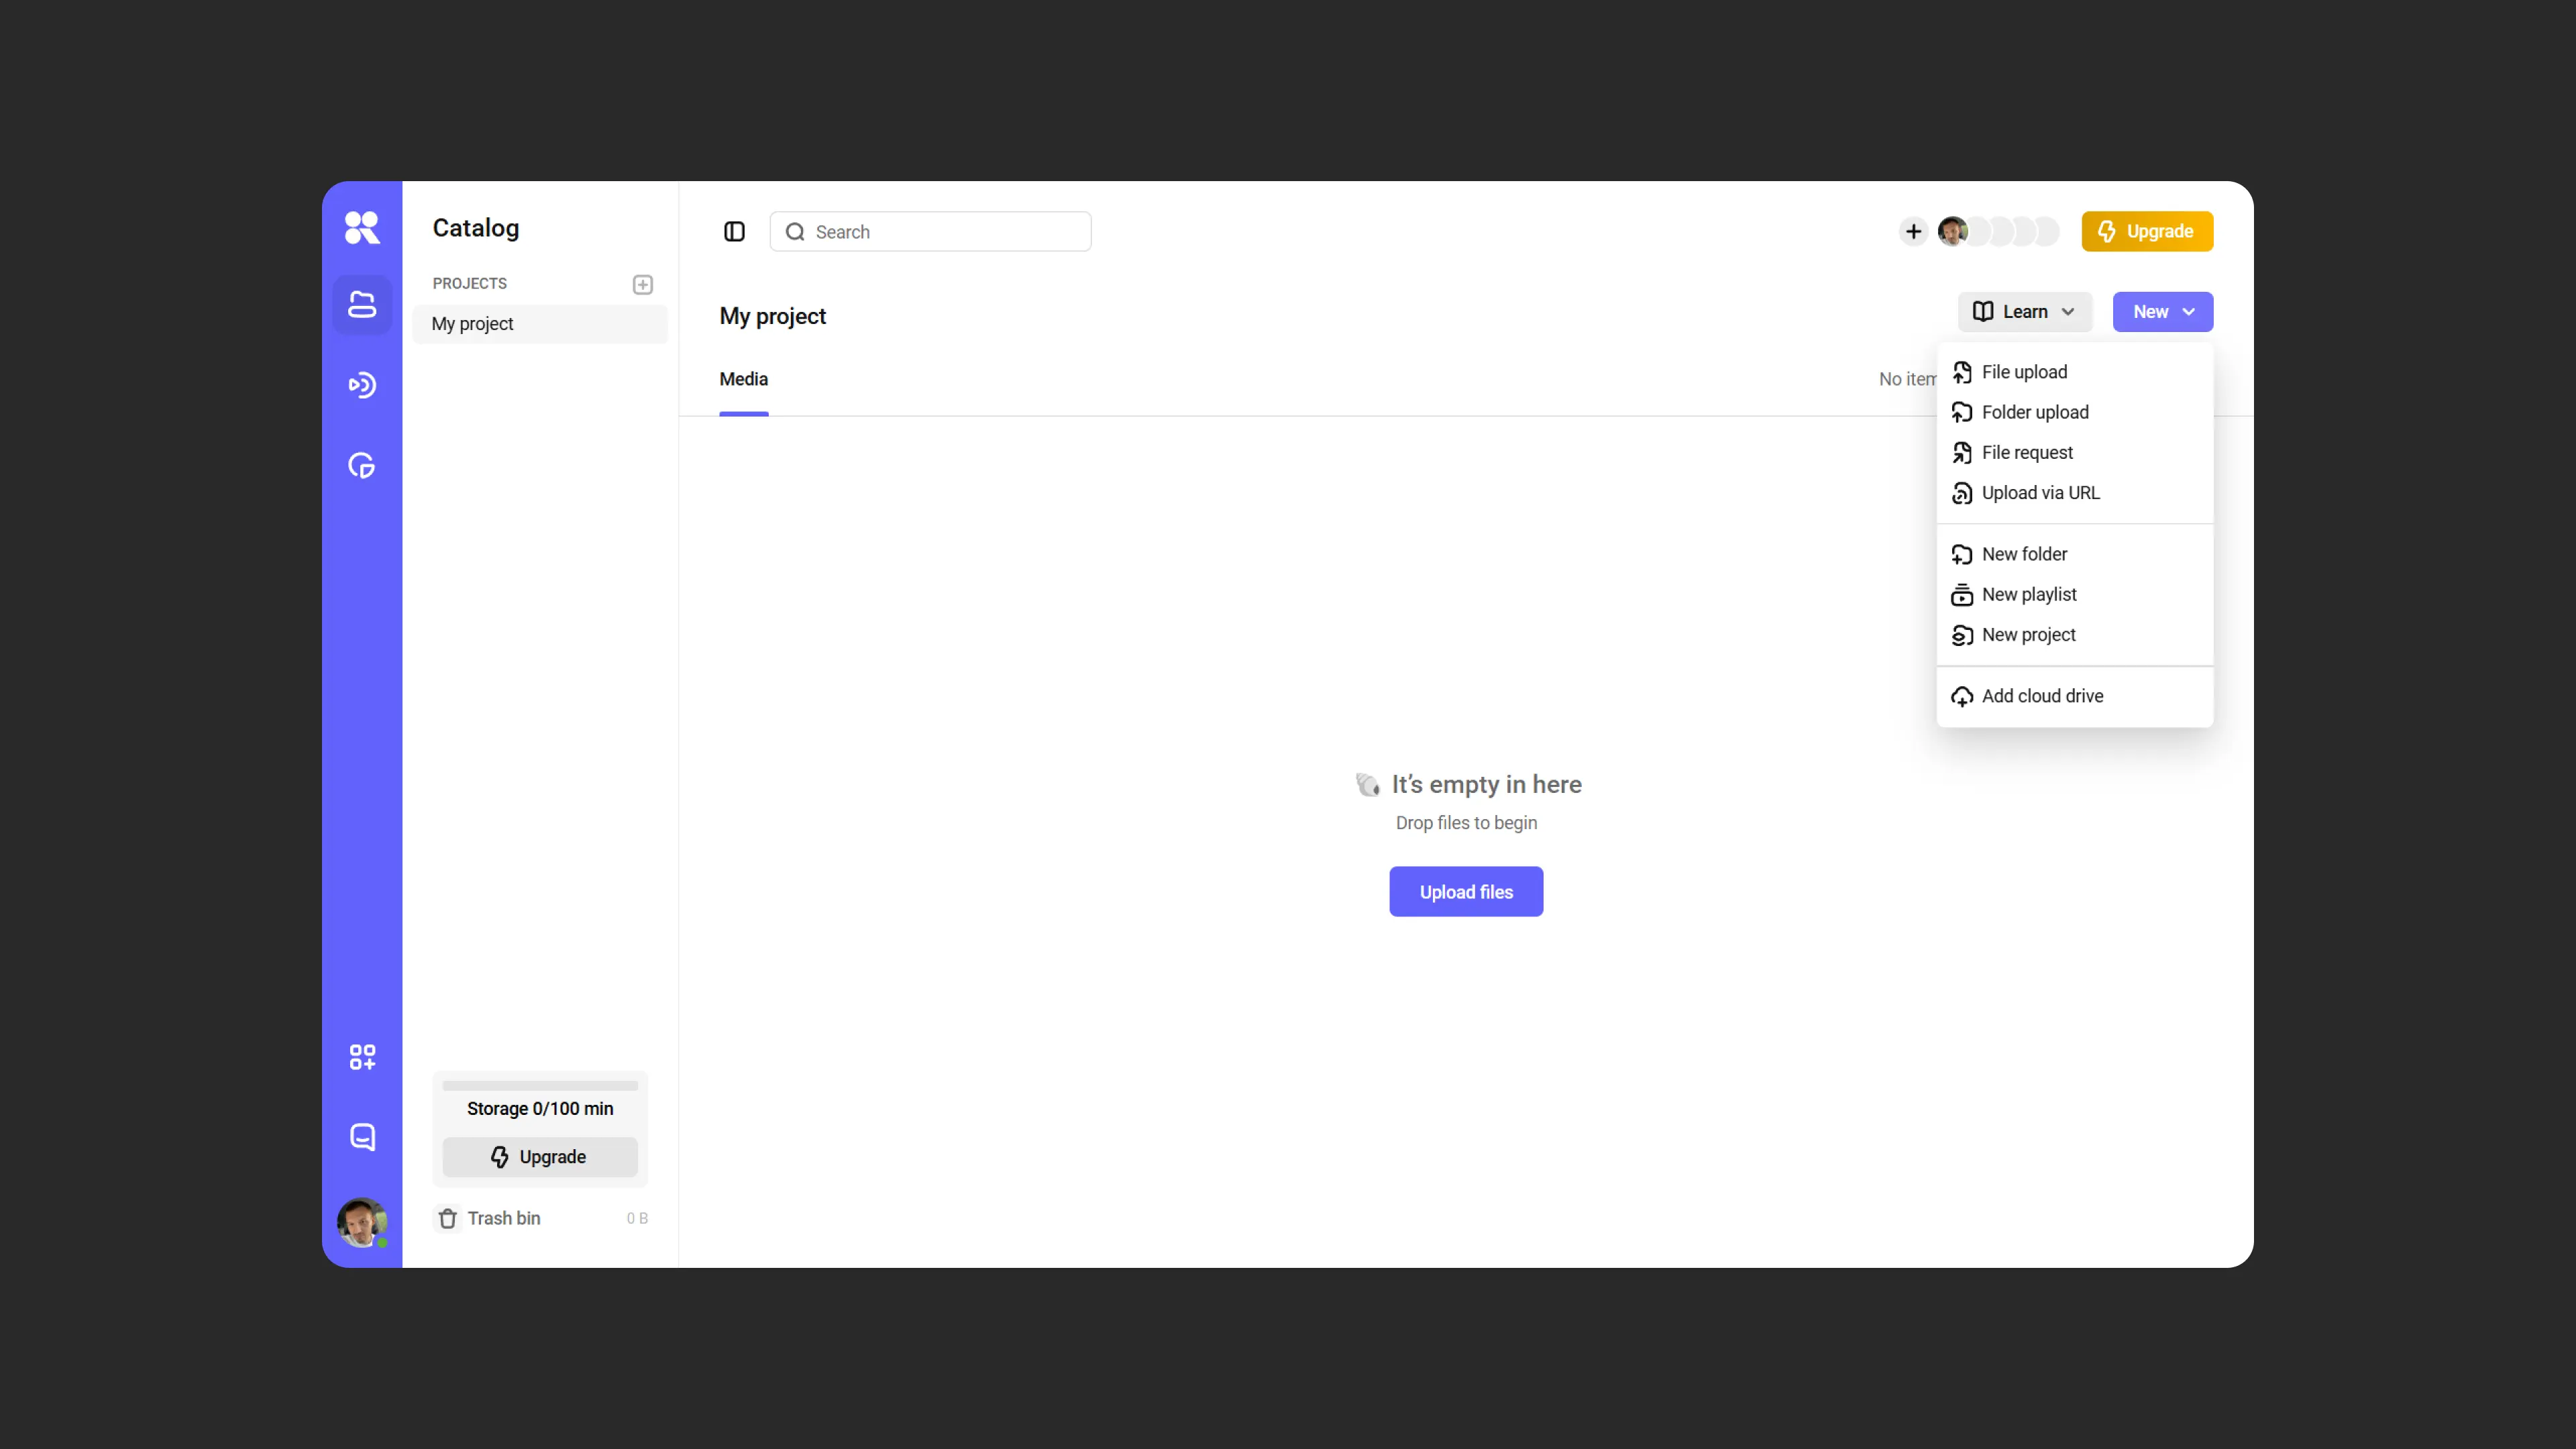
Click “Upload file” and select the desired file from your computer. Or simply drag it into the project area. You can select multiple videos at once for uploading.
Kinescope first uploads the file, then prepares it for playback at multiple quality levels (for example, 1080/720/480/360p). This may take some time. When everything is ready, a notification appears at the bottom of the screen.
Supported formats:
- Codecs: H.264, H.265, VP8, VP9, AV1, ProRes
- Containers: MP4, MKV, MOV
Recommendations:
- Optimal settings: H.264 codec and BT.709 color space in 8-bit
- With these settings, video is processed correctly and quickly
- To check support for other codecs, contact the support chat within the Kinescope interface
Preparing for publication
Your media file is uploaded! Now you need to prepare it for publication.
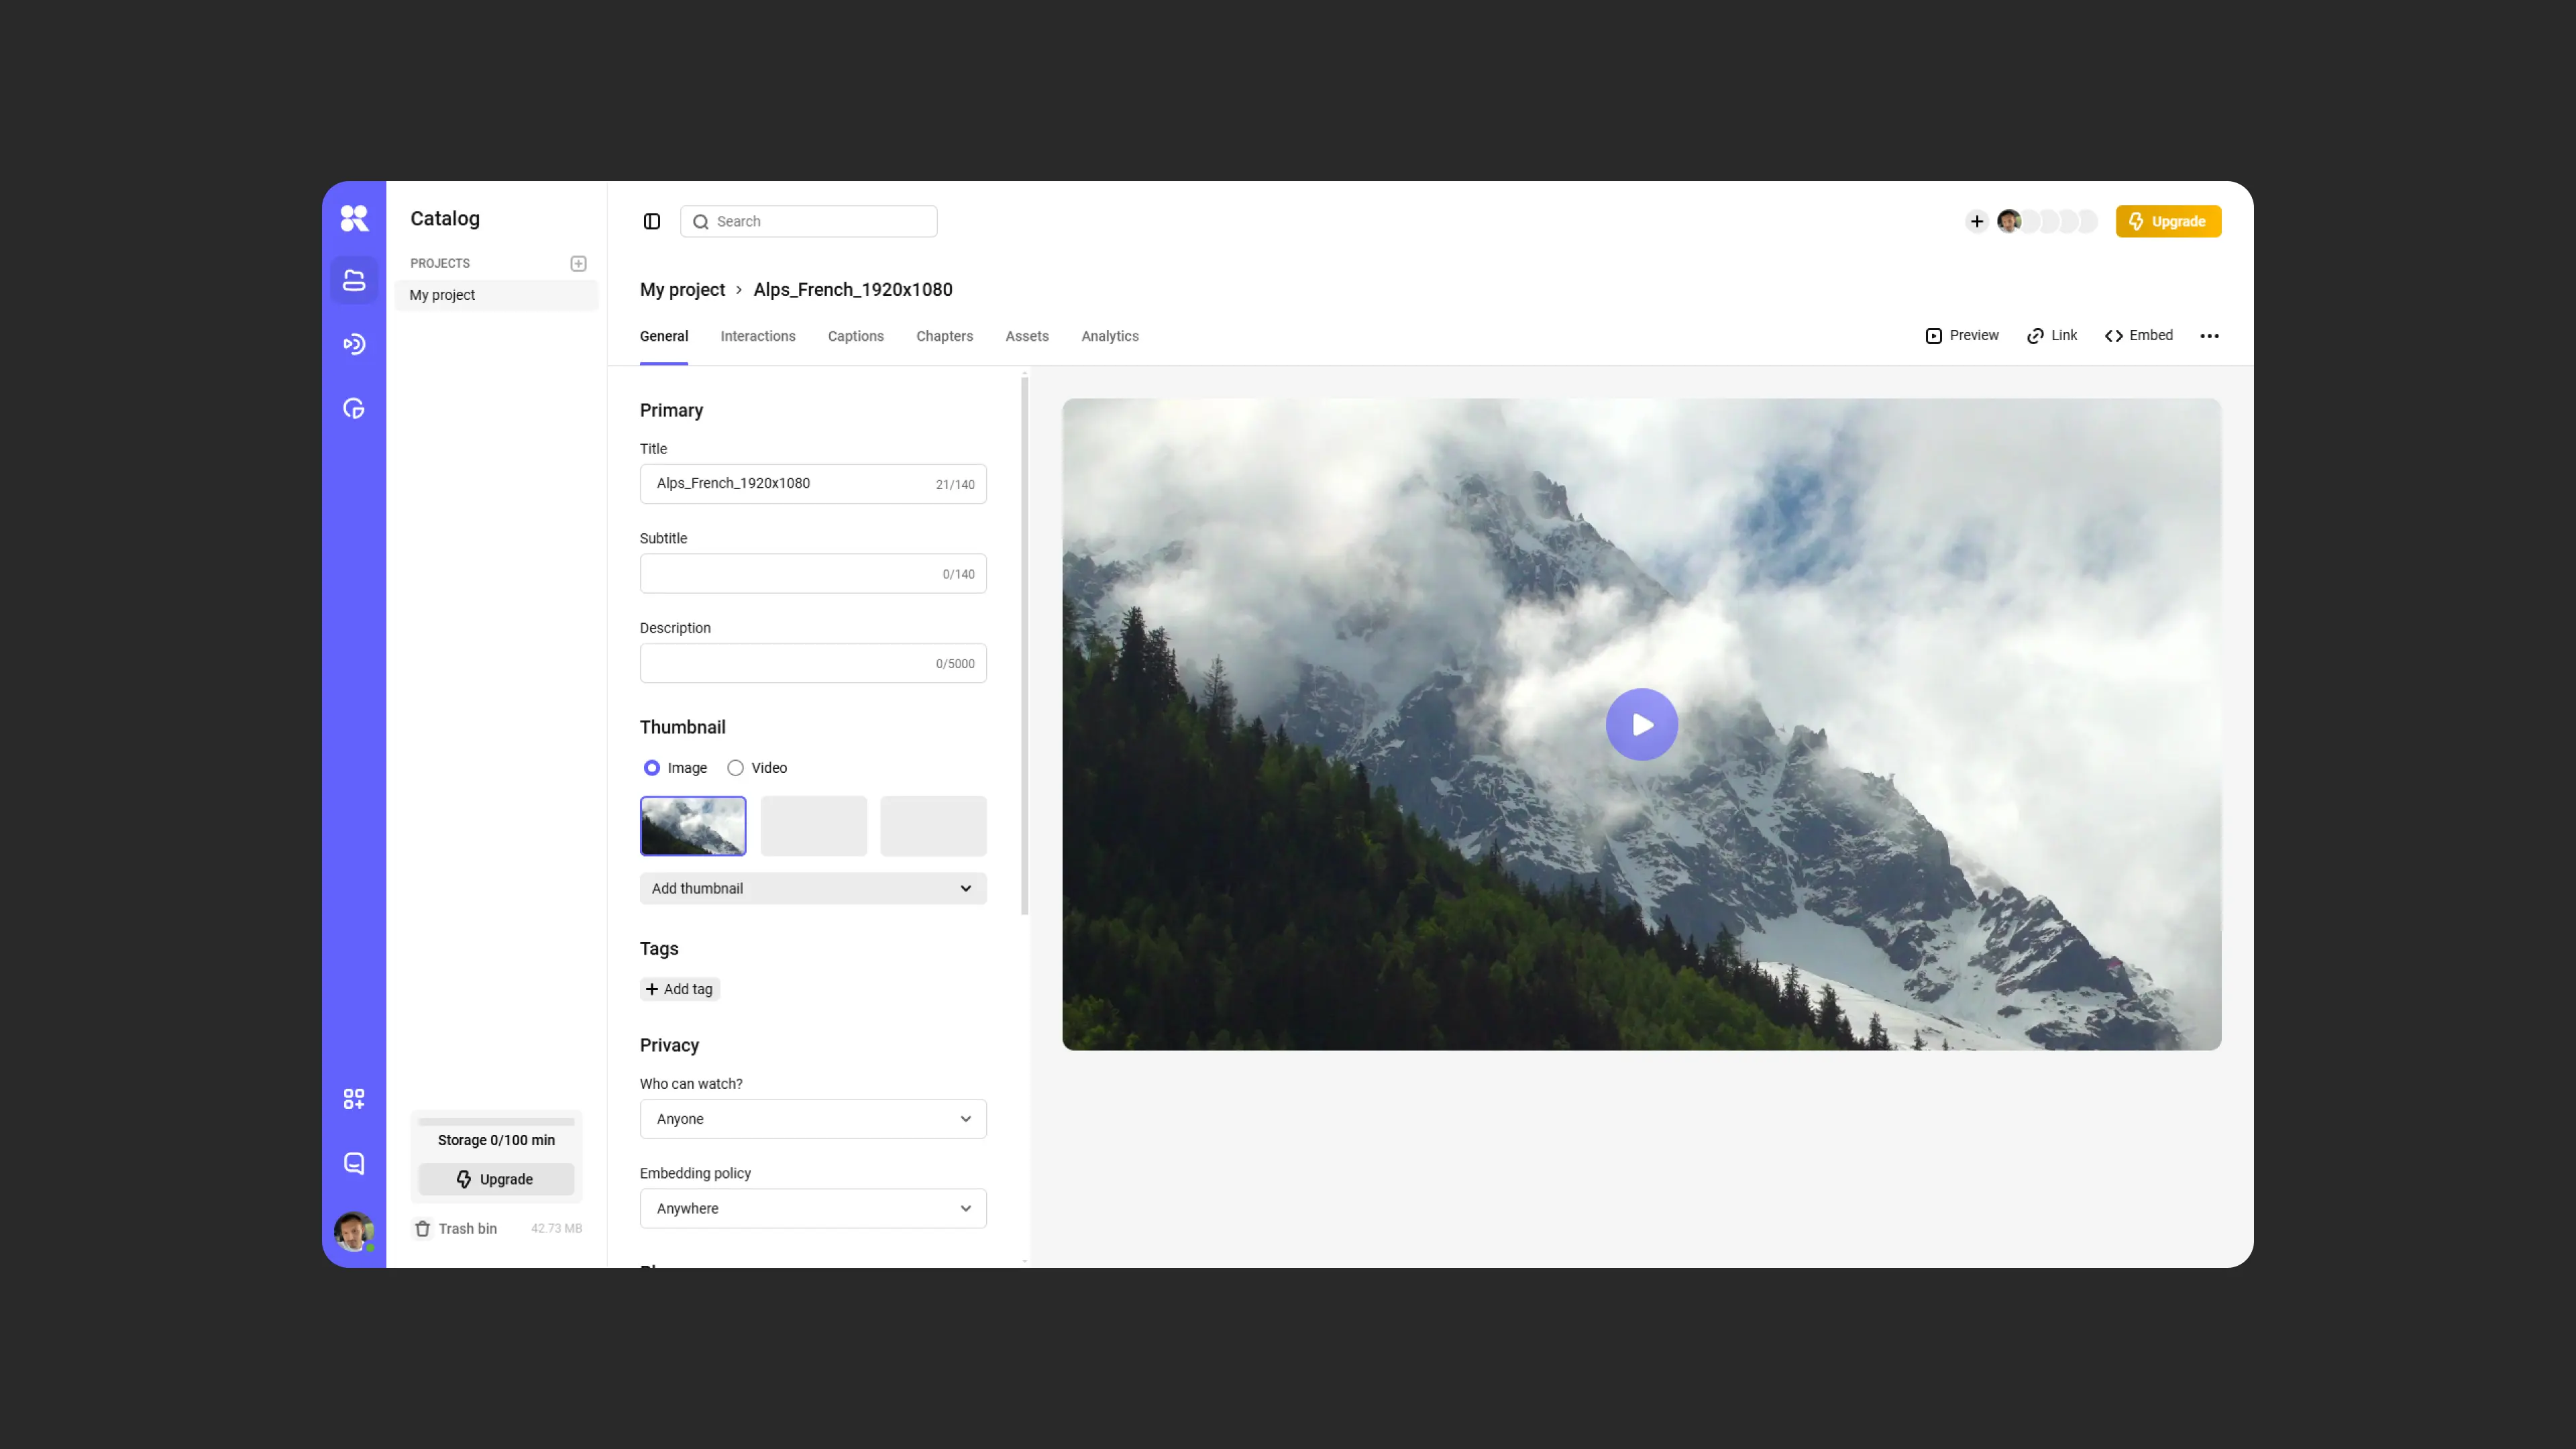
- Double-click the file name to open its settings.
- By default, Kinescope uses the original file name. You can give the media file a different name, add a subtitle, and a description.
- To add a poster to the file, click “Add poster”. You can upload your own image or manually select a frame in the player on the right. If you skip this step, Kinescope will choose a poster automatically.
- Decide who can watch the media file and where it can be embedded. By default, these settings match the project’s general settings, but you can change them by clicking the dropdown menu.
- Choose a default player. Optionally, modify the appearance and behavior of the player template by clicking “Customize”.
Publishing the media file
Now that everything is ready for publication, it’s time to share your media file. There are two options: a video link and an embed code.
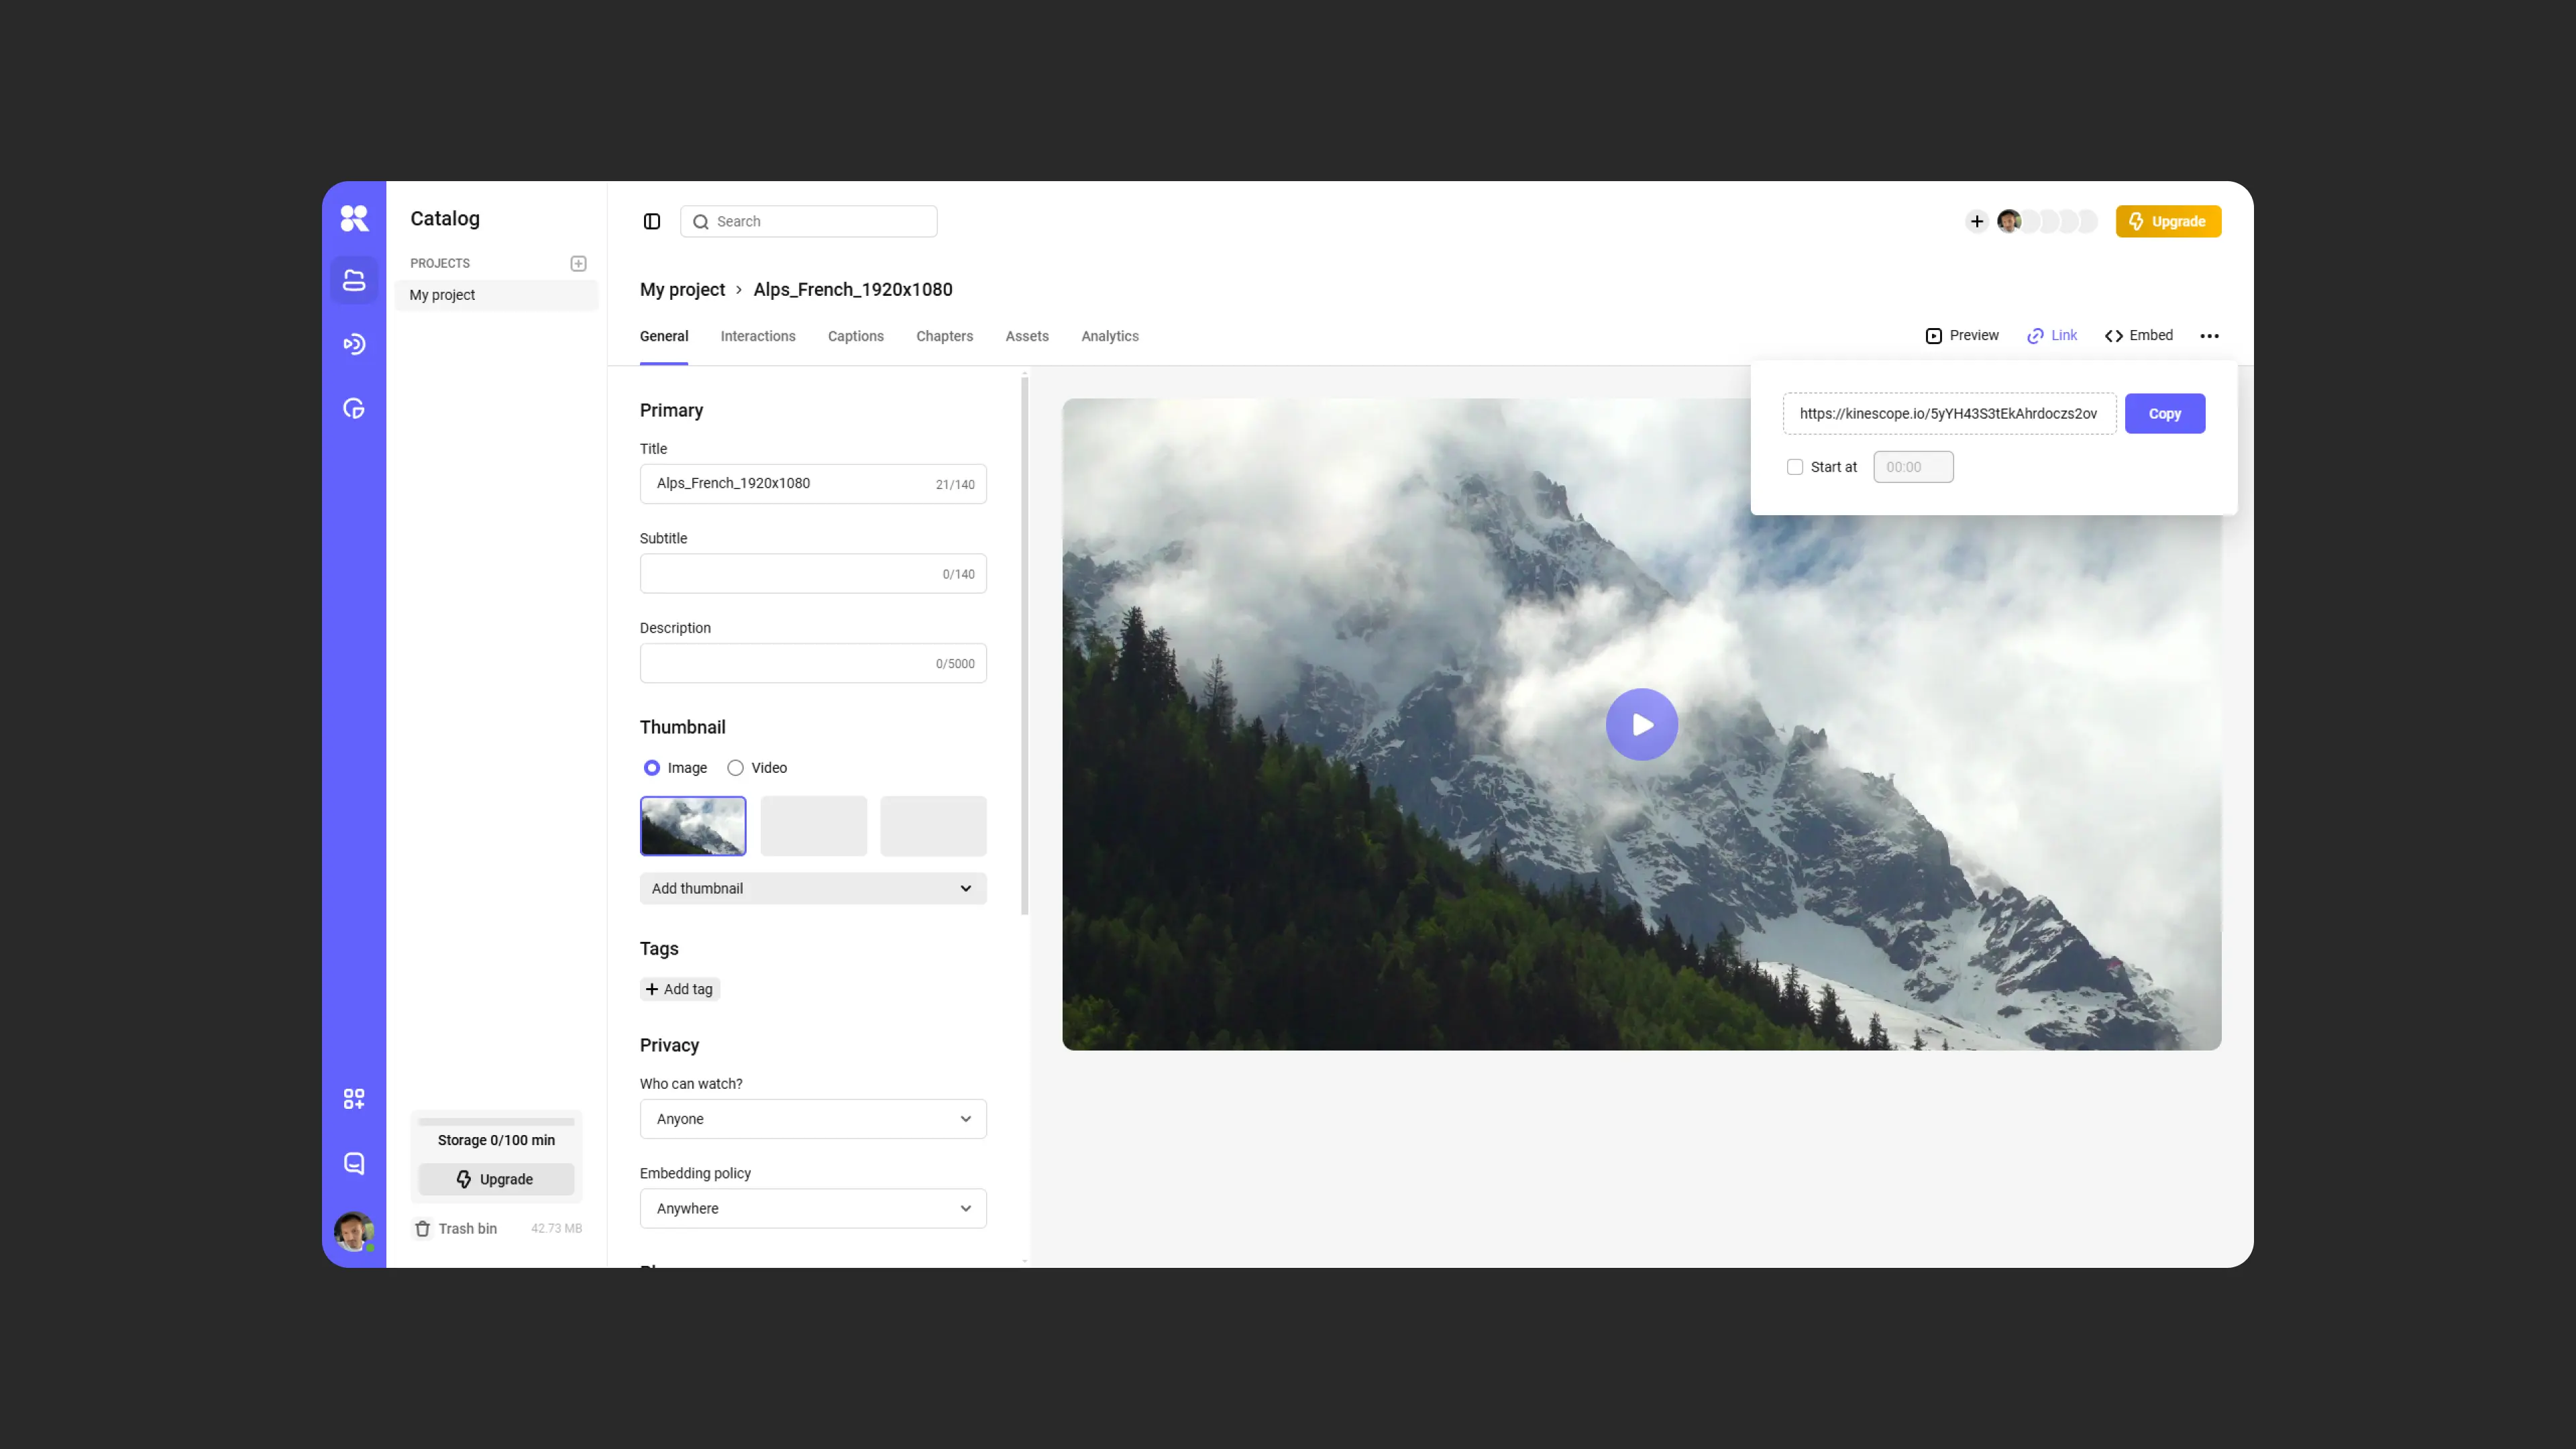
Video link
The simplest option is to share a link. Click the “Link” button in the upper-right area of the dashboard, then click “Copy”.
You can also copy the link from the catalog by clicking the three dots in the row of the media file or by right-clicking on its name.
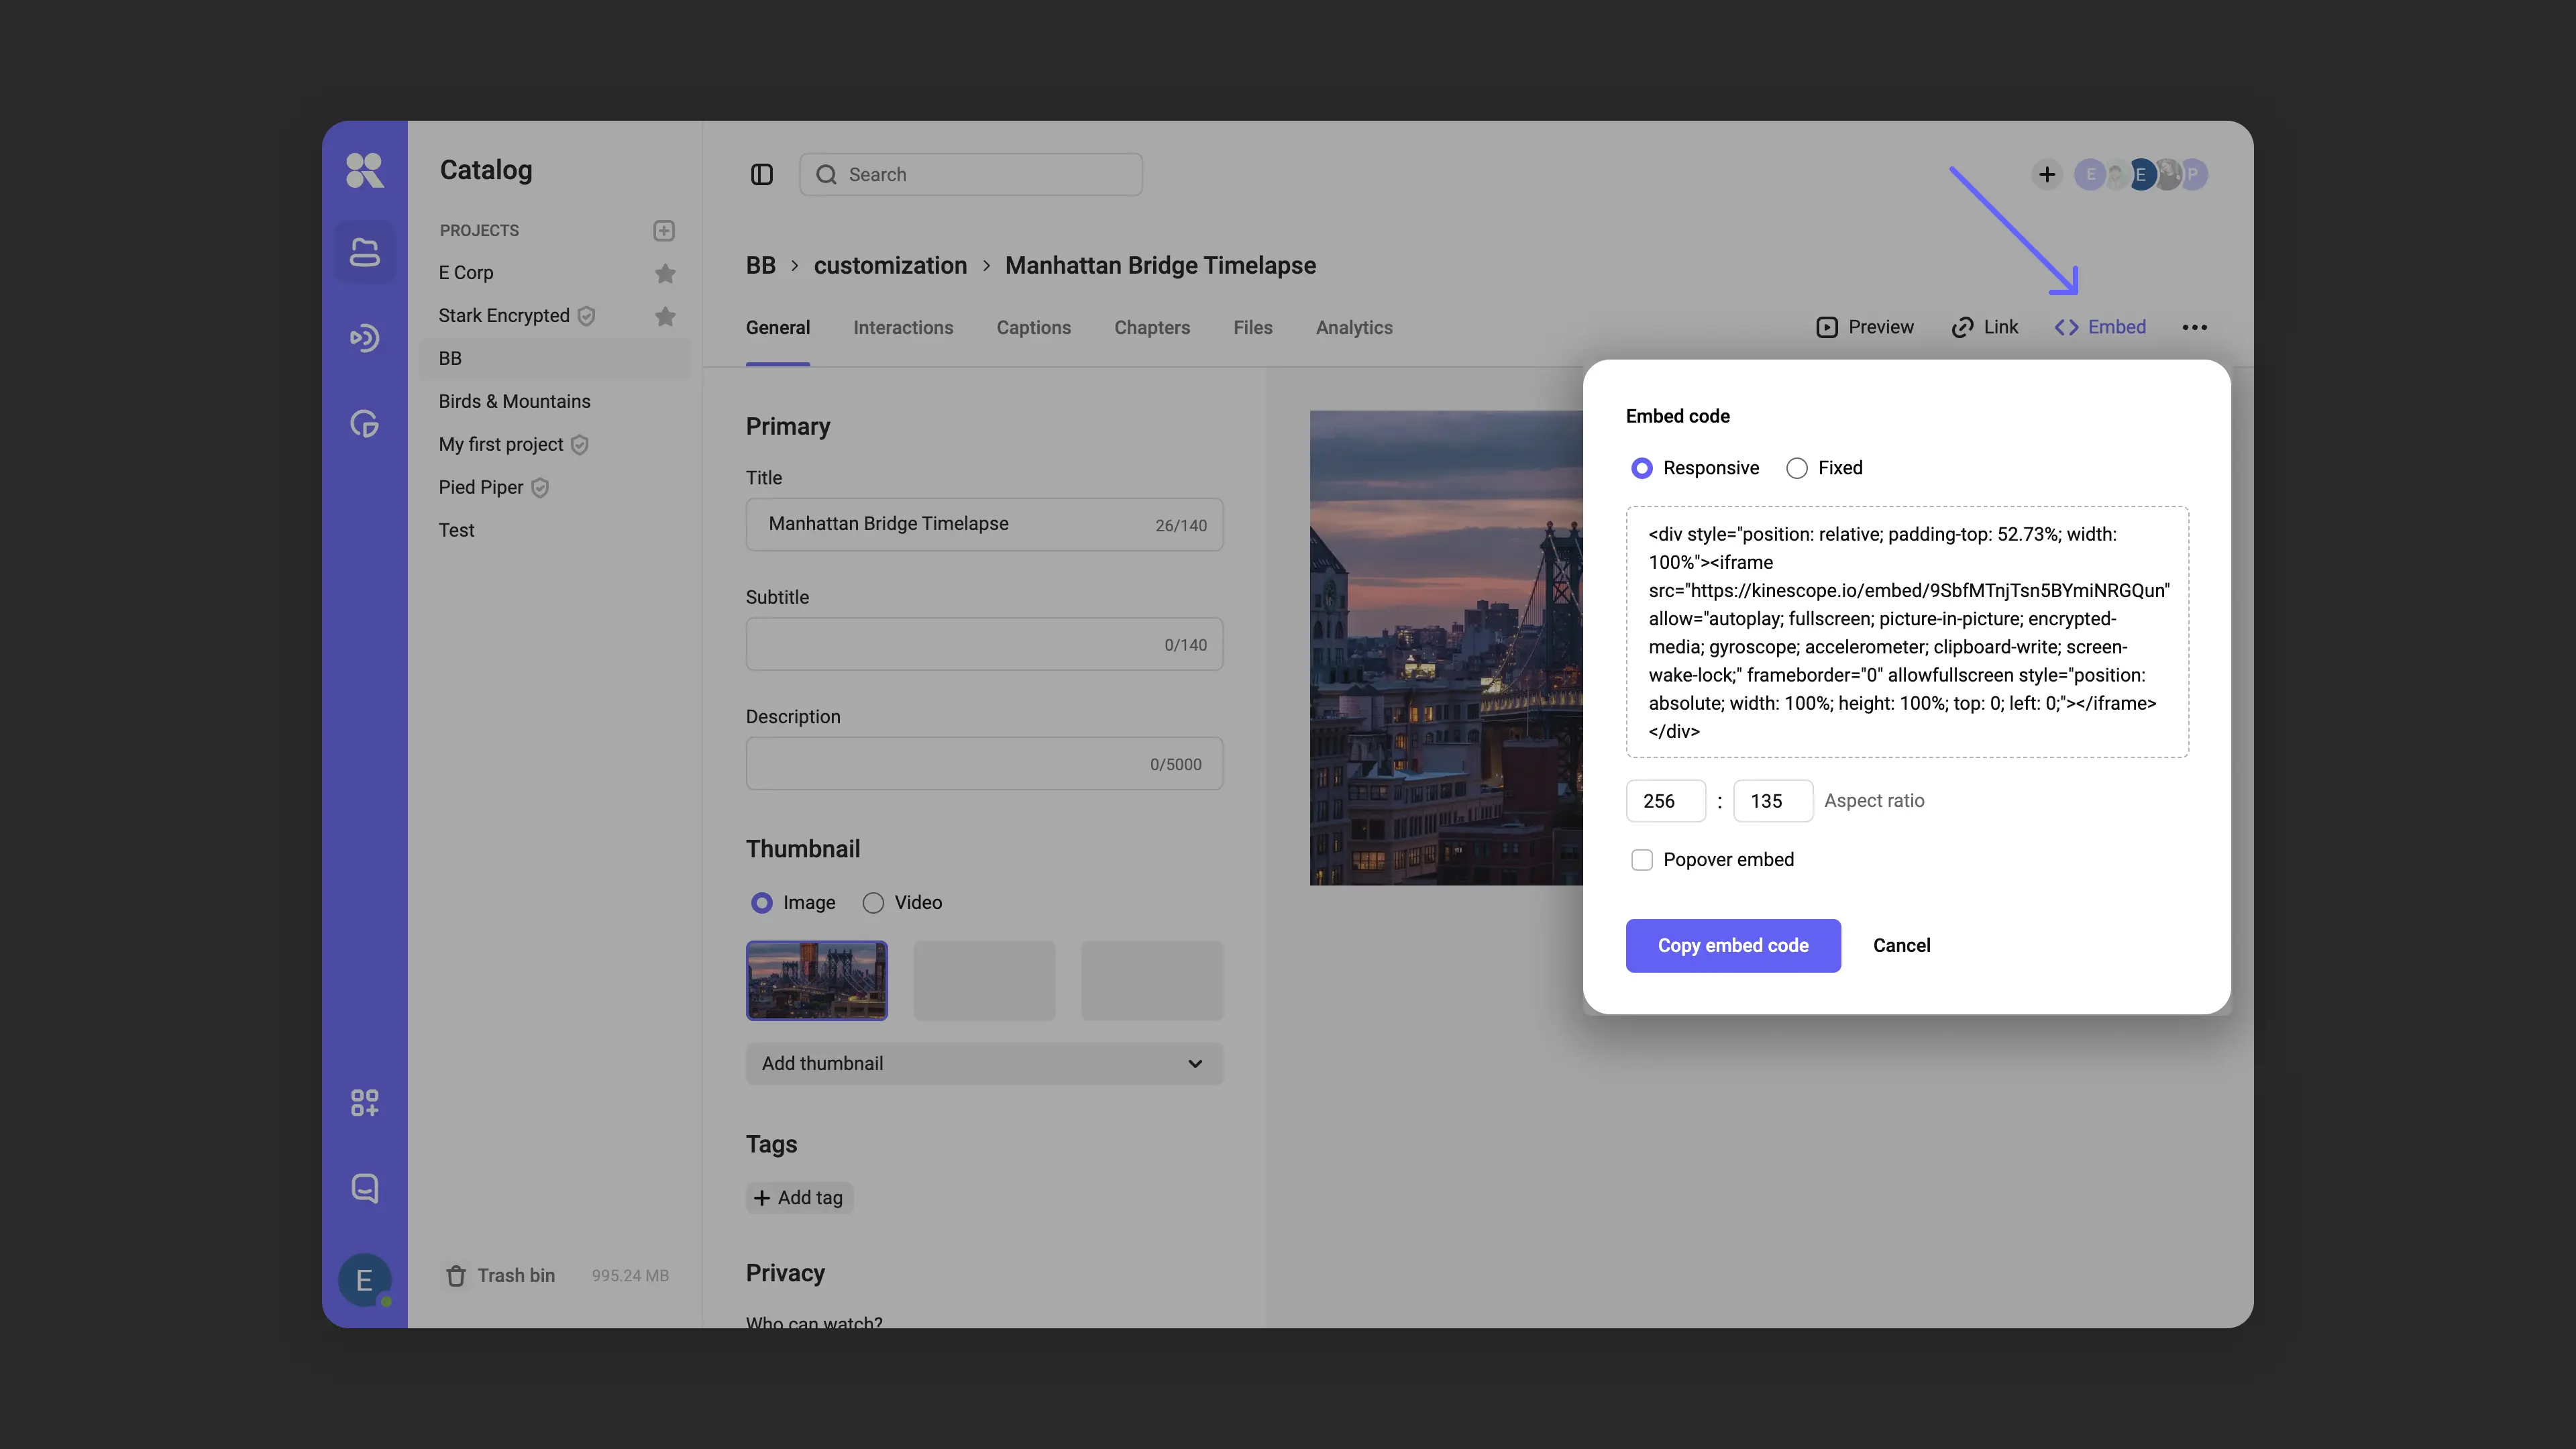
Embedding
Embedding lets you add video to websites. Hover over the row of the desired video, click the three dots → “Embed”. Choose the embed code you need: responsive (adapts to the device screen size) or fixed (preserves set dimensions).
You can now paste the code into your website page or share it. Learn more about embedding in the article Embedding .
What’s next?
Congratulations! You’ve successfully created your first project, uploaded, embedded a media file, and shared it.
Now that you’re familiar with the basics of Kinescope, we recommend:
- Set up analytics — track views and viewer behavior
- Customize the player — adapt the appearance to your brand
- Set up content protection — protect your video from unauthorized use
- Organize your media library — use projects, folders, and tags for easy navigation
If you have any questions, write to the support chat within the Kinescope interface — our specialists will help!