Video Access Restrictions
In Kinescope you can configure who can view your videos and where they can be embedded. This helps protect content and control access. Access can be restricted by private link, password, email domain, or by allowing embedding only on certain sites.
Who this article is for
- Course creators — need to restrict access to educational materials by password or email domain
- Content owners — need to control who can view videos
- Marketers — need to restrict video embedding to specific sites only
- Project administrators — need to set up private links for restricted access
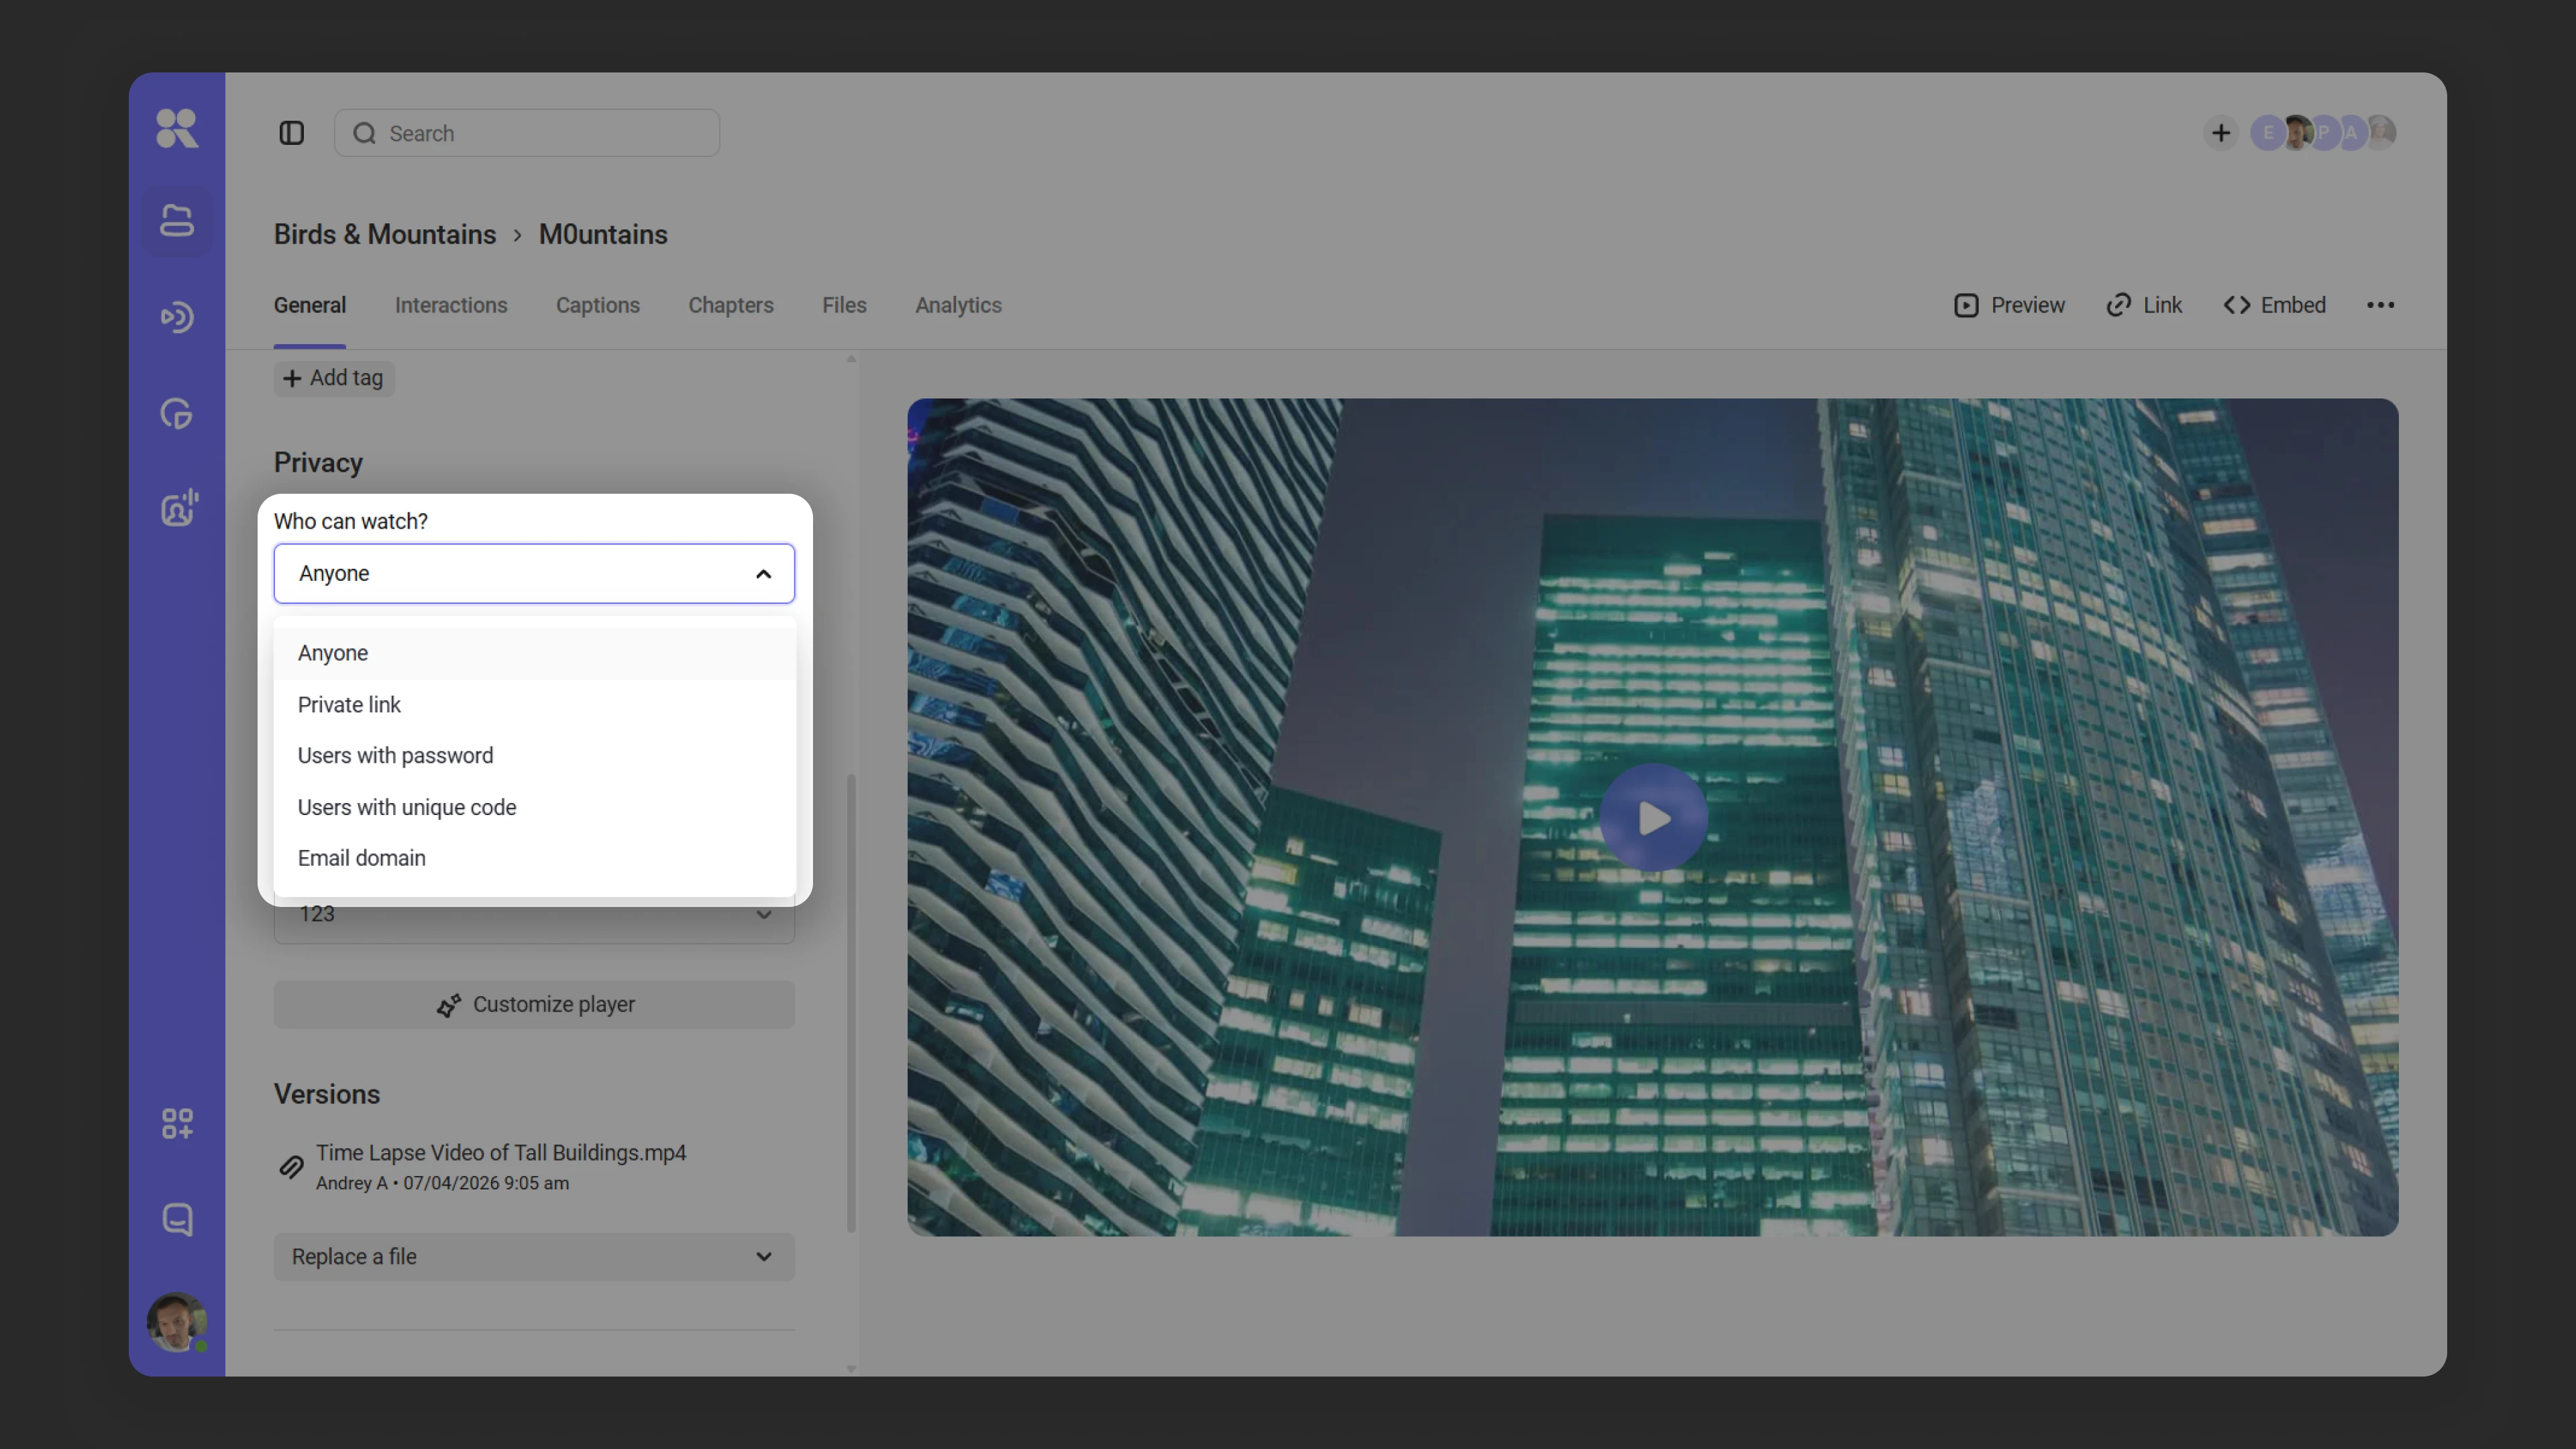
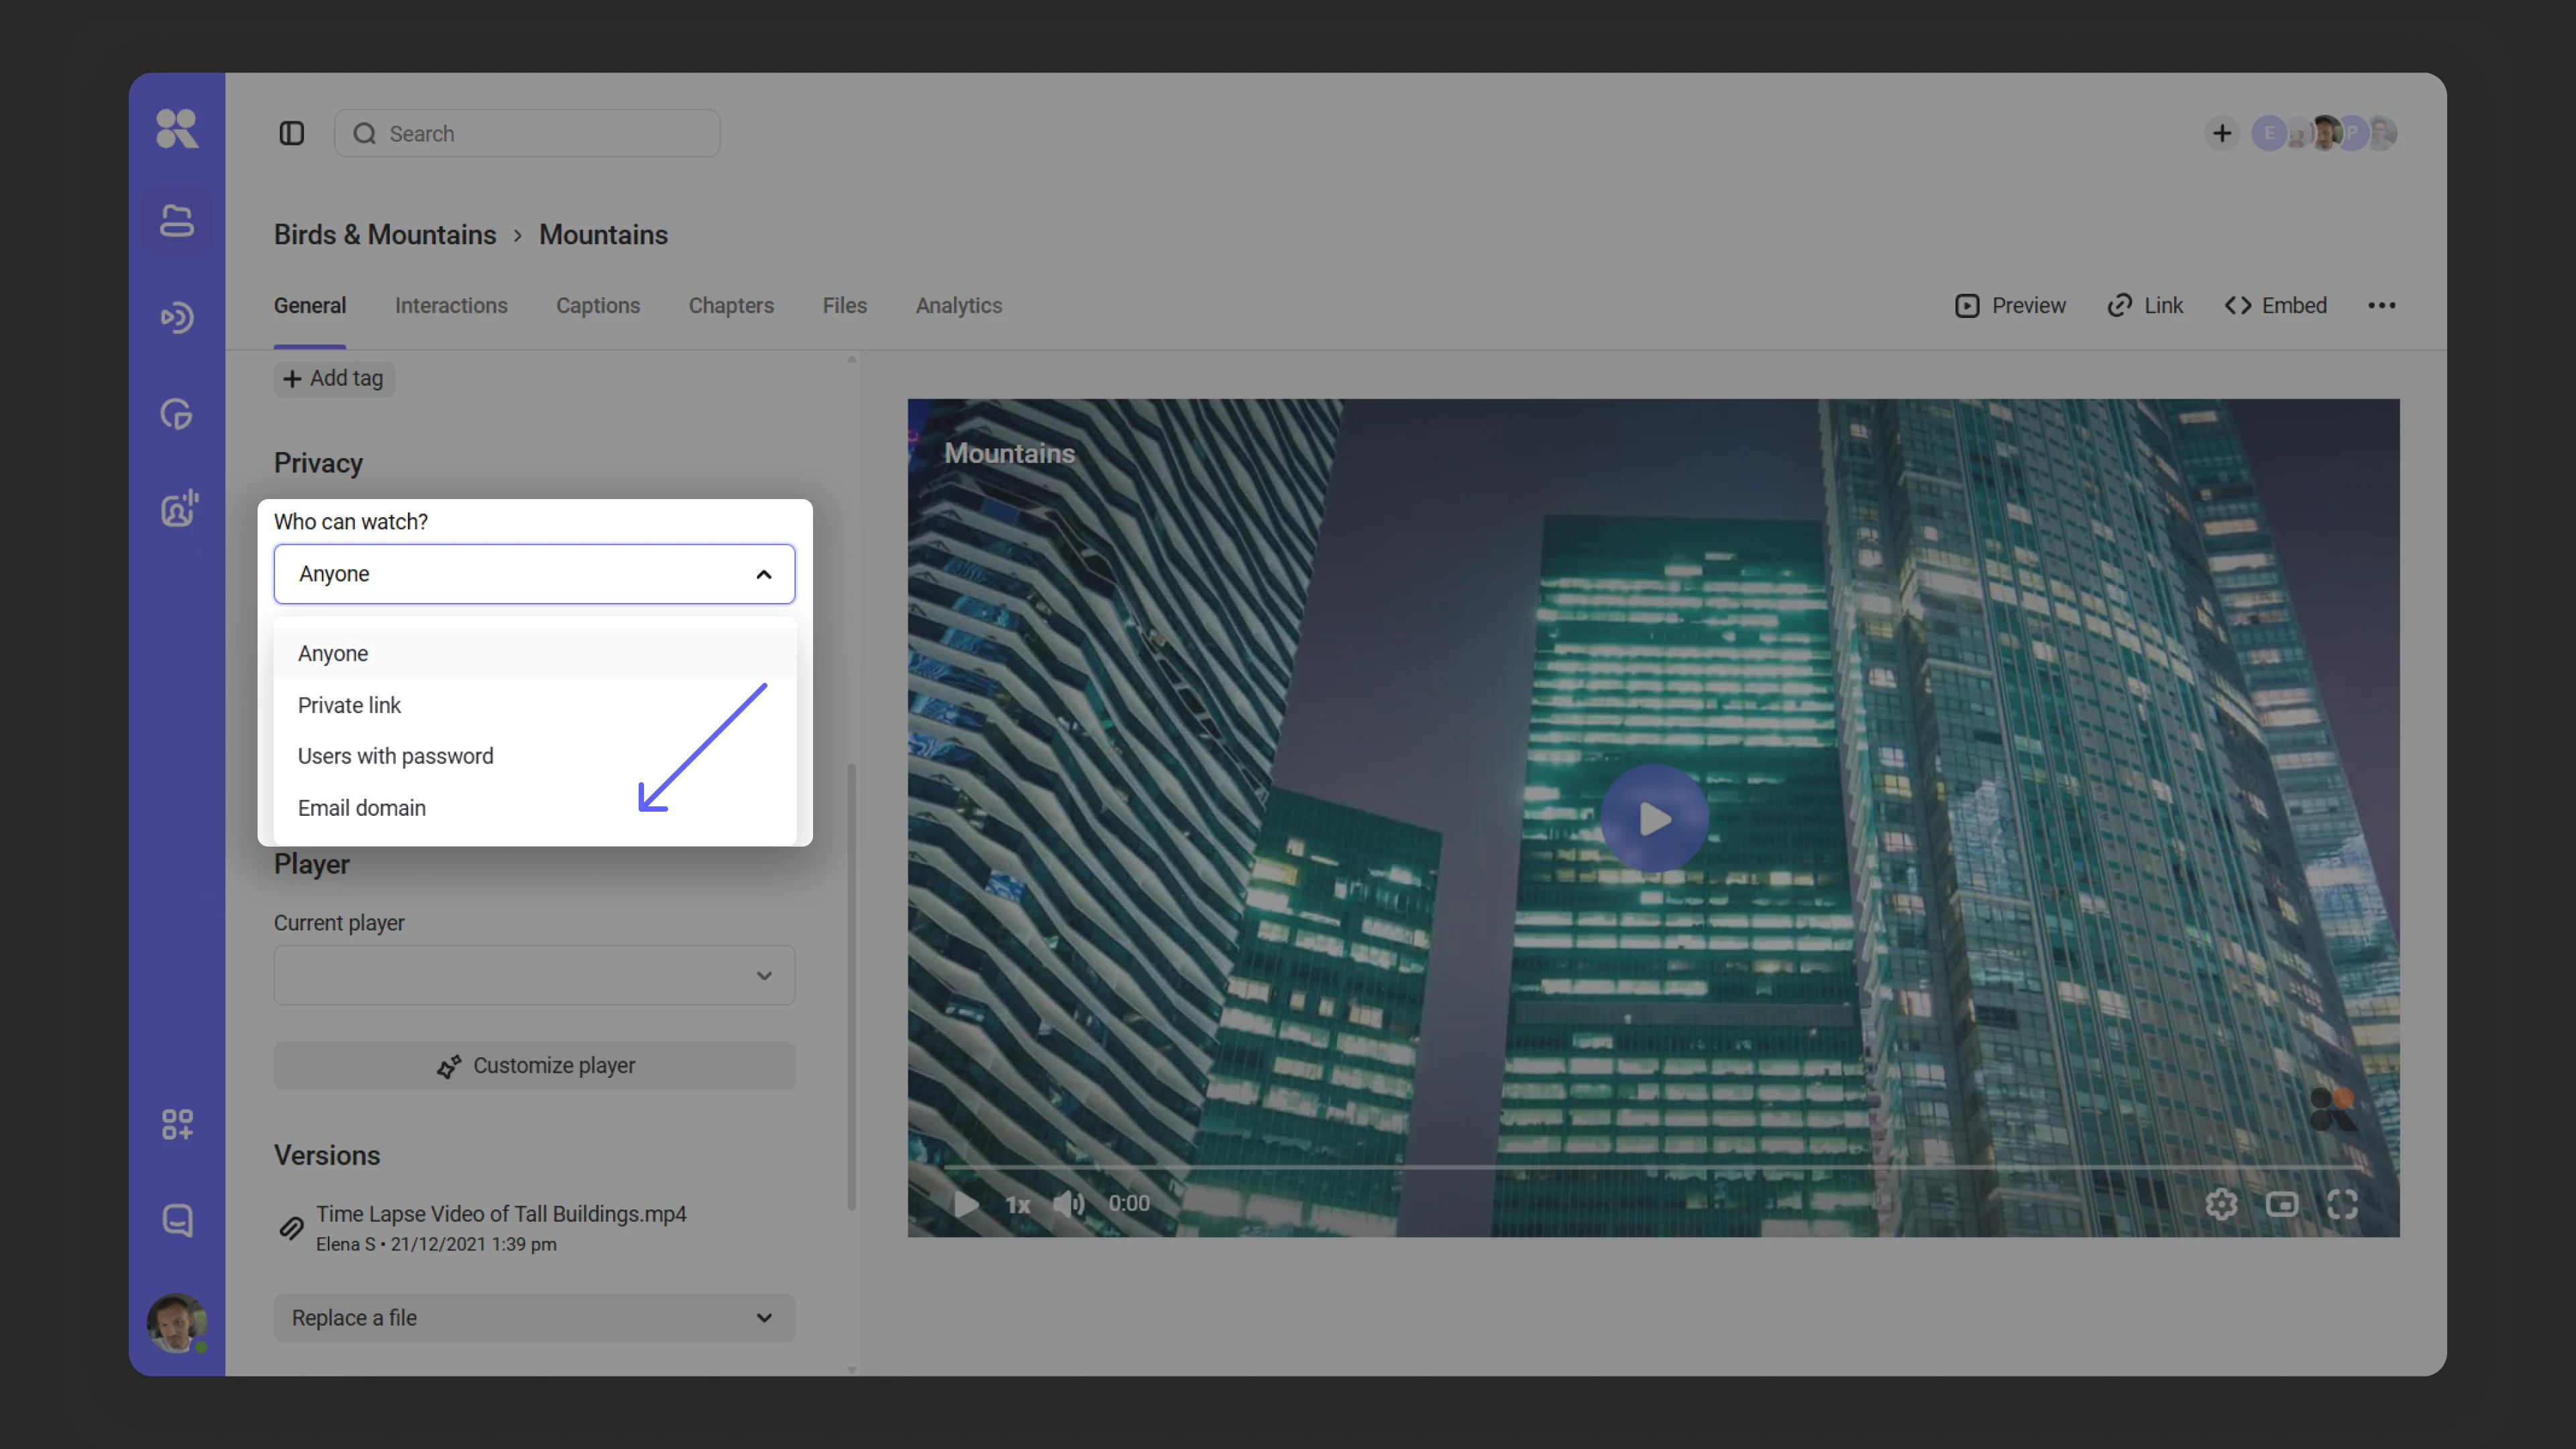
To configure access restrictions, open the “Who can view?” field in the privacy settings and select one of five levels:
- Everyone — access is open to all users, regardless of where they view.
- Users with a private link — access only via a unique link that is created automatically.
- Users with a password — viewing is available after entering the set password.
- Users with unique codes — access only for those who received a code from you; suitable for paid webinars and private screenings.
- Users by work email (e-mail domain) — viewing is available for users from an allowed email domain.
Private link
- Select the access level Users with a private link.
- Click Save.
- If needed, update the link via the refresh icon.
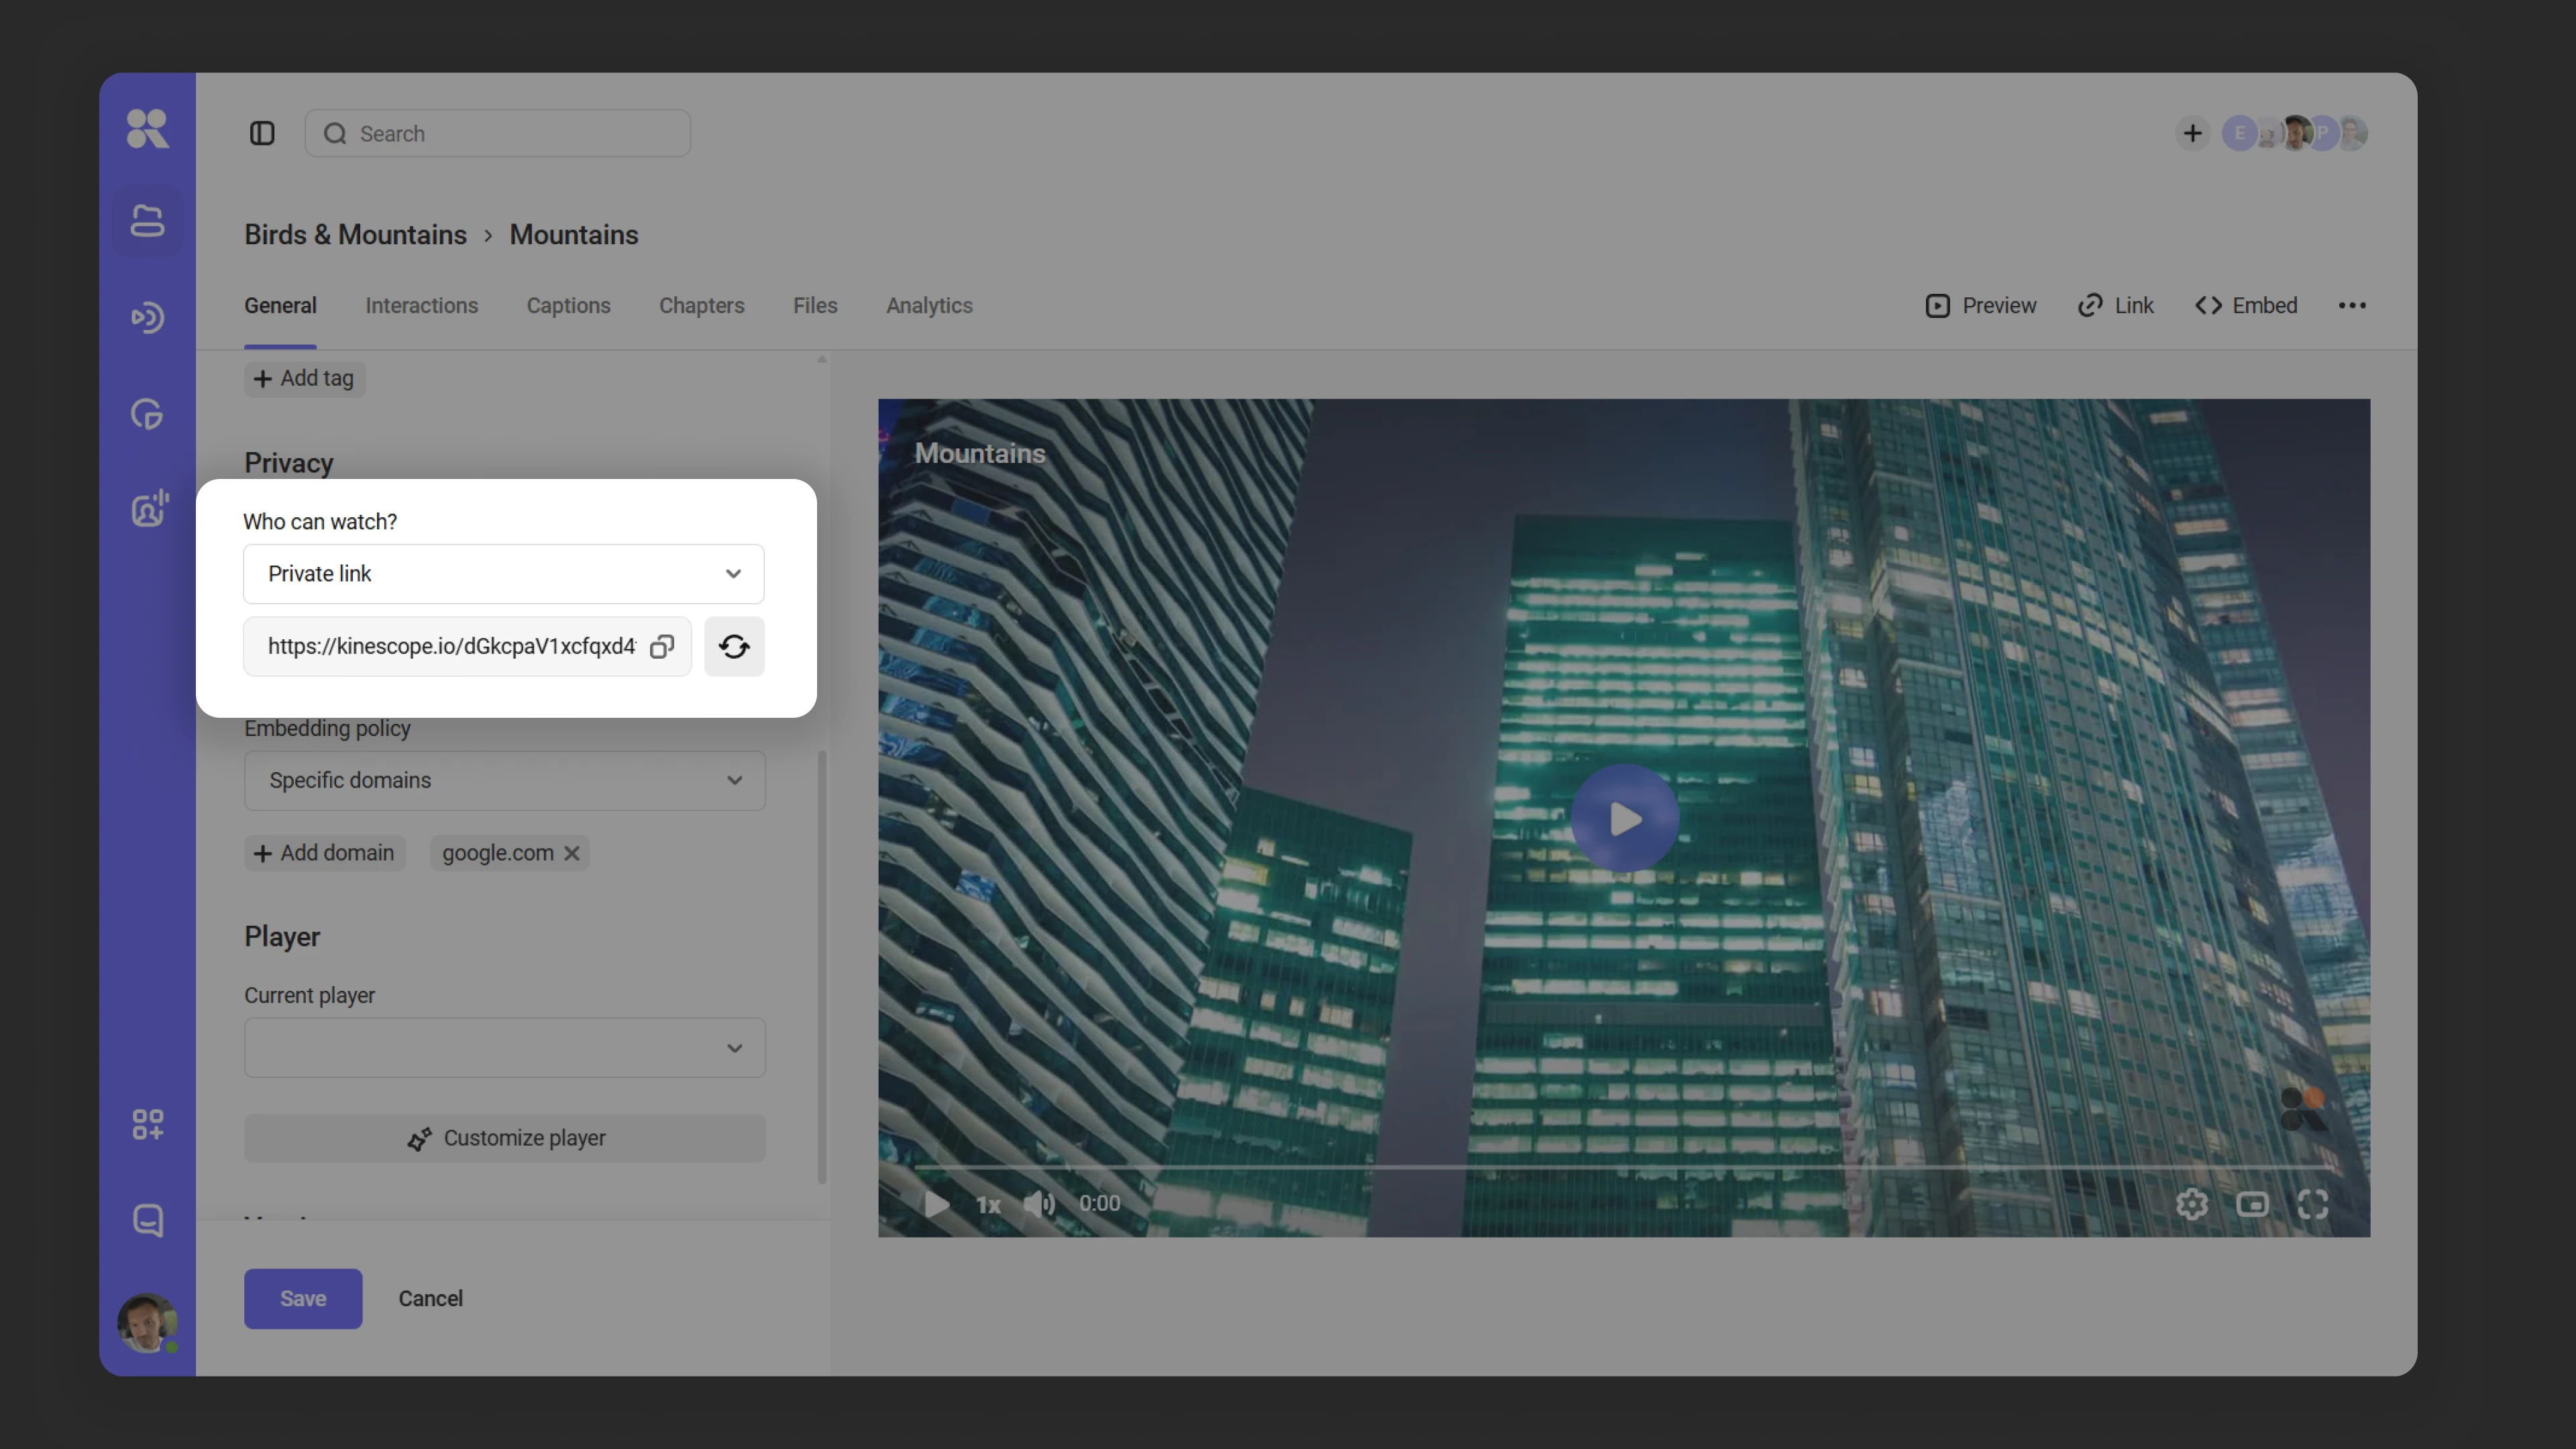
If you need to provide access to video without disabling domain restrictions, use the private link access privacy setting. This option lets you bypass the configured domain restrictions.
Password access
- In settings, select Users with a password.
- Set a password and confirm changes with the Save button.
Access by unique codes
Unique codes restrict access to a video or live stream: only those who received a code from you can watch. Useful when you don’t need user accounts or registration — for example, for paid webinars or private screenings.

How to enable access by codes
- Open the video or live stream settings.
- In Privacy → Who can watch, select Users with unique codes.
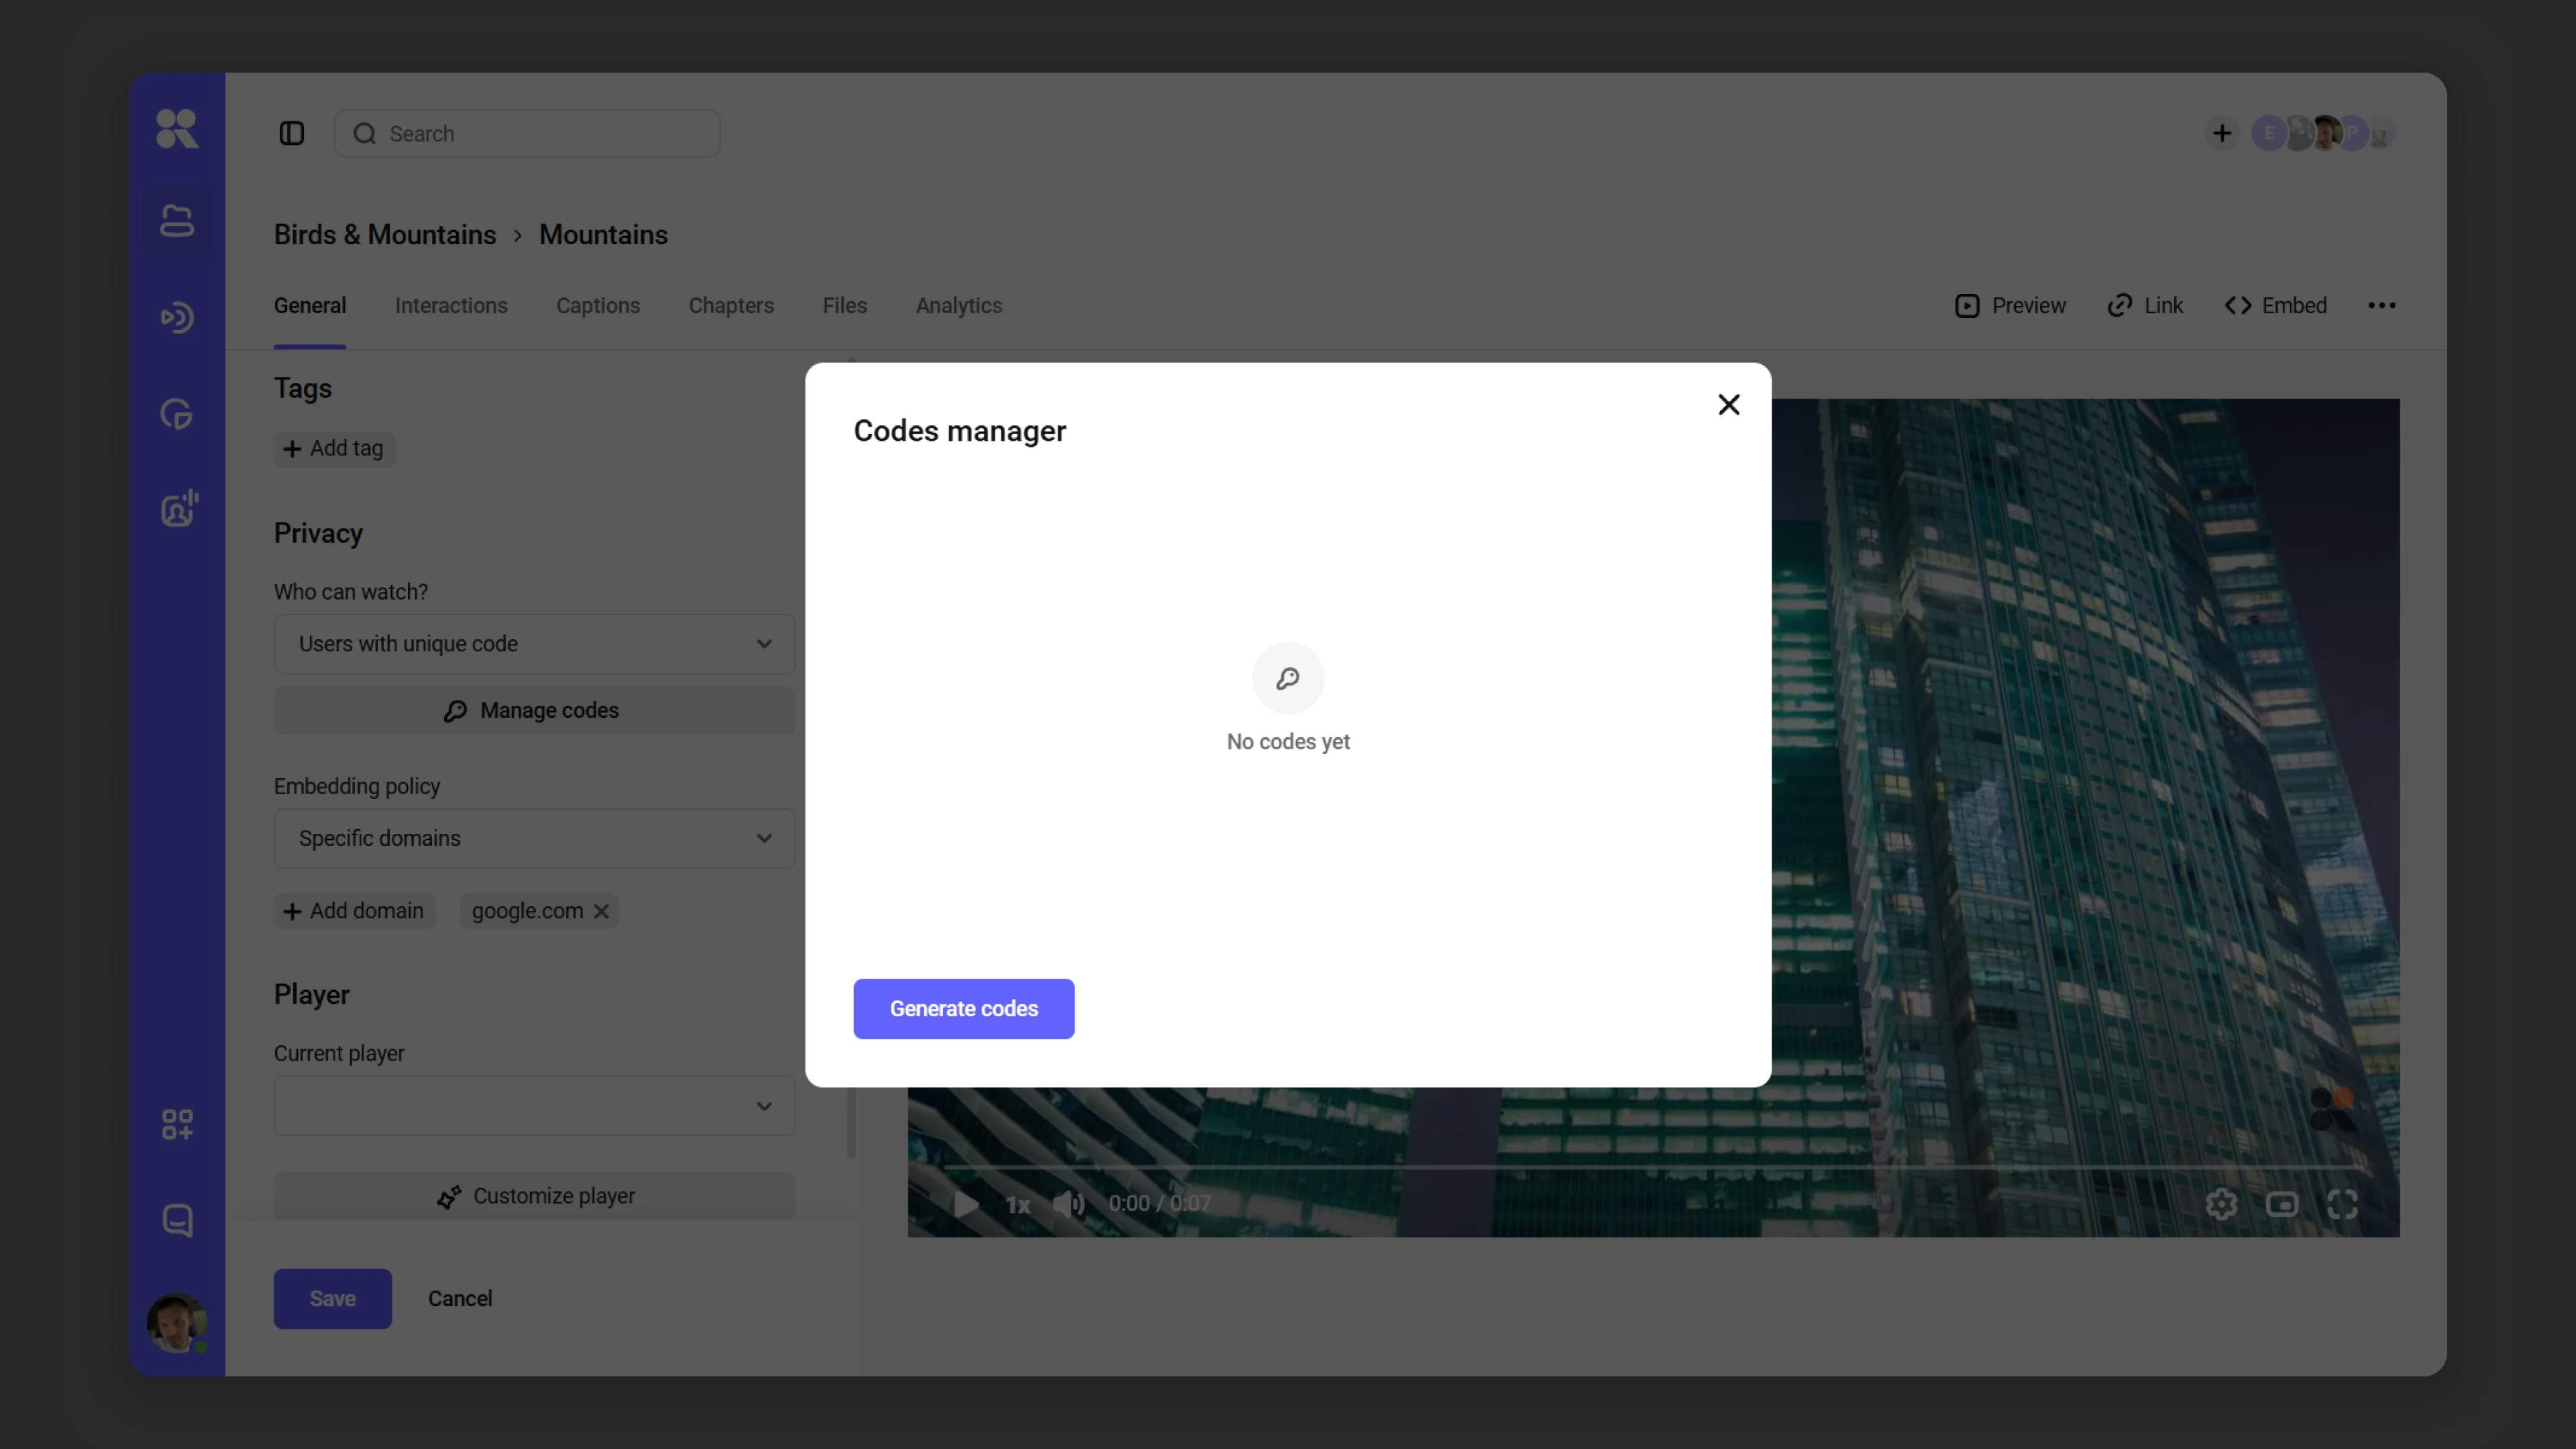
- Click Manage codes — the code manager will open.
- In the code manager, click Generate codes. Fill in the parameters in the form that opens:
- Name — for your reference only; viewers don’t see it.
- Quantity — from 1 to 9,999 codes.
- Allow multiple viewers to use one code — how many viewers can simultaneously watch with one code: from 1 to 100. Default is 1.
- Maximum number of activations — how many times a code can be activated over its entire lifetime. Once the limit is reached, the code stops working. If left empty, activations are unlimited.
- Expiry date — after the expiry date, codes stop working.
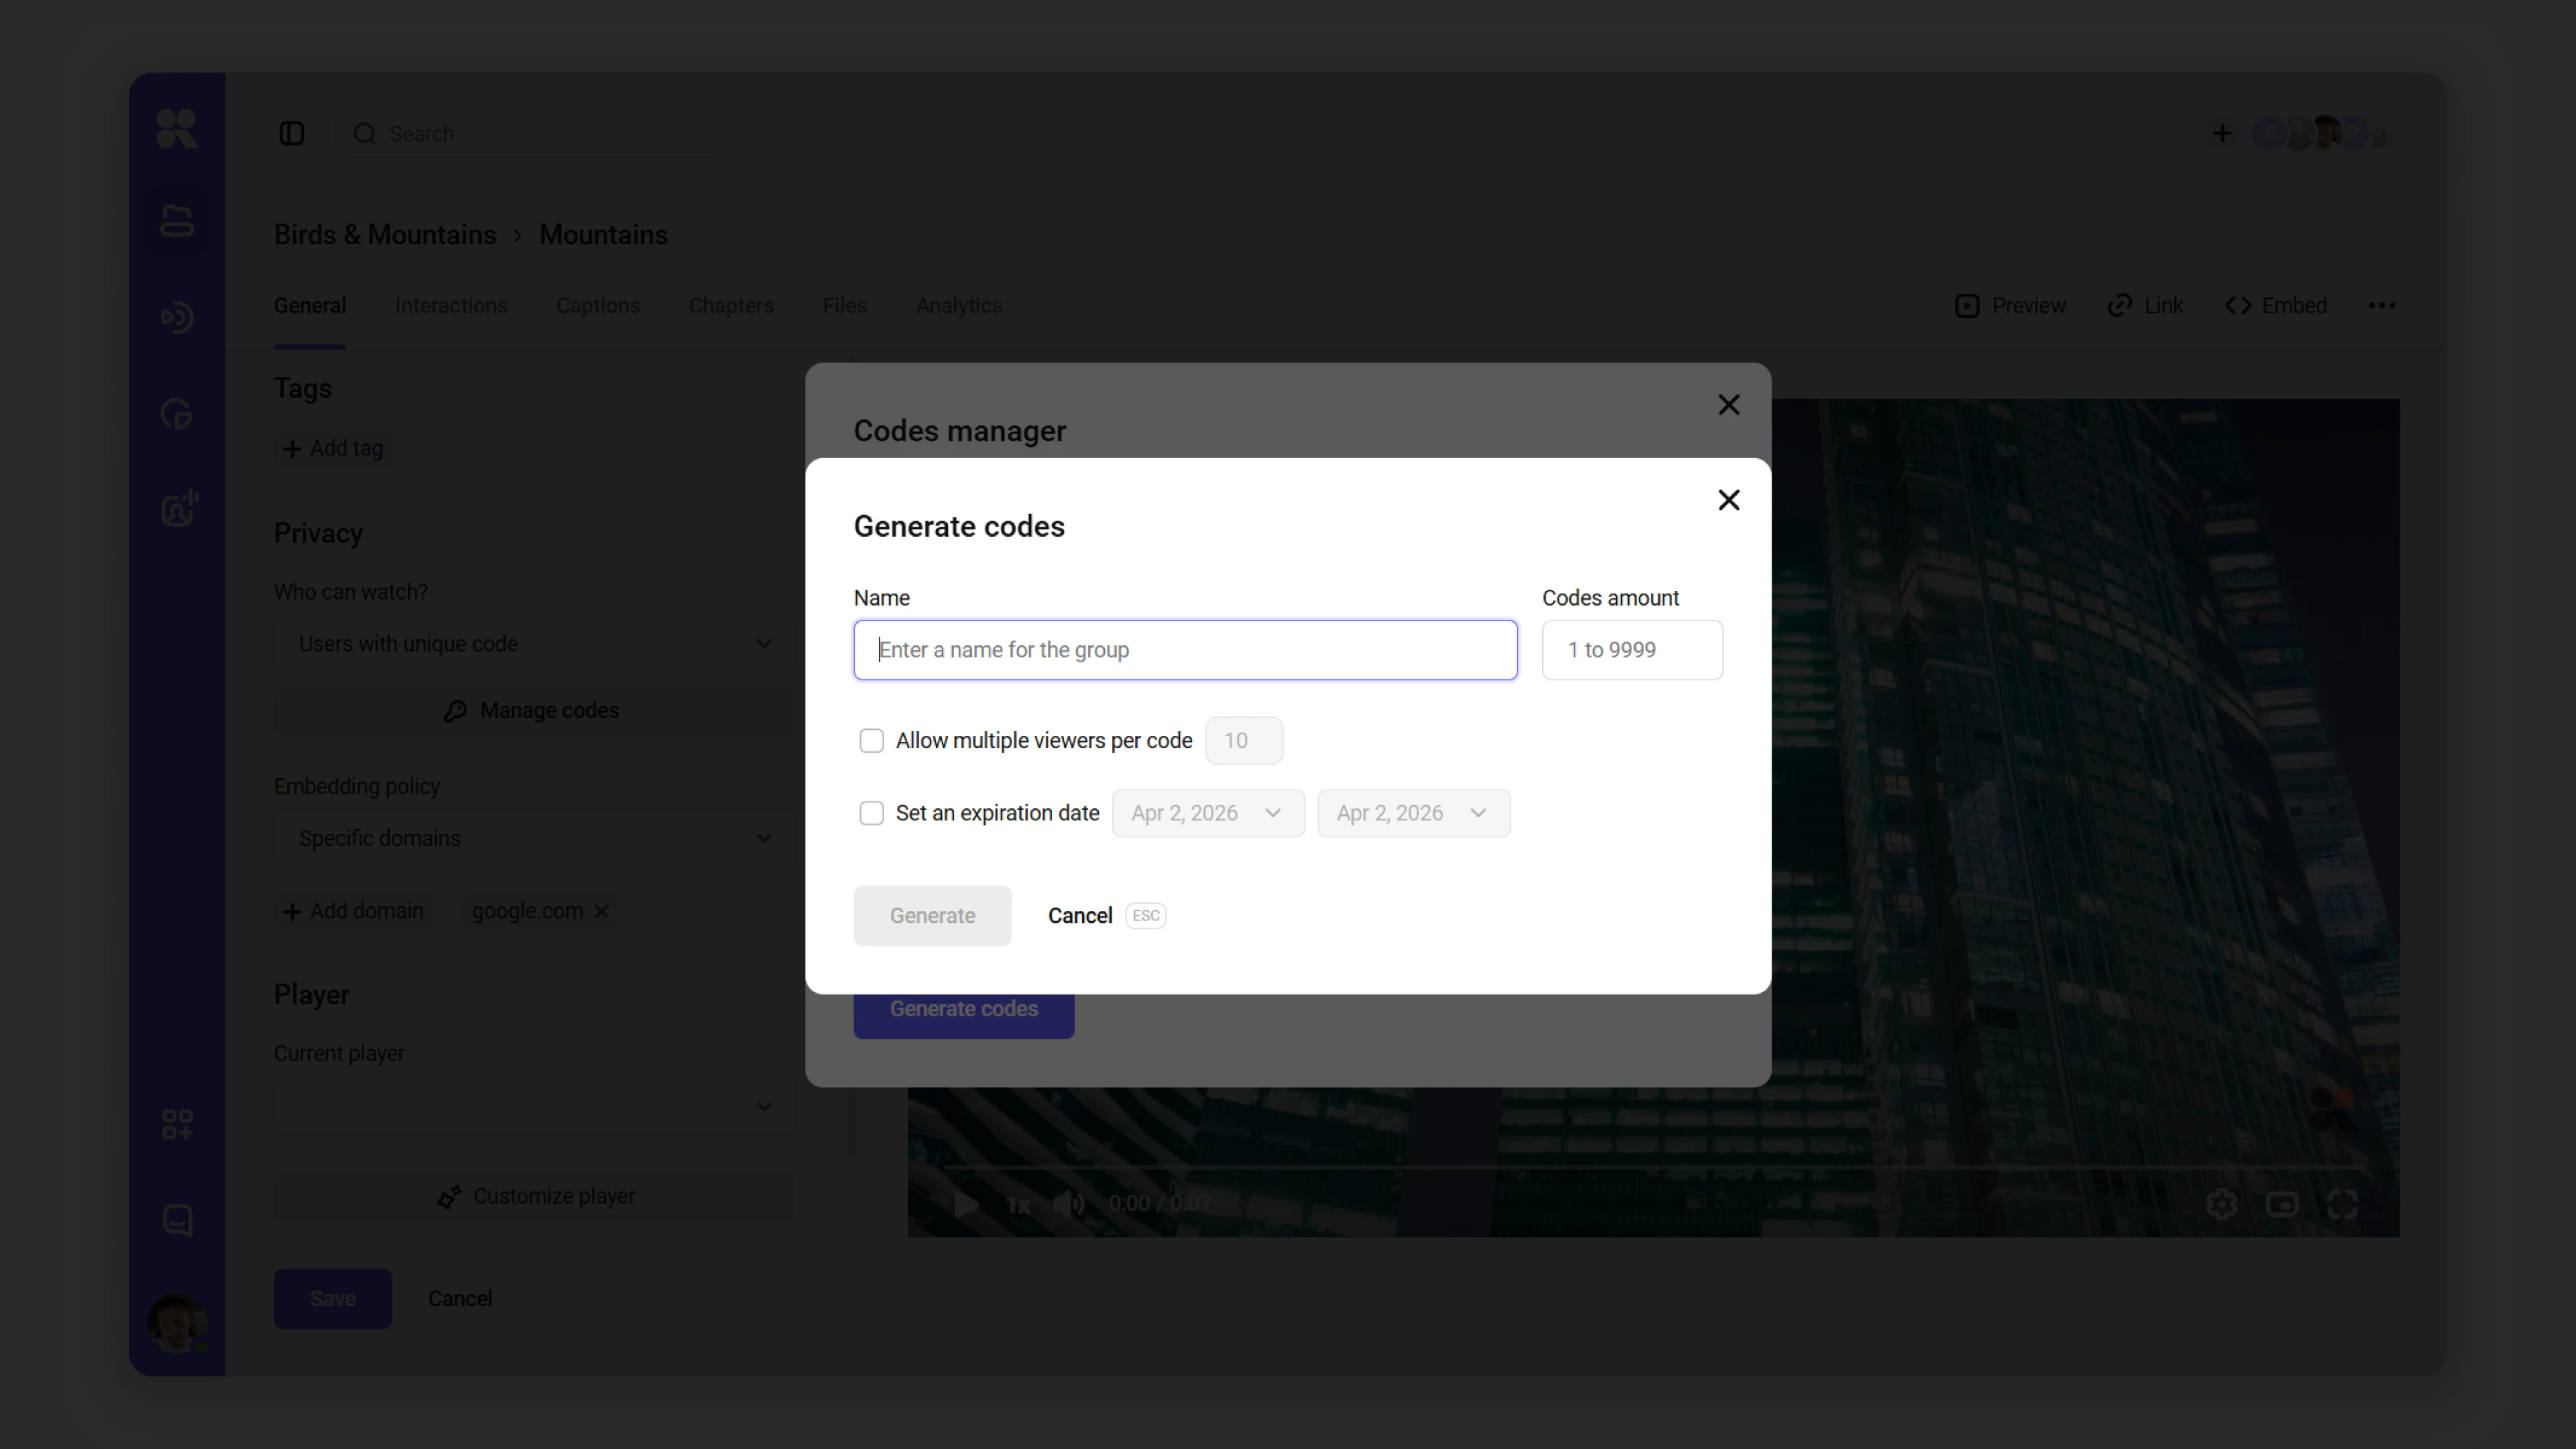
- Click Create. The generated set will appear in the code manager — select it and click Download.
The downloaded file contains four columns:
- Code — the access code (letters and digits, accepted in any case).
- Activation date — the date and time of first use. If the code has not been used, the field is empty.
- Uses — how many times the code has been activated.
- Max uses — the maximum number of activations set at creation. If no limit was set, the field is empty.
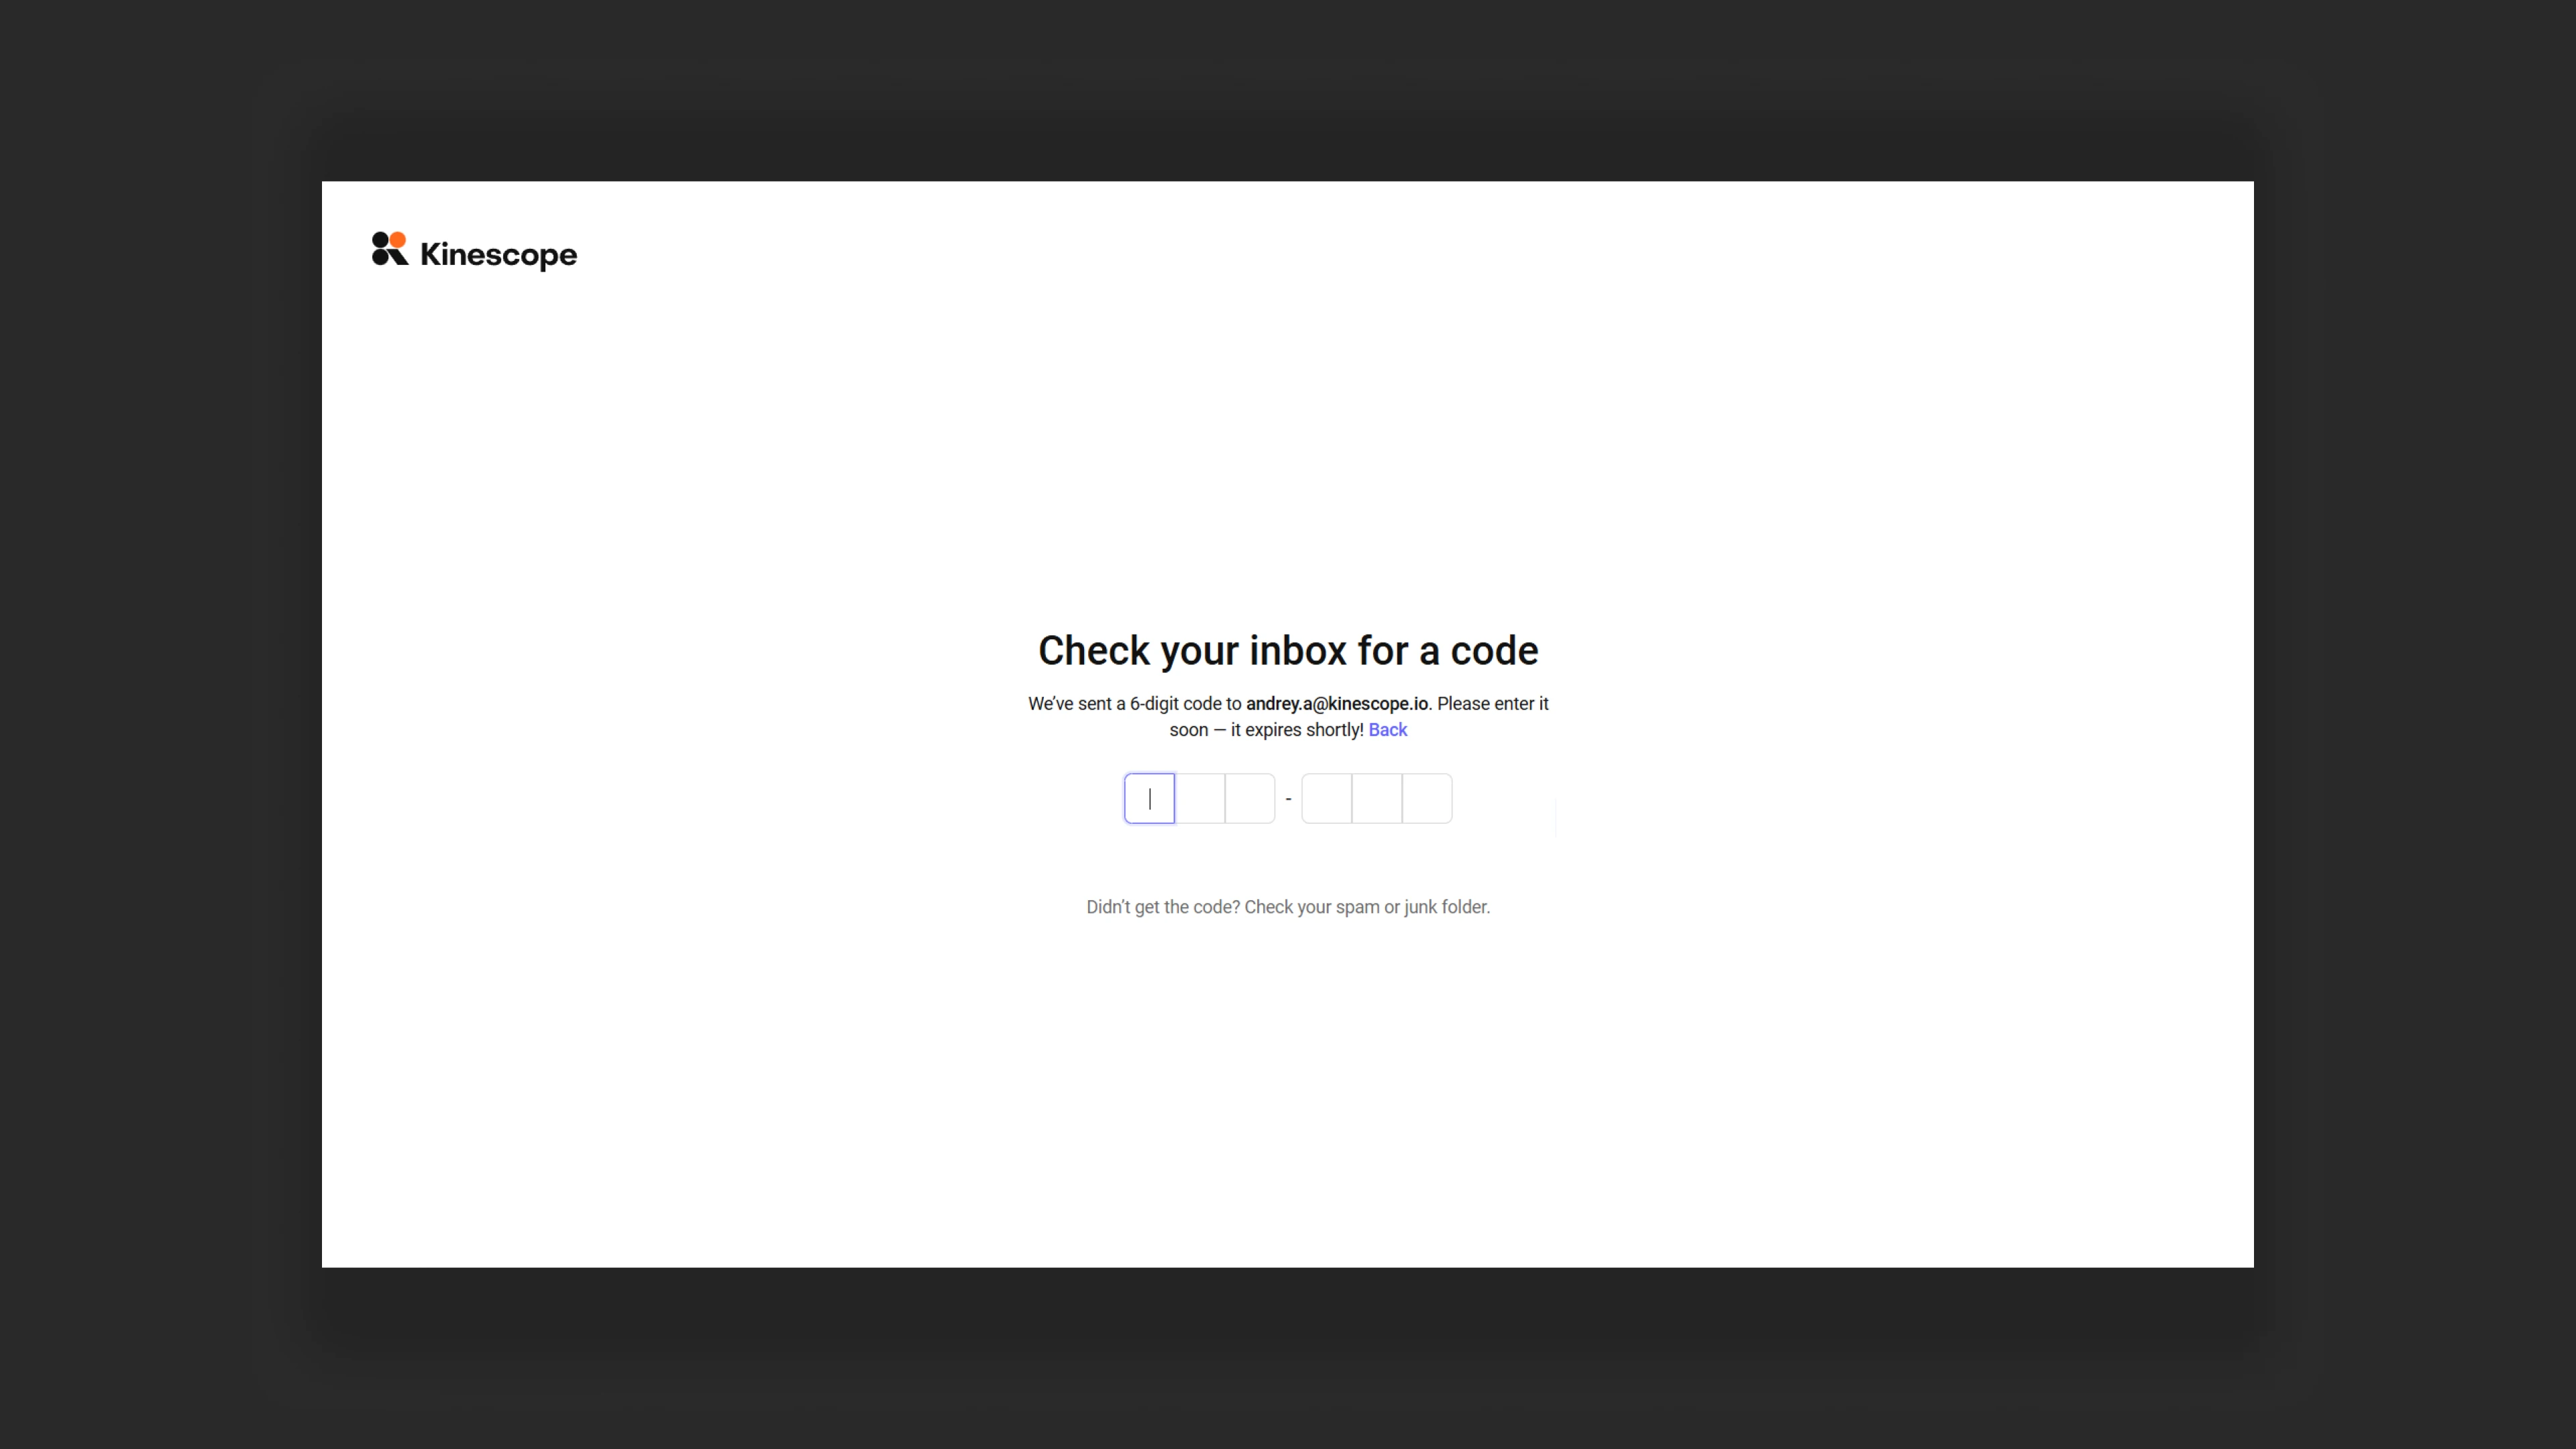
What the viewer sees
The viewer opens the video link, enters the code they received, and then gets access to the video.
If the code is already being used in another session, the viewer sees a warning:
This means the viewer who is already watching will temporarily lose access — it will pass to the new viewer using the same code.
If multiple viewers are allowed to use one code, each of them gets simultaneous access to the video.
How to delete codes
In the code manager, select the set, click Delete, and confirm in the dialog window.
FAQ
Can one code be used on multiple devices at the same time?
What happens if a viewer enters a code after it has expired?
What happens when a code reaches its activation limit?
Can codes be added to an existing set?
If codes are deleted and the same access mode is re-enabled, will they be restored?
Access by email domain
- In settings, select Privacy → Who can watch → By email domain
- Add the corporate/work domain whose users will be able to watch the video. For example,
@mycompany.com.
- When accessing the video via a direct link, the user will see a verification form checking whether their email domain is on the allowed list.
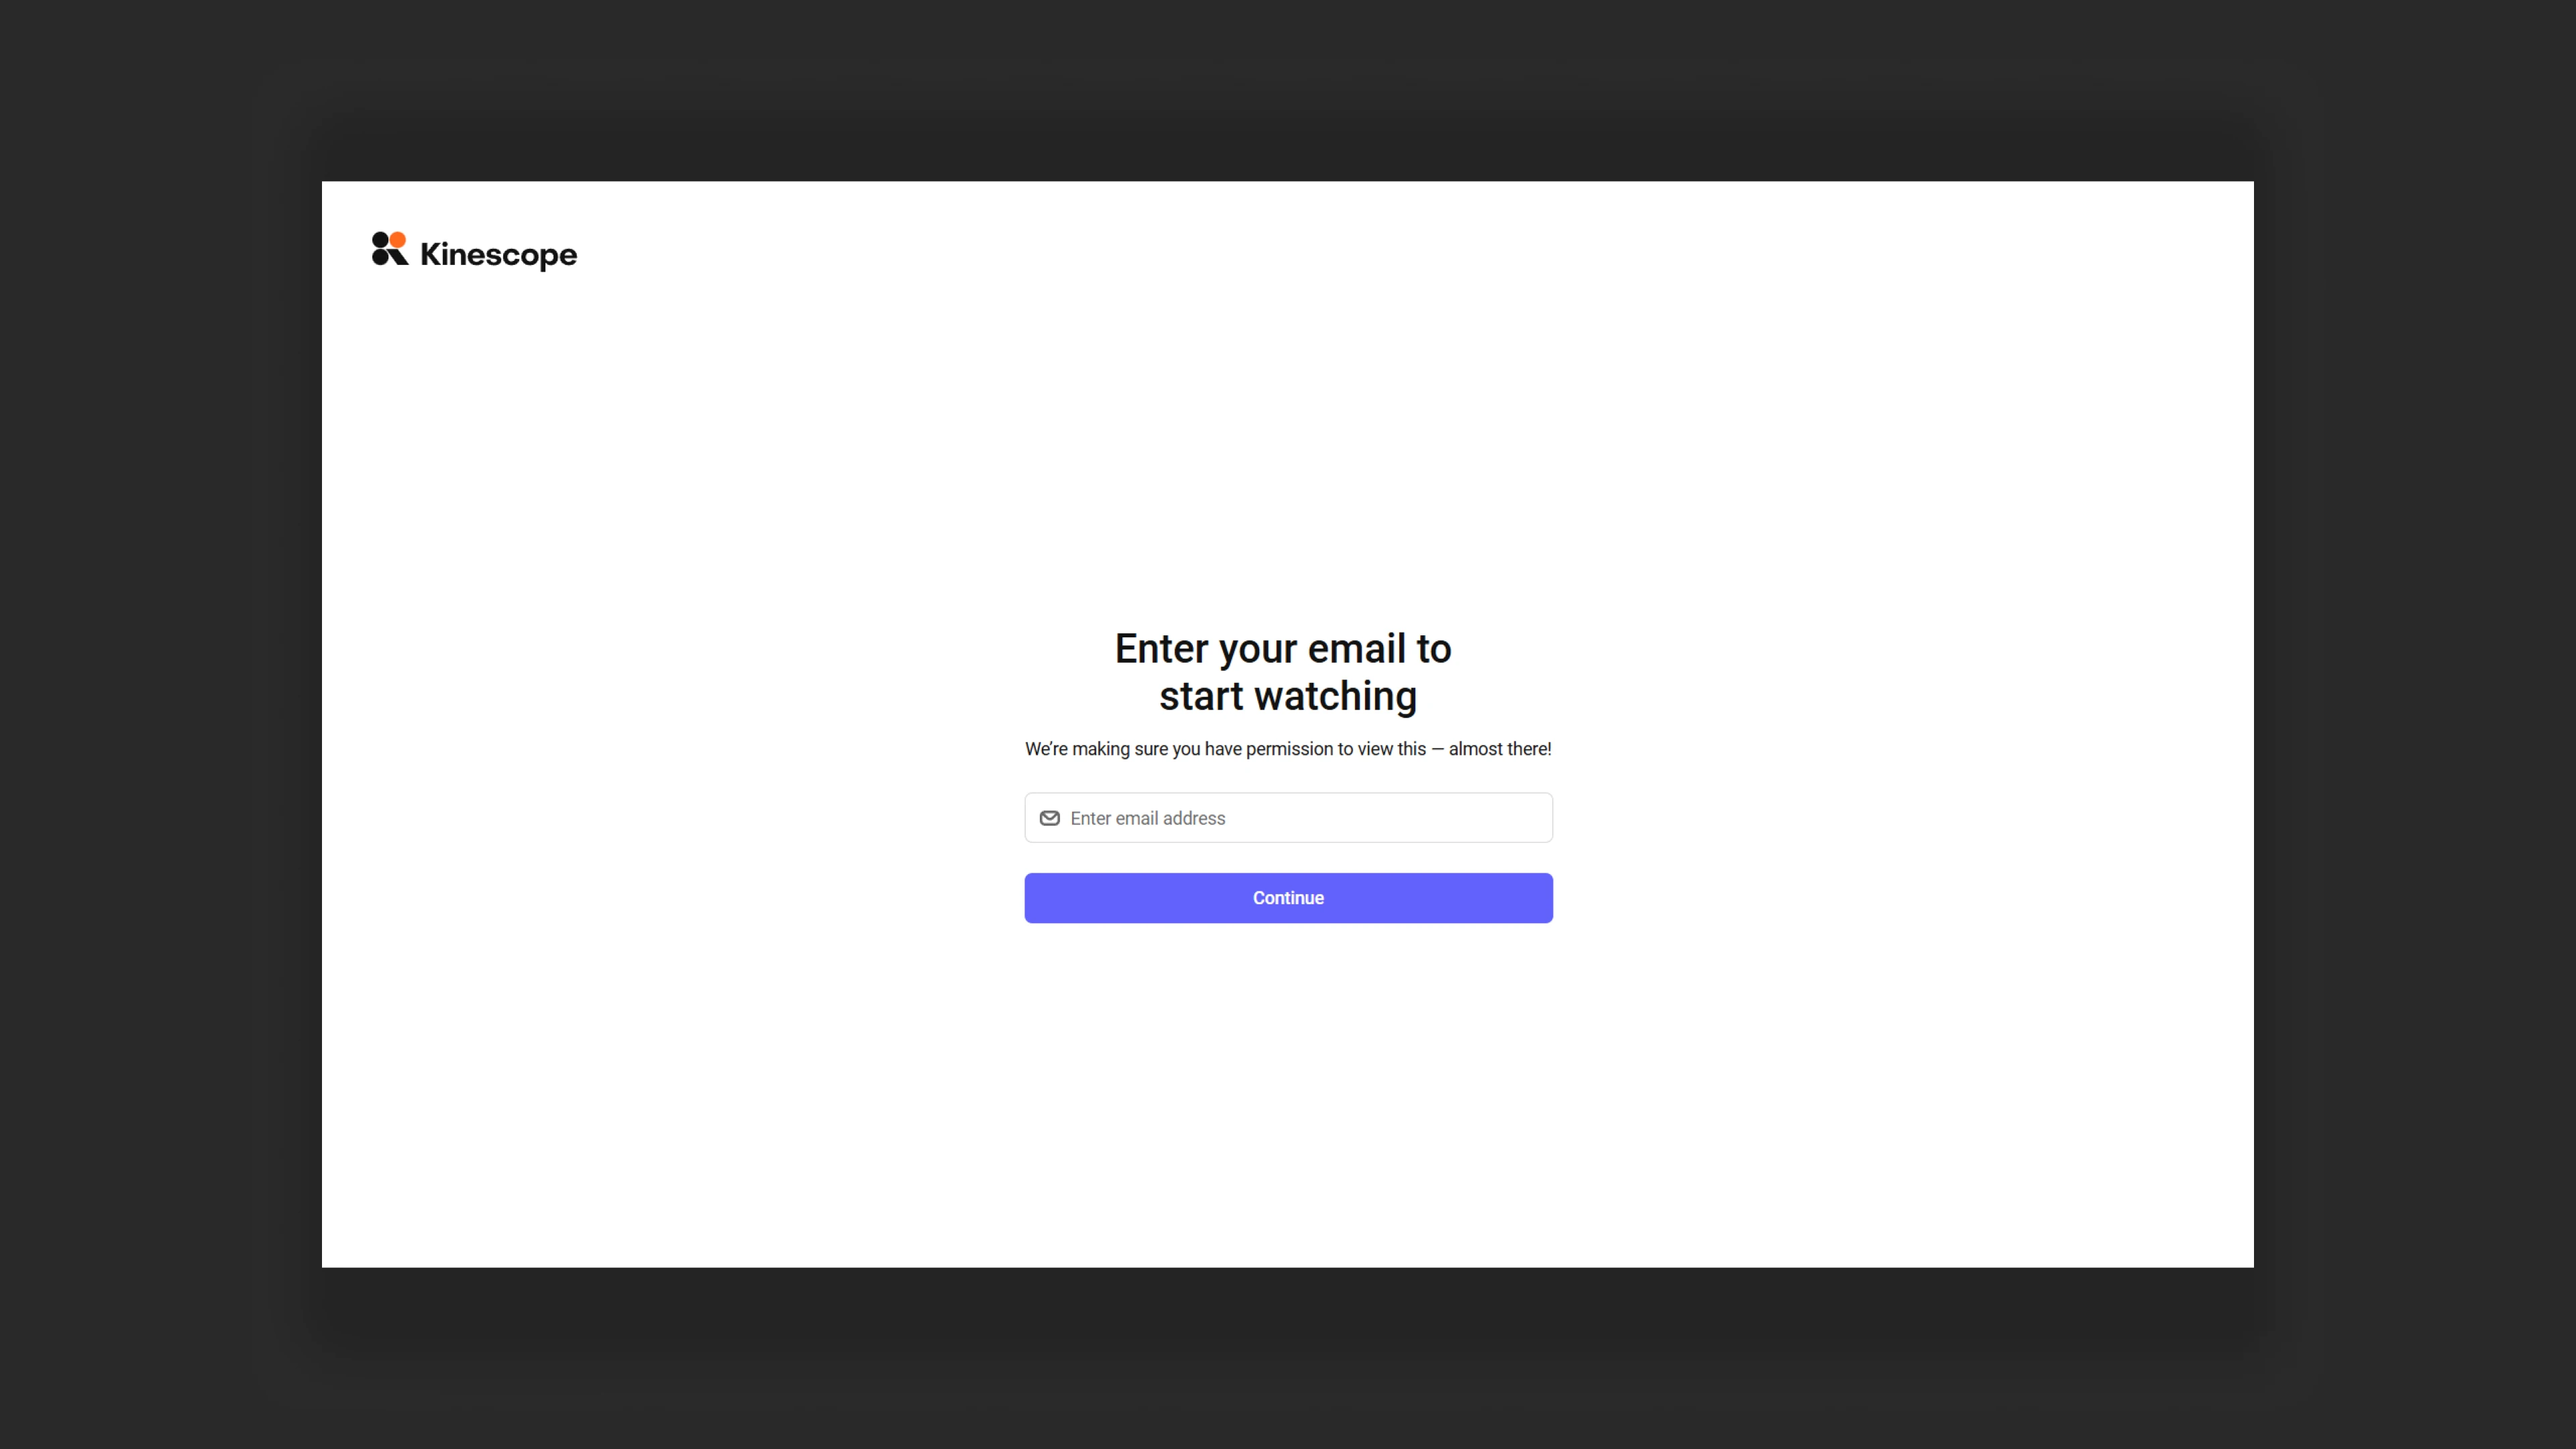
- The user will receive a code to the email they provided during verification. The code will be in the subject of the email and duplicated in the main content.
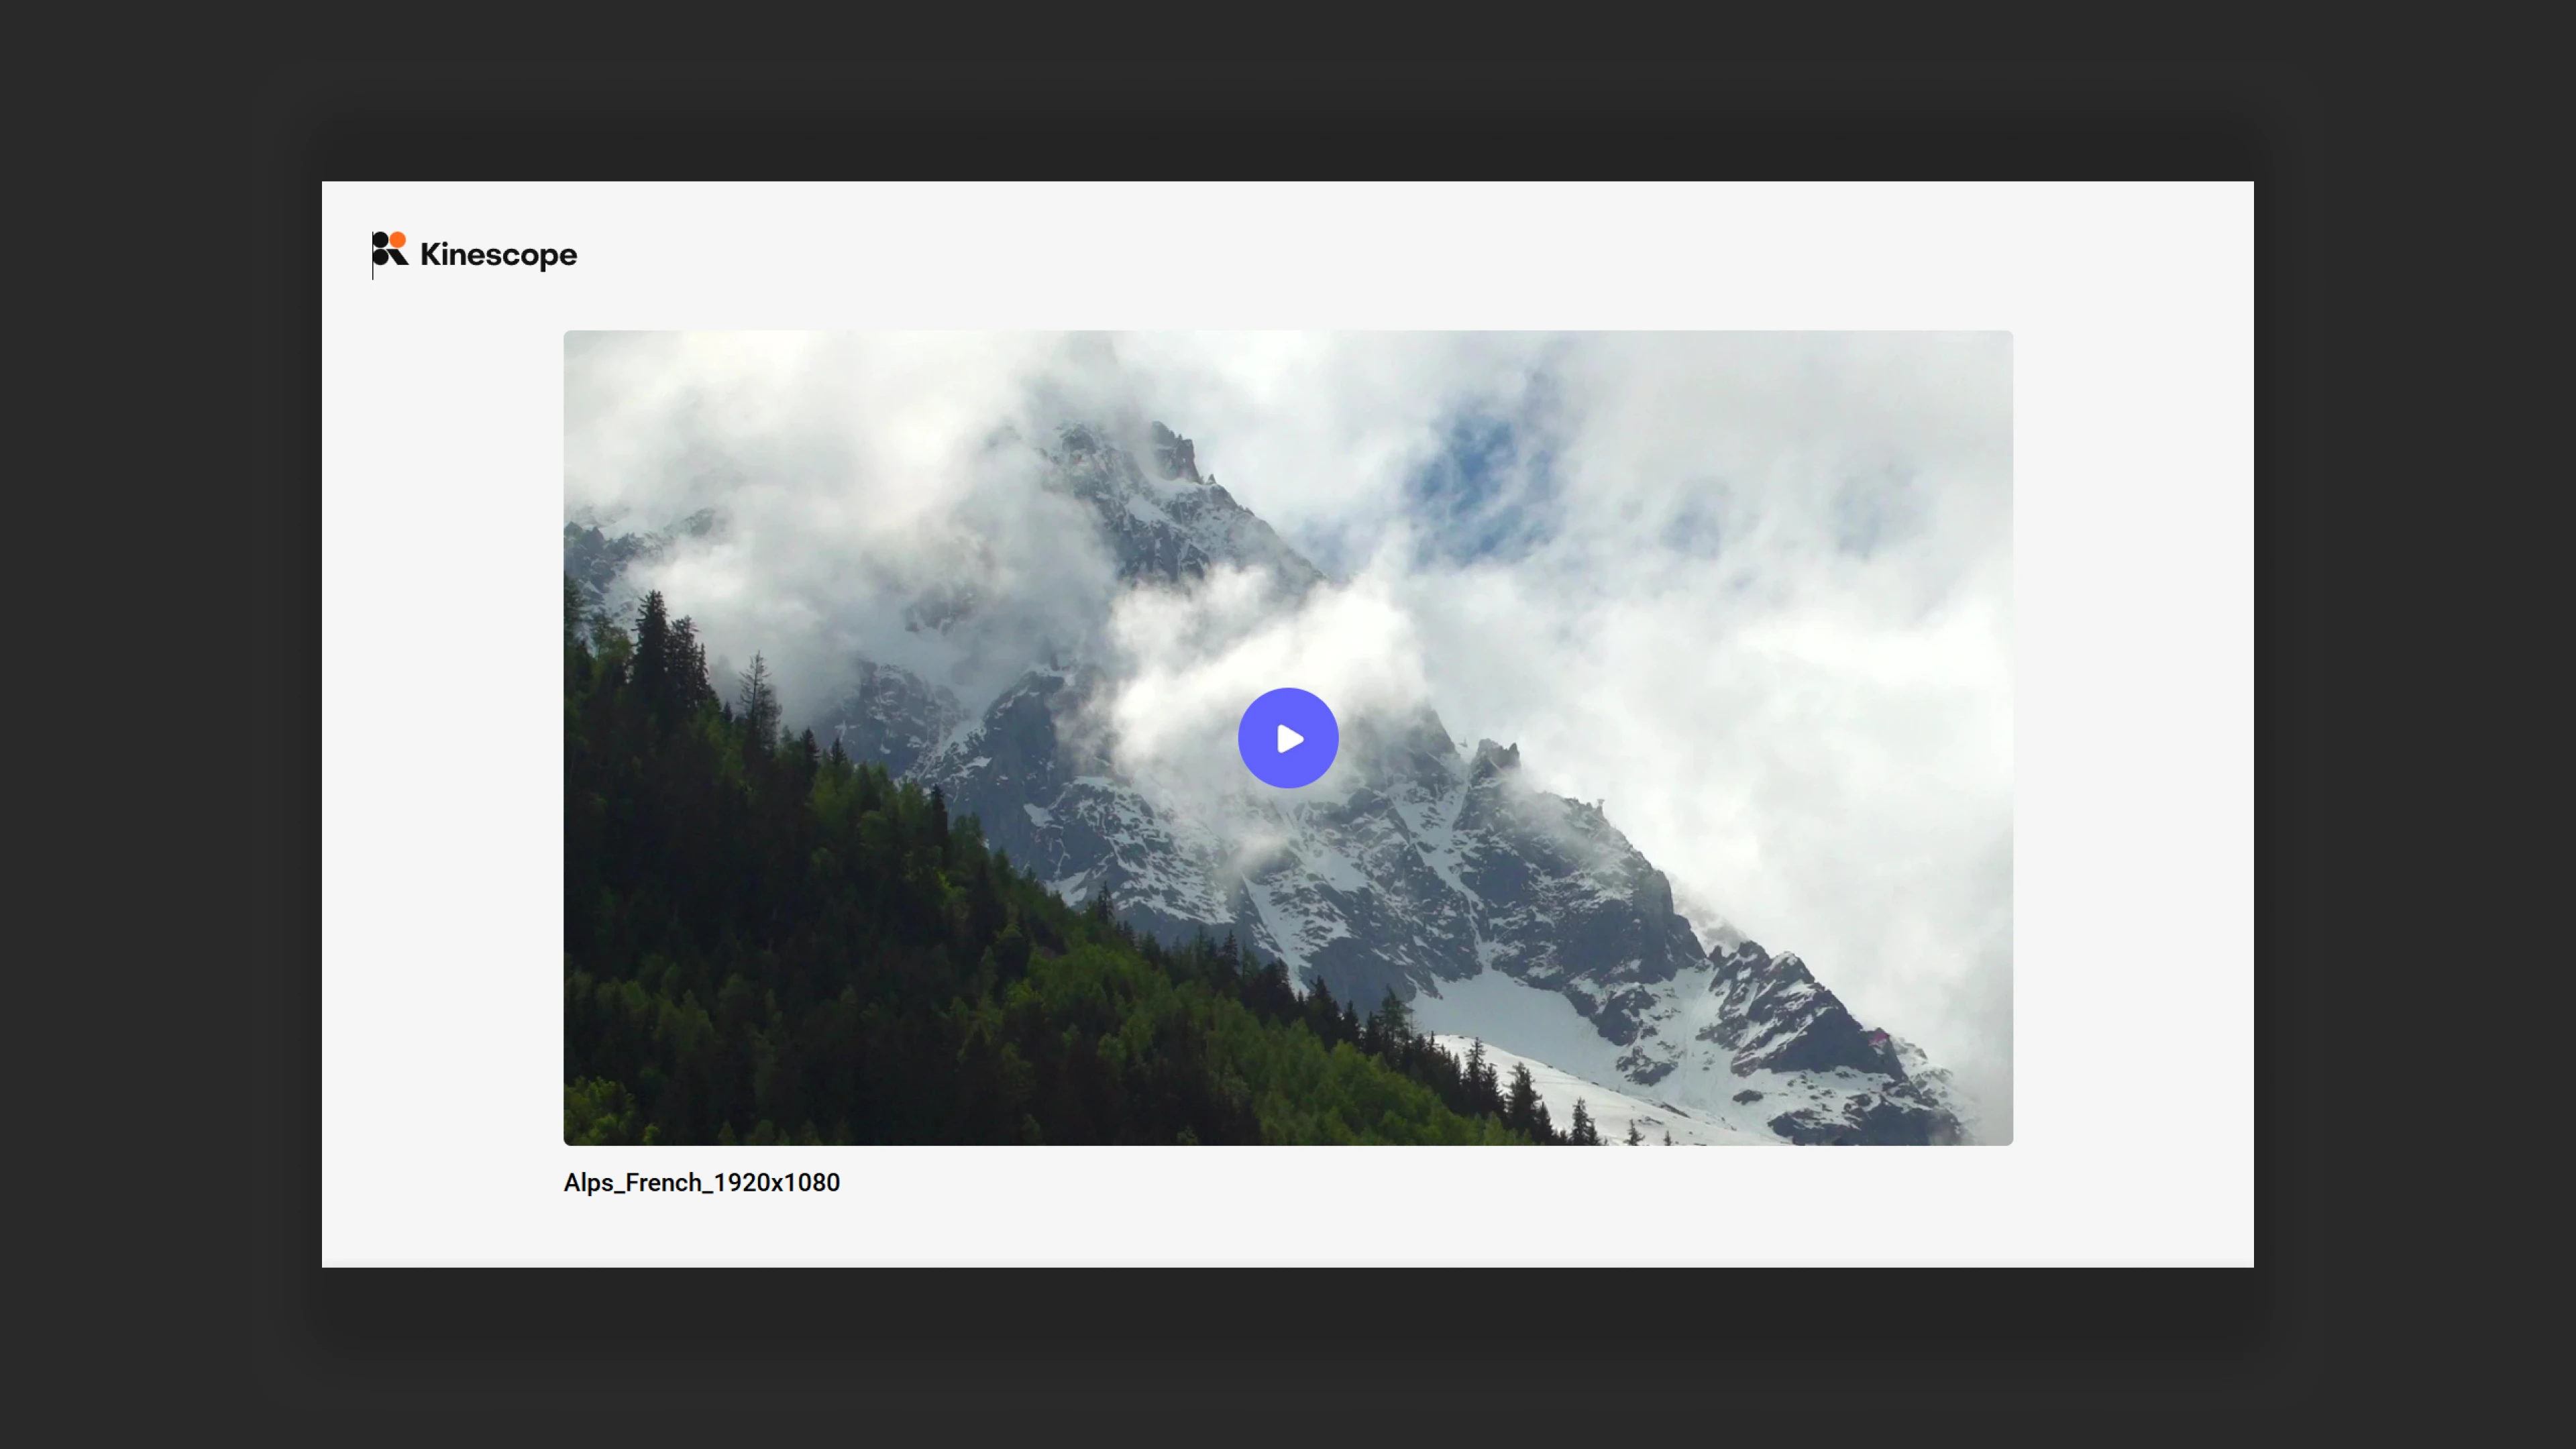
- After passing verification, the video becomes available for viewing.
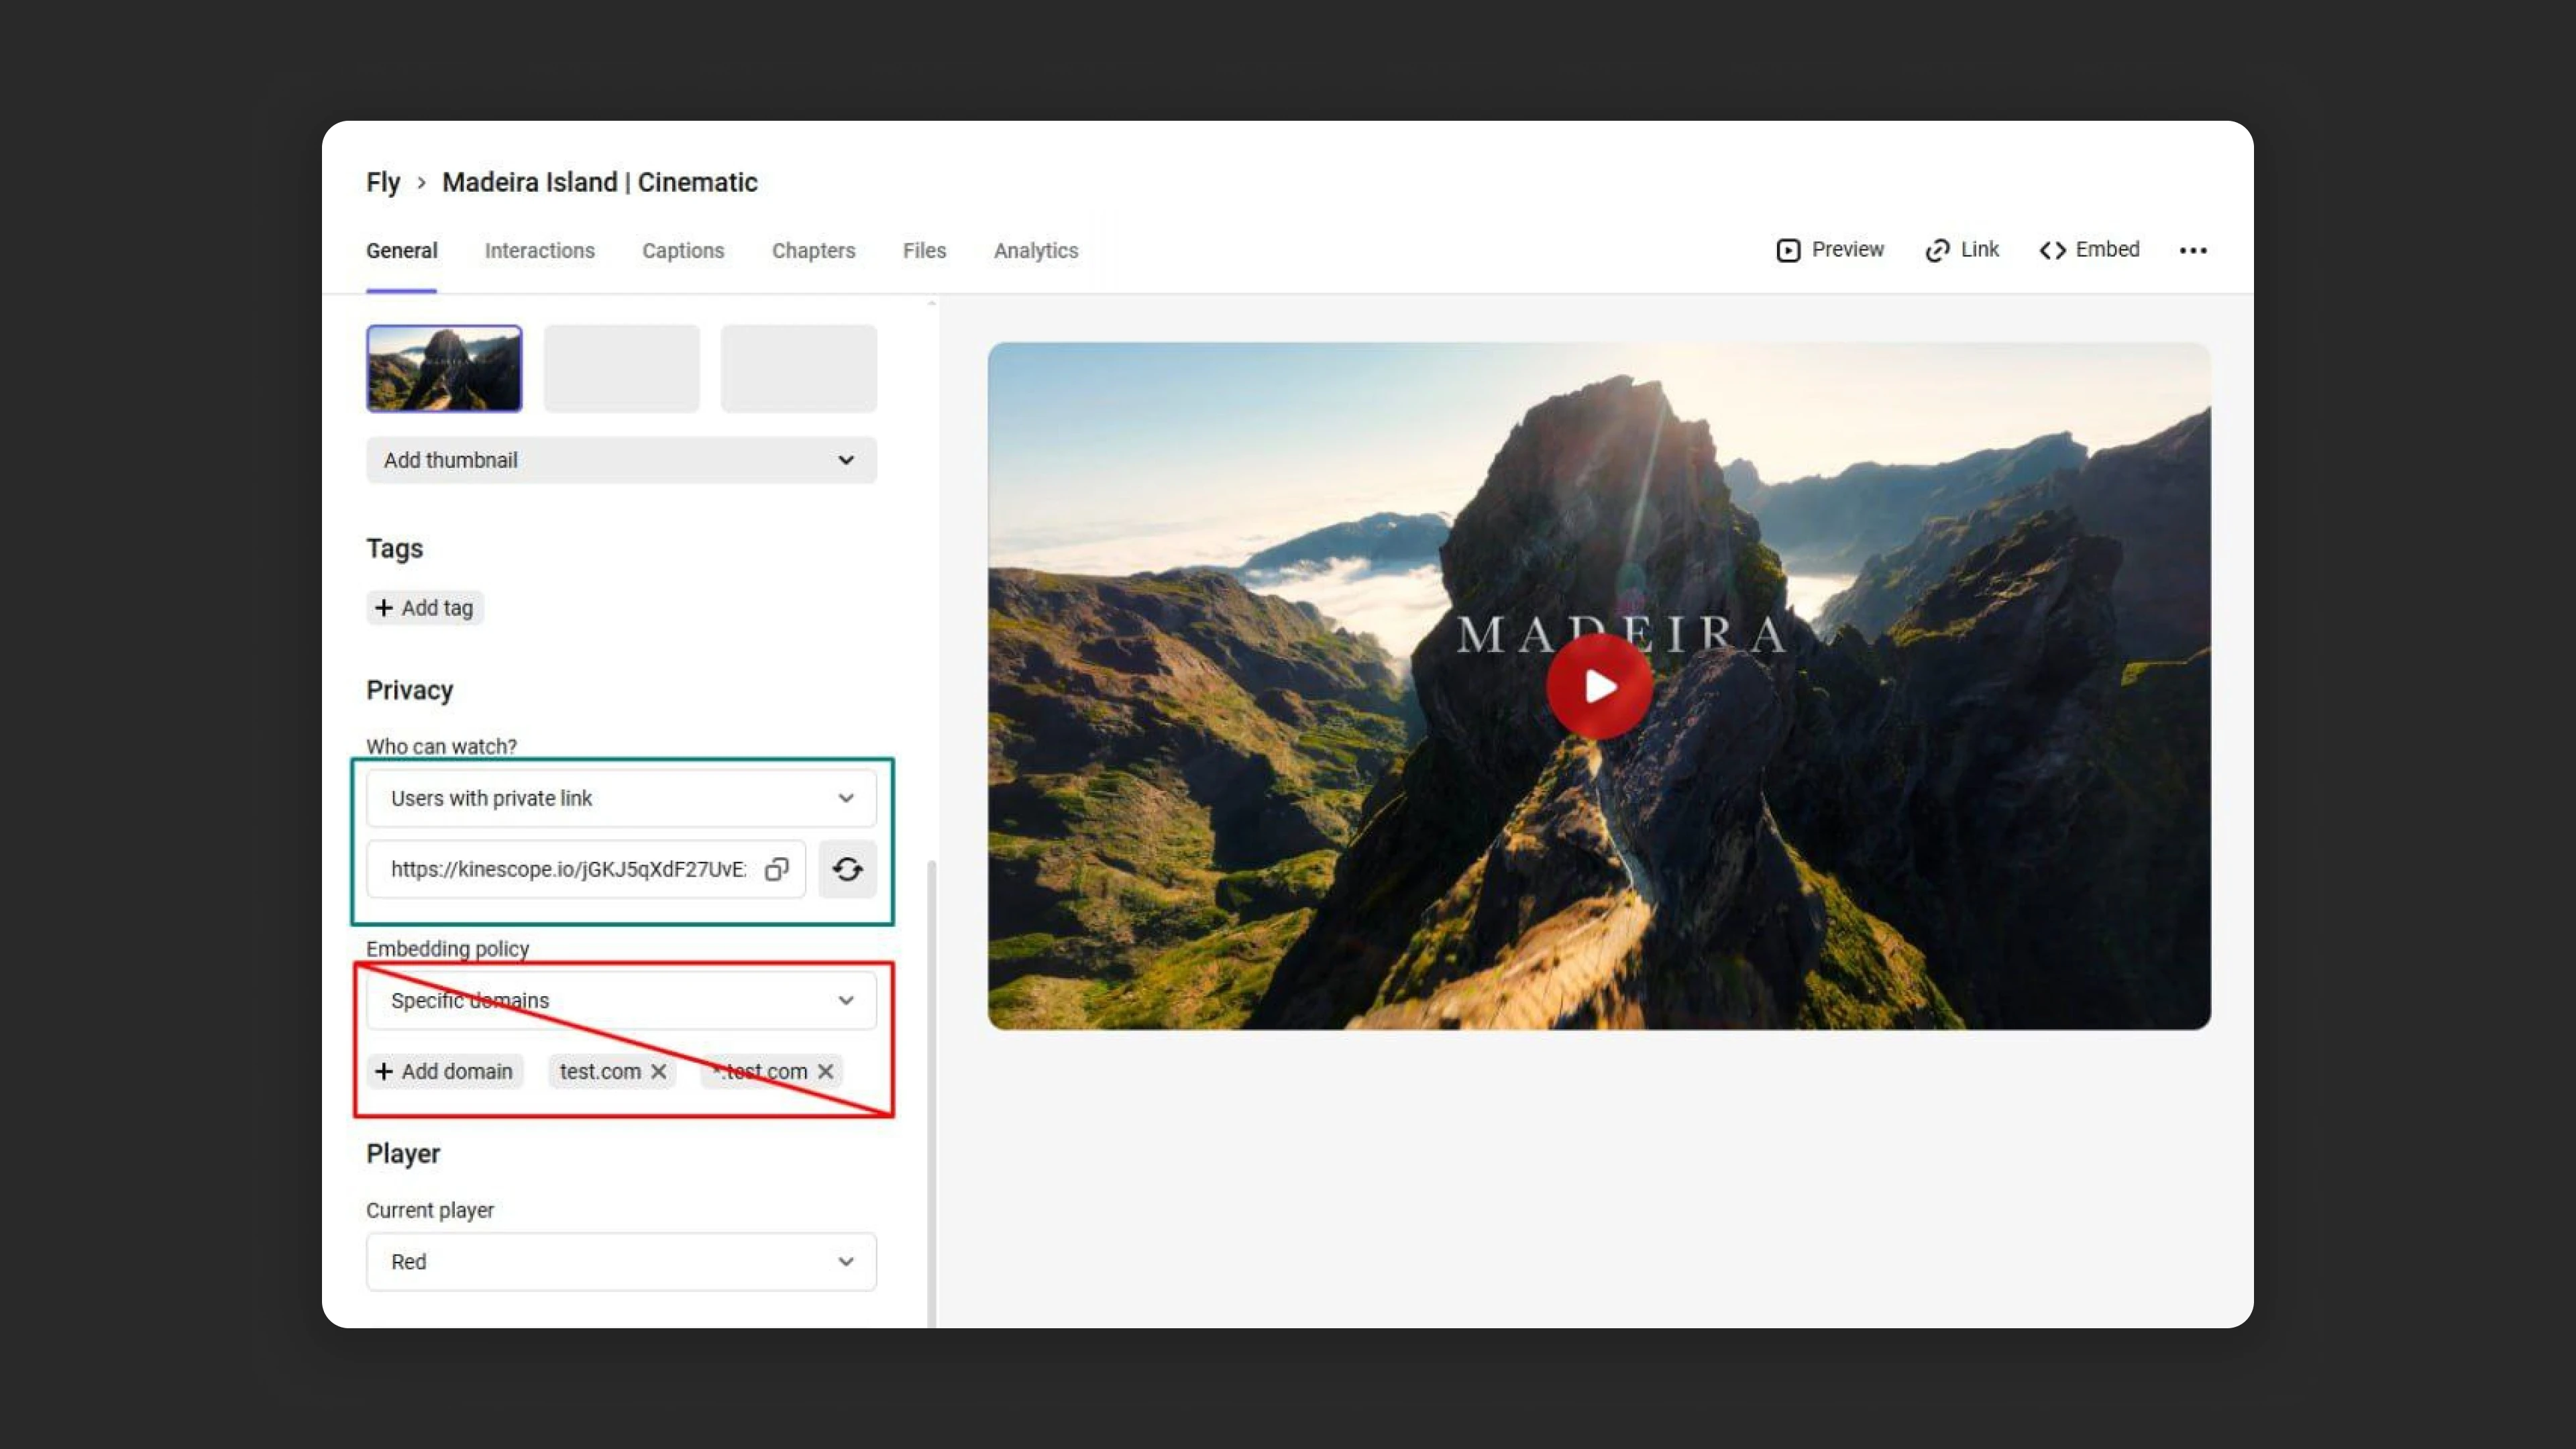
Embedding settings
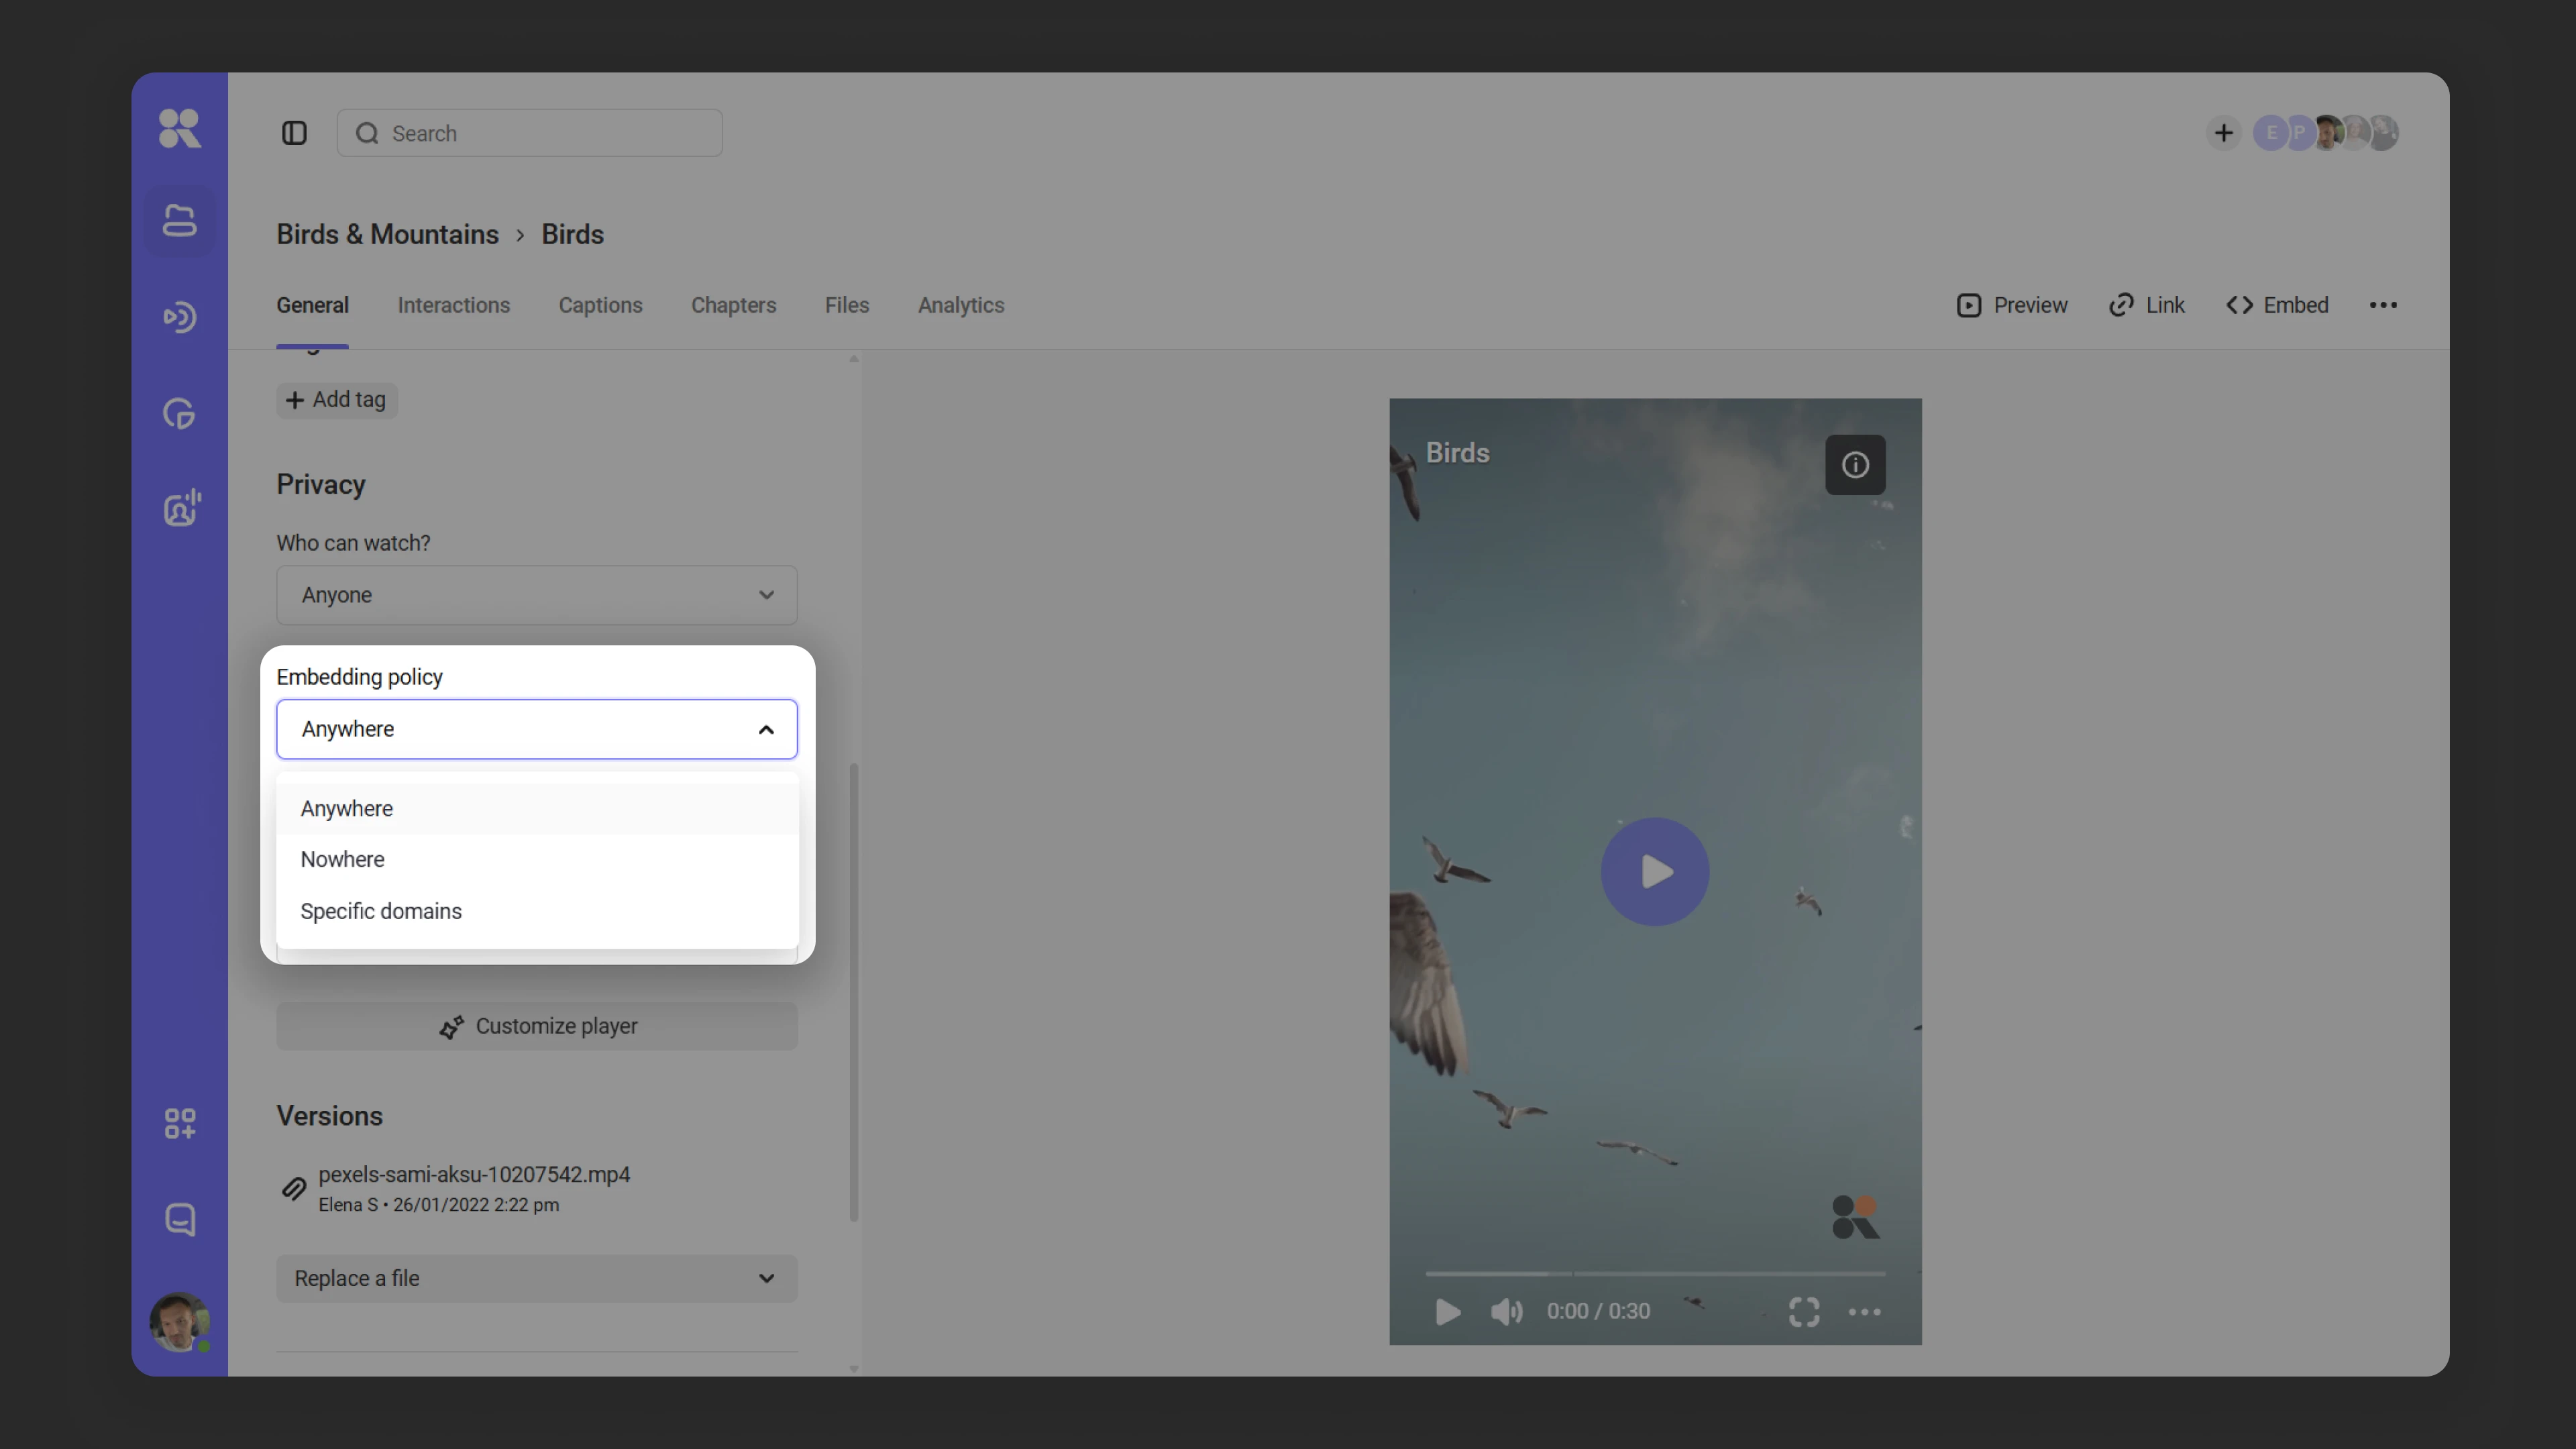
In Kinescope you can restrict media file embedding by domain, so content is only placed on trusted sites. The setting is available in the “Where can the player be shown?” section and offers three options:
- Everywhere — no restrictions.
- Nowhere — prevents embedding but does not restrict access via private link or password.
- On specified domains — restricts embedding to specified domains only.
Adding domains
To allow embedding media files on certain domains:
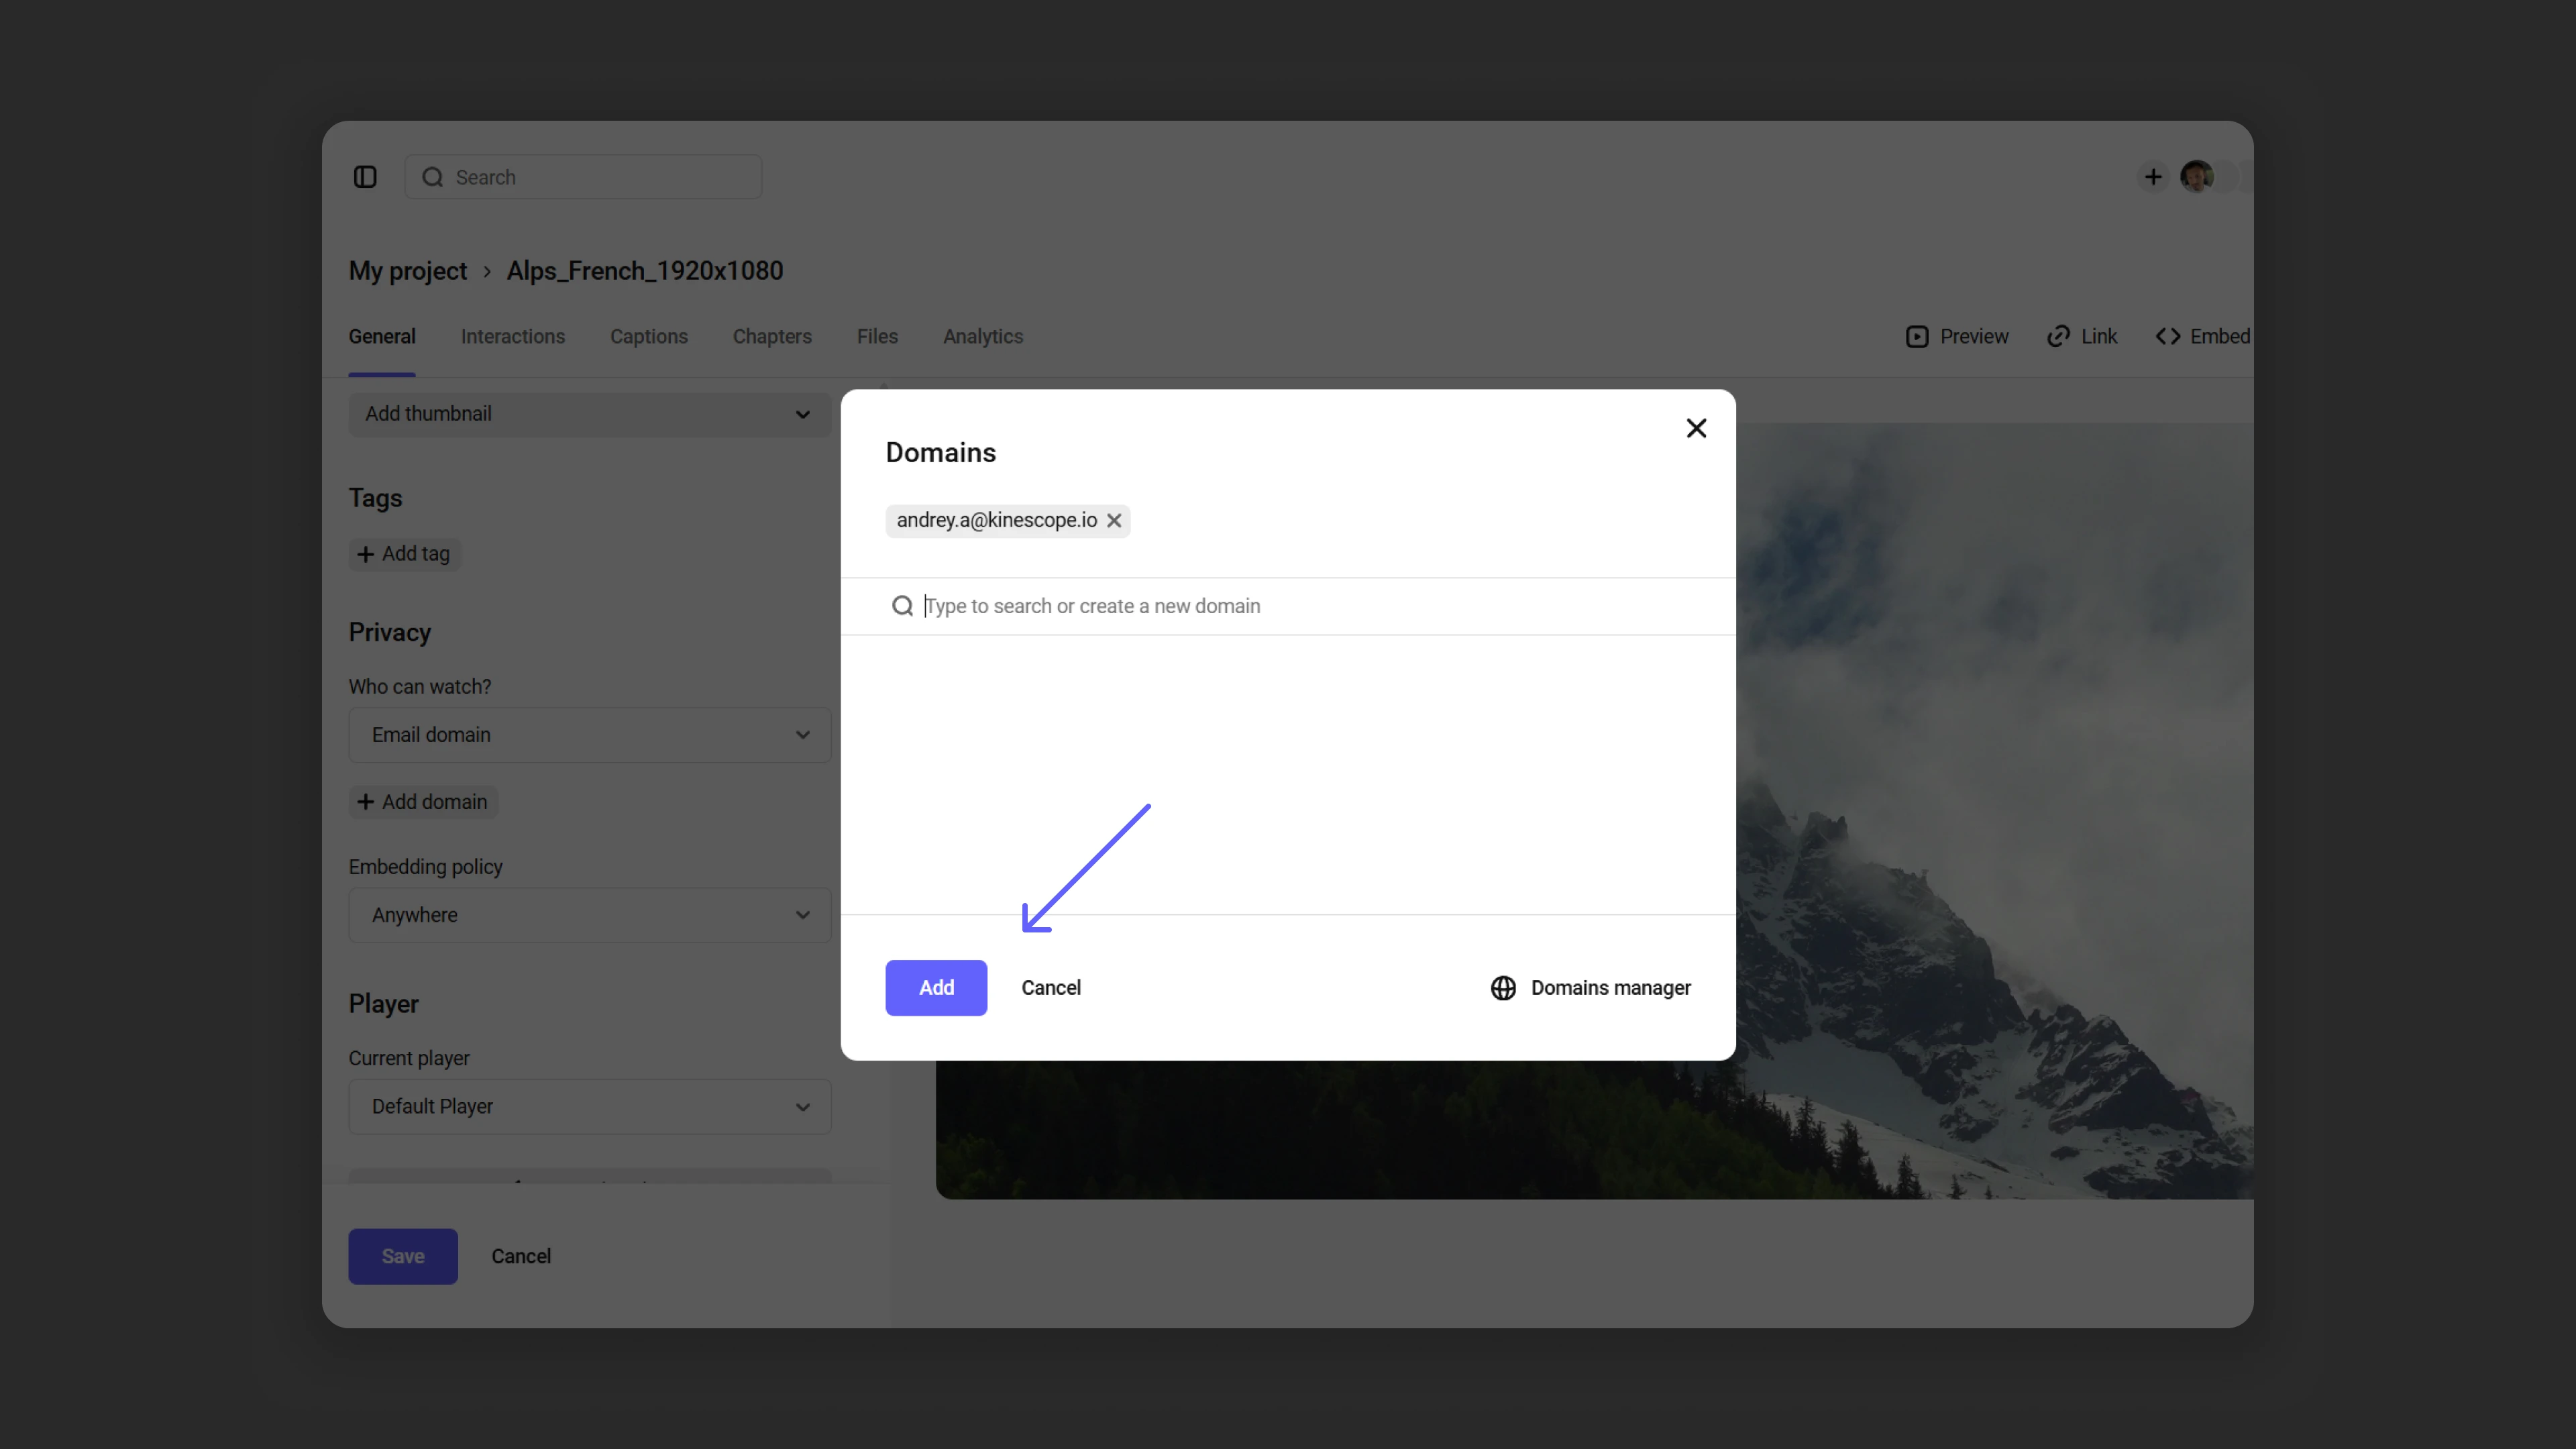
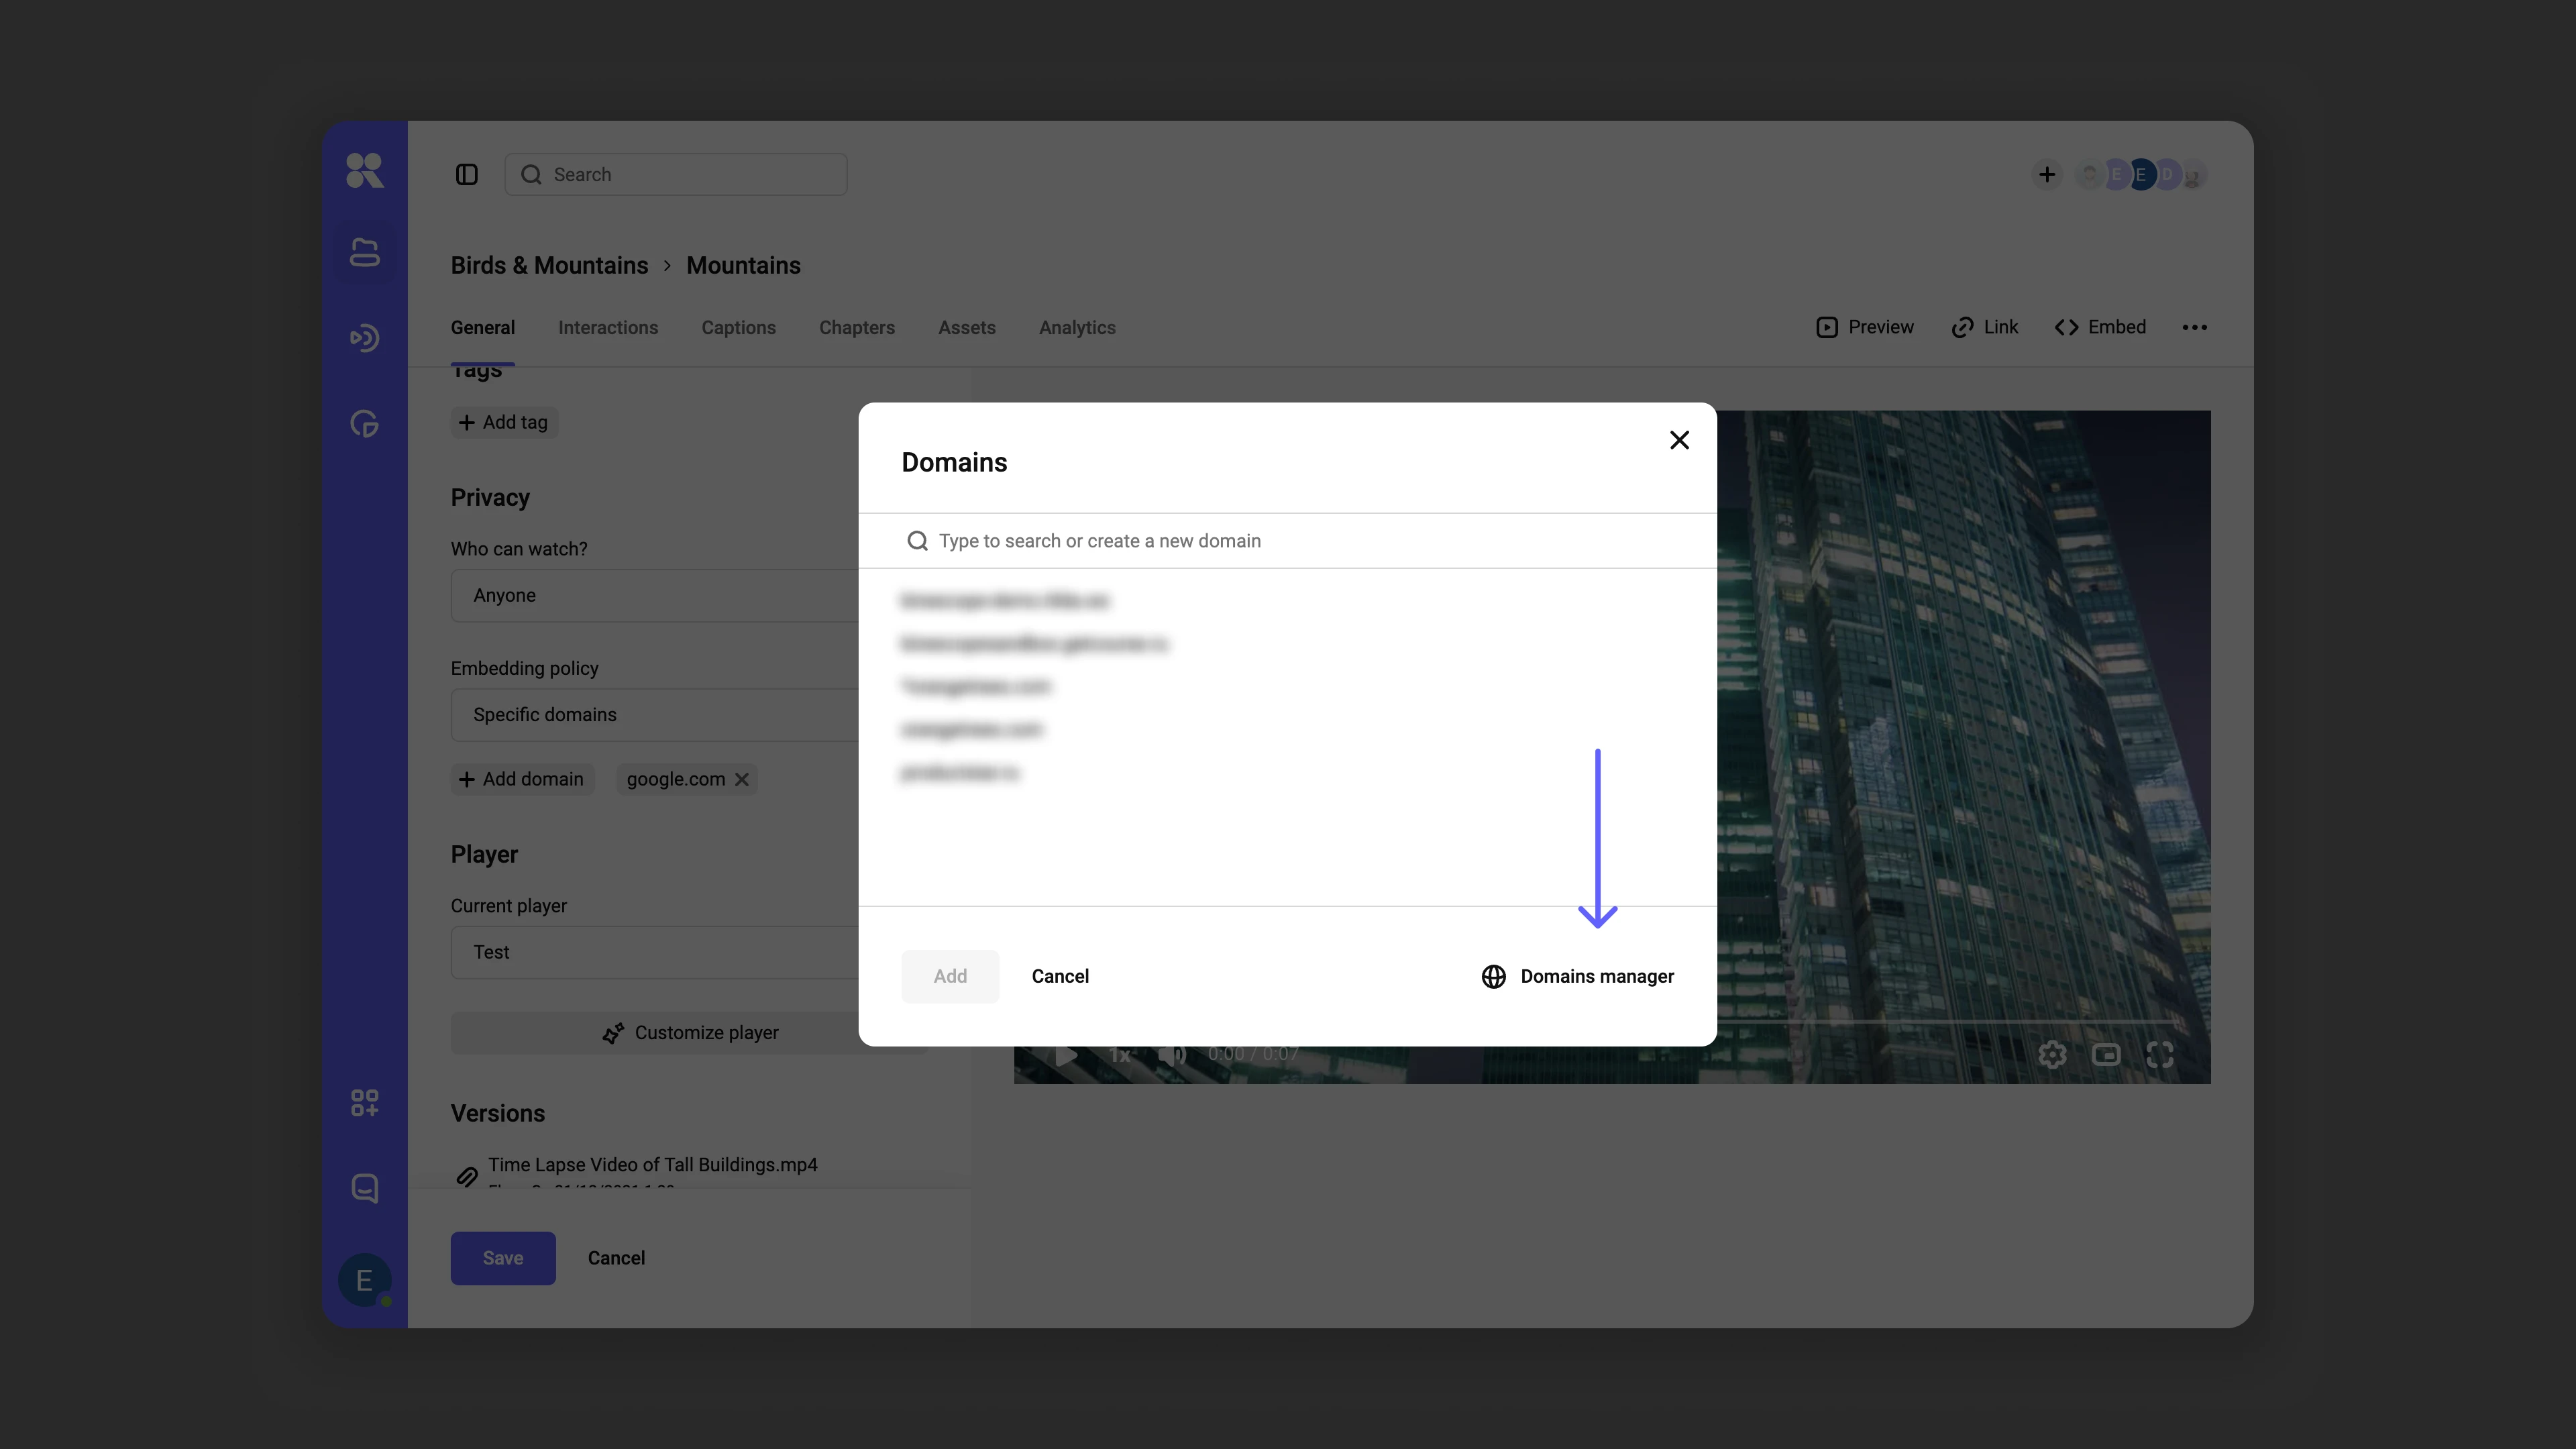
- In the privacy settings, find the “Where can the player be shown?” field and select On specified domains. Then click Add domain — a data entry window will open.
- Enter trusted domains one by one in the text field. After each domain, press Enter or click Create new domain to add it to the list.
*.orangetrees.com and orangetrees.com.- If the domain already exists, the system will suggest it in the list. Click the desired option to select it.
- When all domains are selected, click Add, then Save.
Viewing media files linked to a domain
To view the list of videos linked to a specific domain:
- Click the number next to the domain name in the Media column.
- A list of all linked media files will open.
Deleting a domain
To remove a domain from the trusted list:
- Find the domain in the list.
- Click the “x” next to it.
Managing domains via the manager
Using the domain manager you can add, edit, and delete domains, as well as view media files linked to them:
Via the Domains dialog window in the settings of a specific file.
Managing domains in Kinescope Via the settings section in the dashboard.
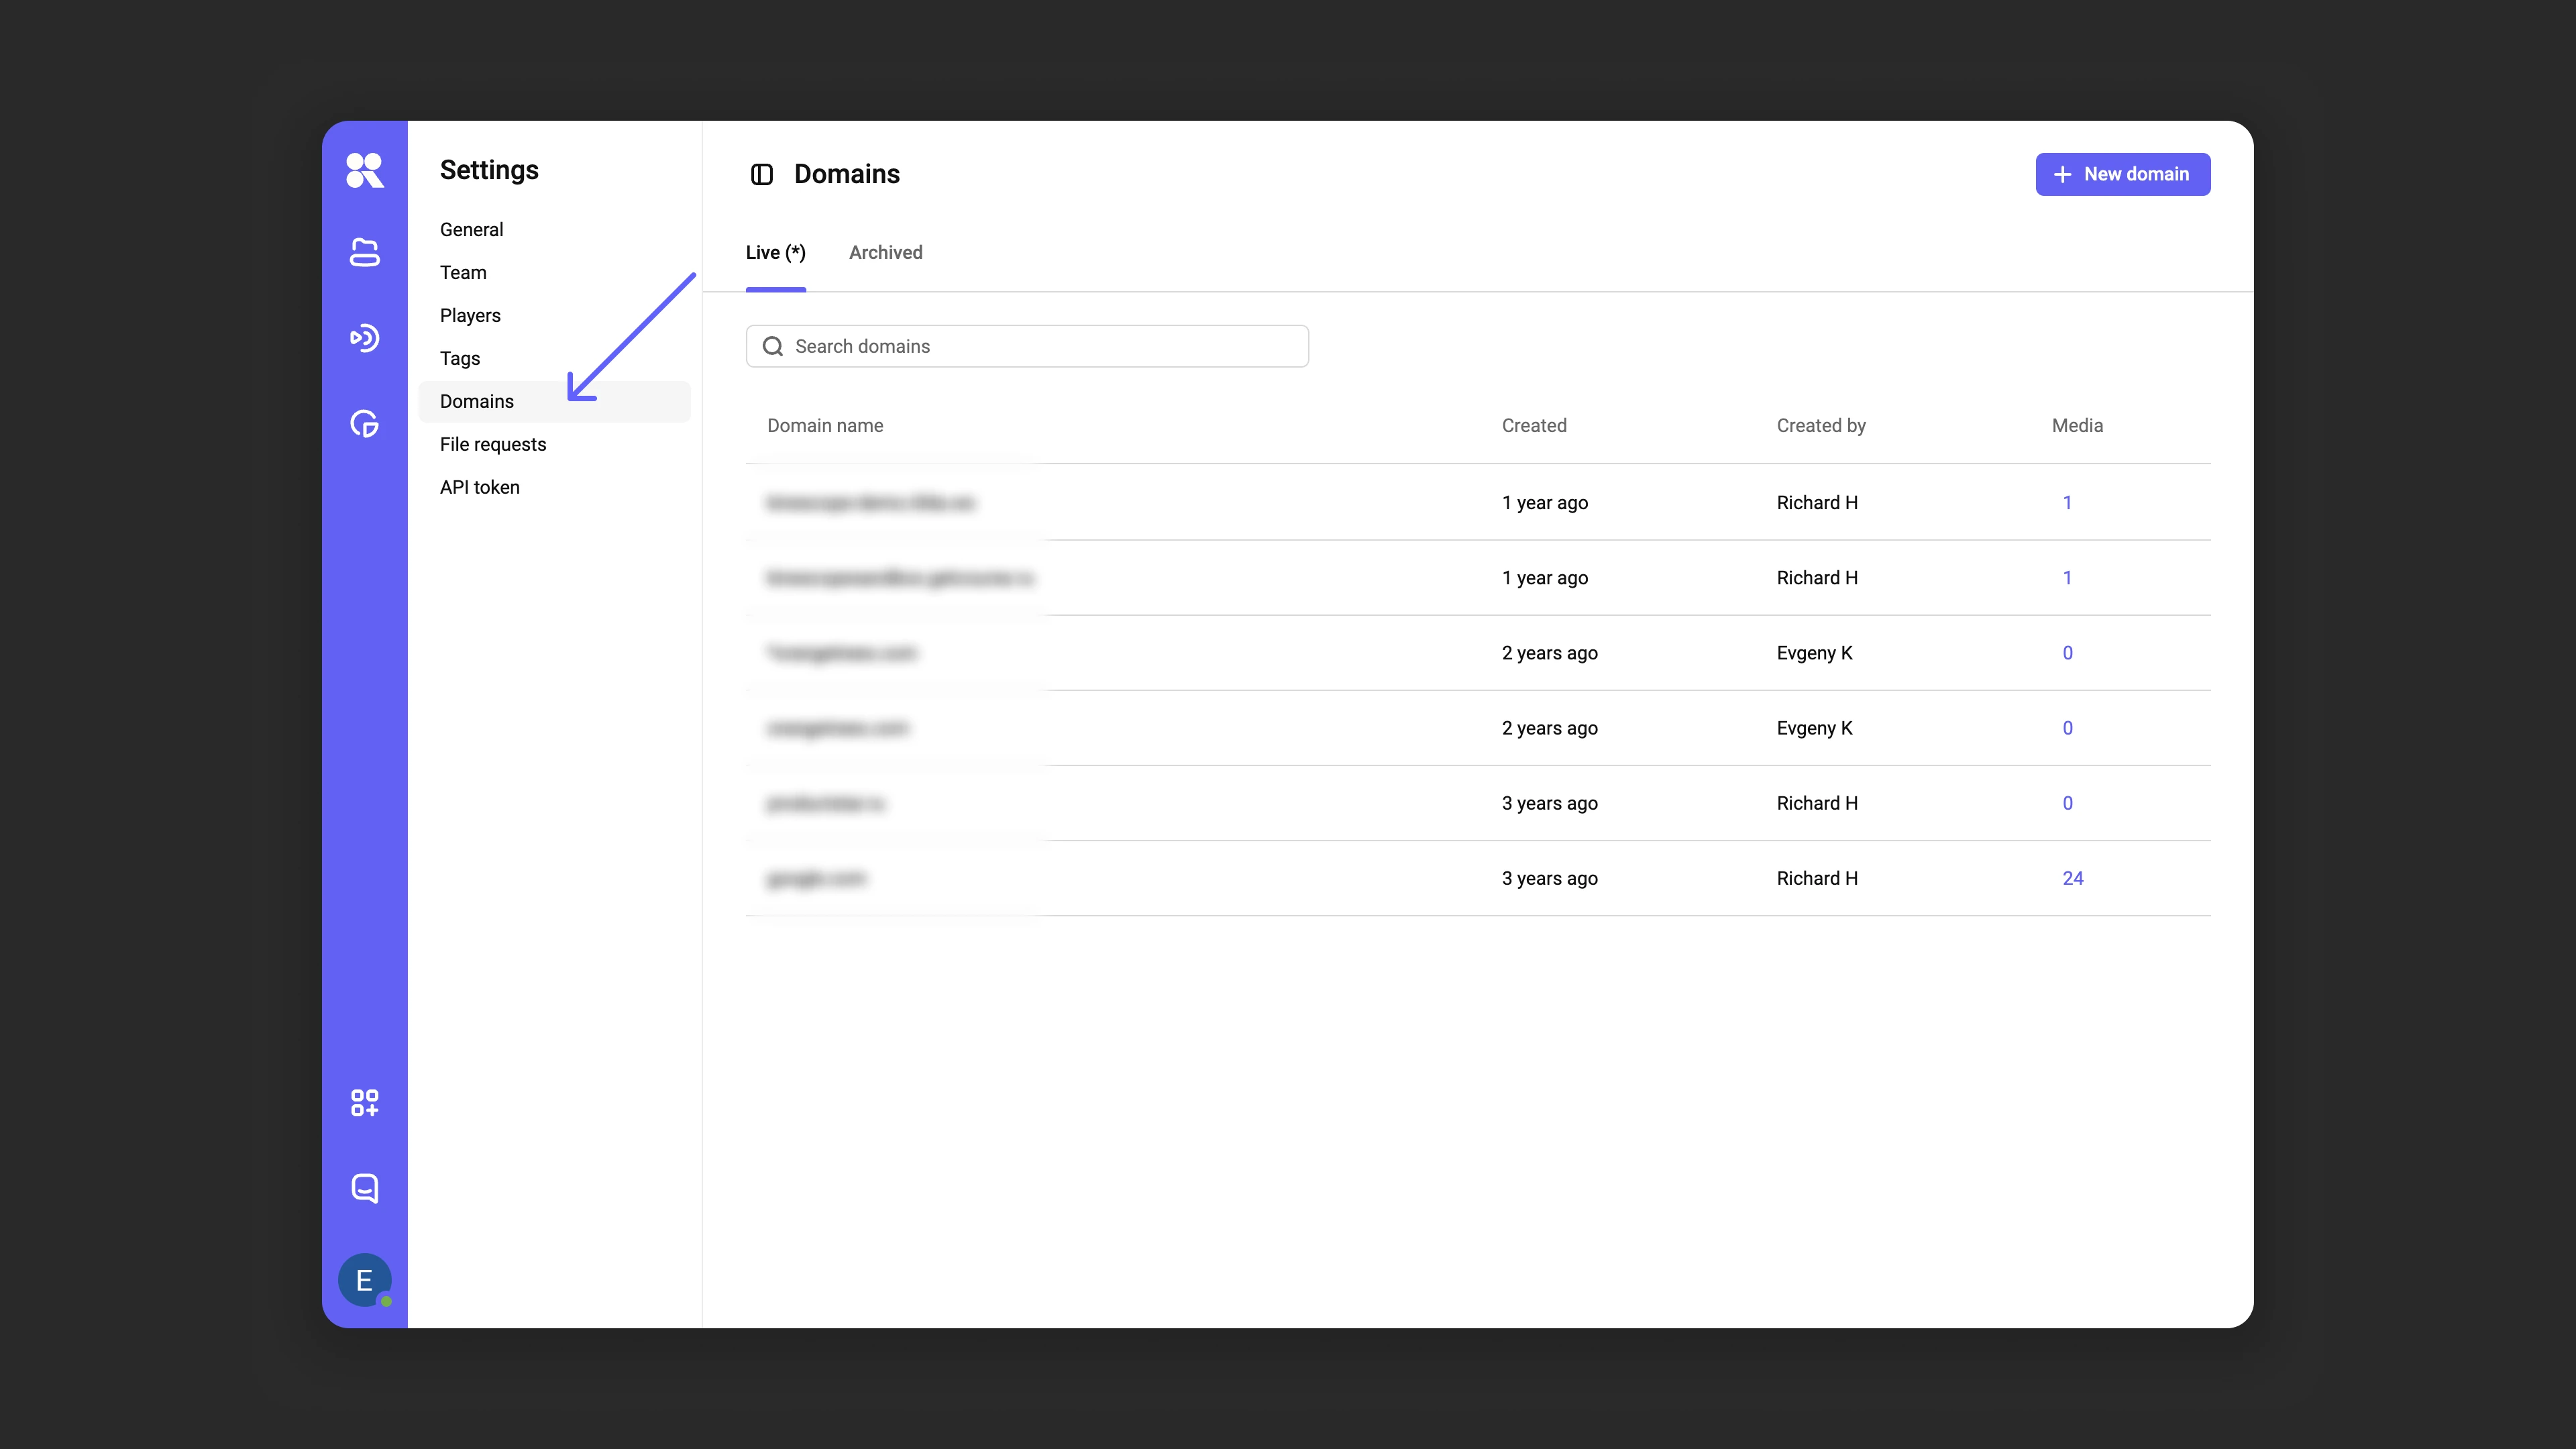
Adding a new domain
- Click New domain.
- In the Name field, enter the domain name.
- Click Add to save the changes.
Editing domains
- Click the Edit domain icon next to the desired domain.
- In the window that opens, make changes → click Save.
Archiving and deleting domains
If a domain is no longer used, you can:
- Archive it to restore later.
- Delete it permanently if it’s no longer needed.
To do this, click the Archive domain or Delete icon next to the domain. In the dialog window, select the desired action. Archived domains can be restored in the Archive tab by clicking Restore domain.
What’s next?
- Media file settings — configuring privacy and access
- Set up DRM encryption — protect video from downloading and screen recording
- Add watermarks — additionally protect content from leaks
- Set up authorization backend — control video access by your rules (courses, subscriptions, roles)
If you still have questions, write to the support chat within the Kinescope interface — specialists will help!