Working with Files: Subtitles, Chapters, and More
You can mark up chapters for quick navigation to key video segments, attach supplementary materials (such as images or PDF files), and upload subtitles. These features improve content accessibility and help viewers navigate video more easily.
Who this article is for
- Course creators — need to add subtitles, chapters, and supplementary materials to lessons
- Marketers — need to improve content accessibility and add interactive elements
- Instructors — need to structure learning materials using chapters and annotations
- Website owners — need to make video more accessible and easier to navigate
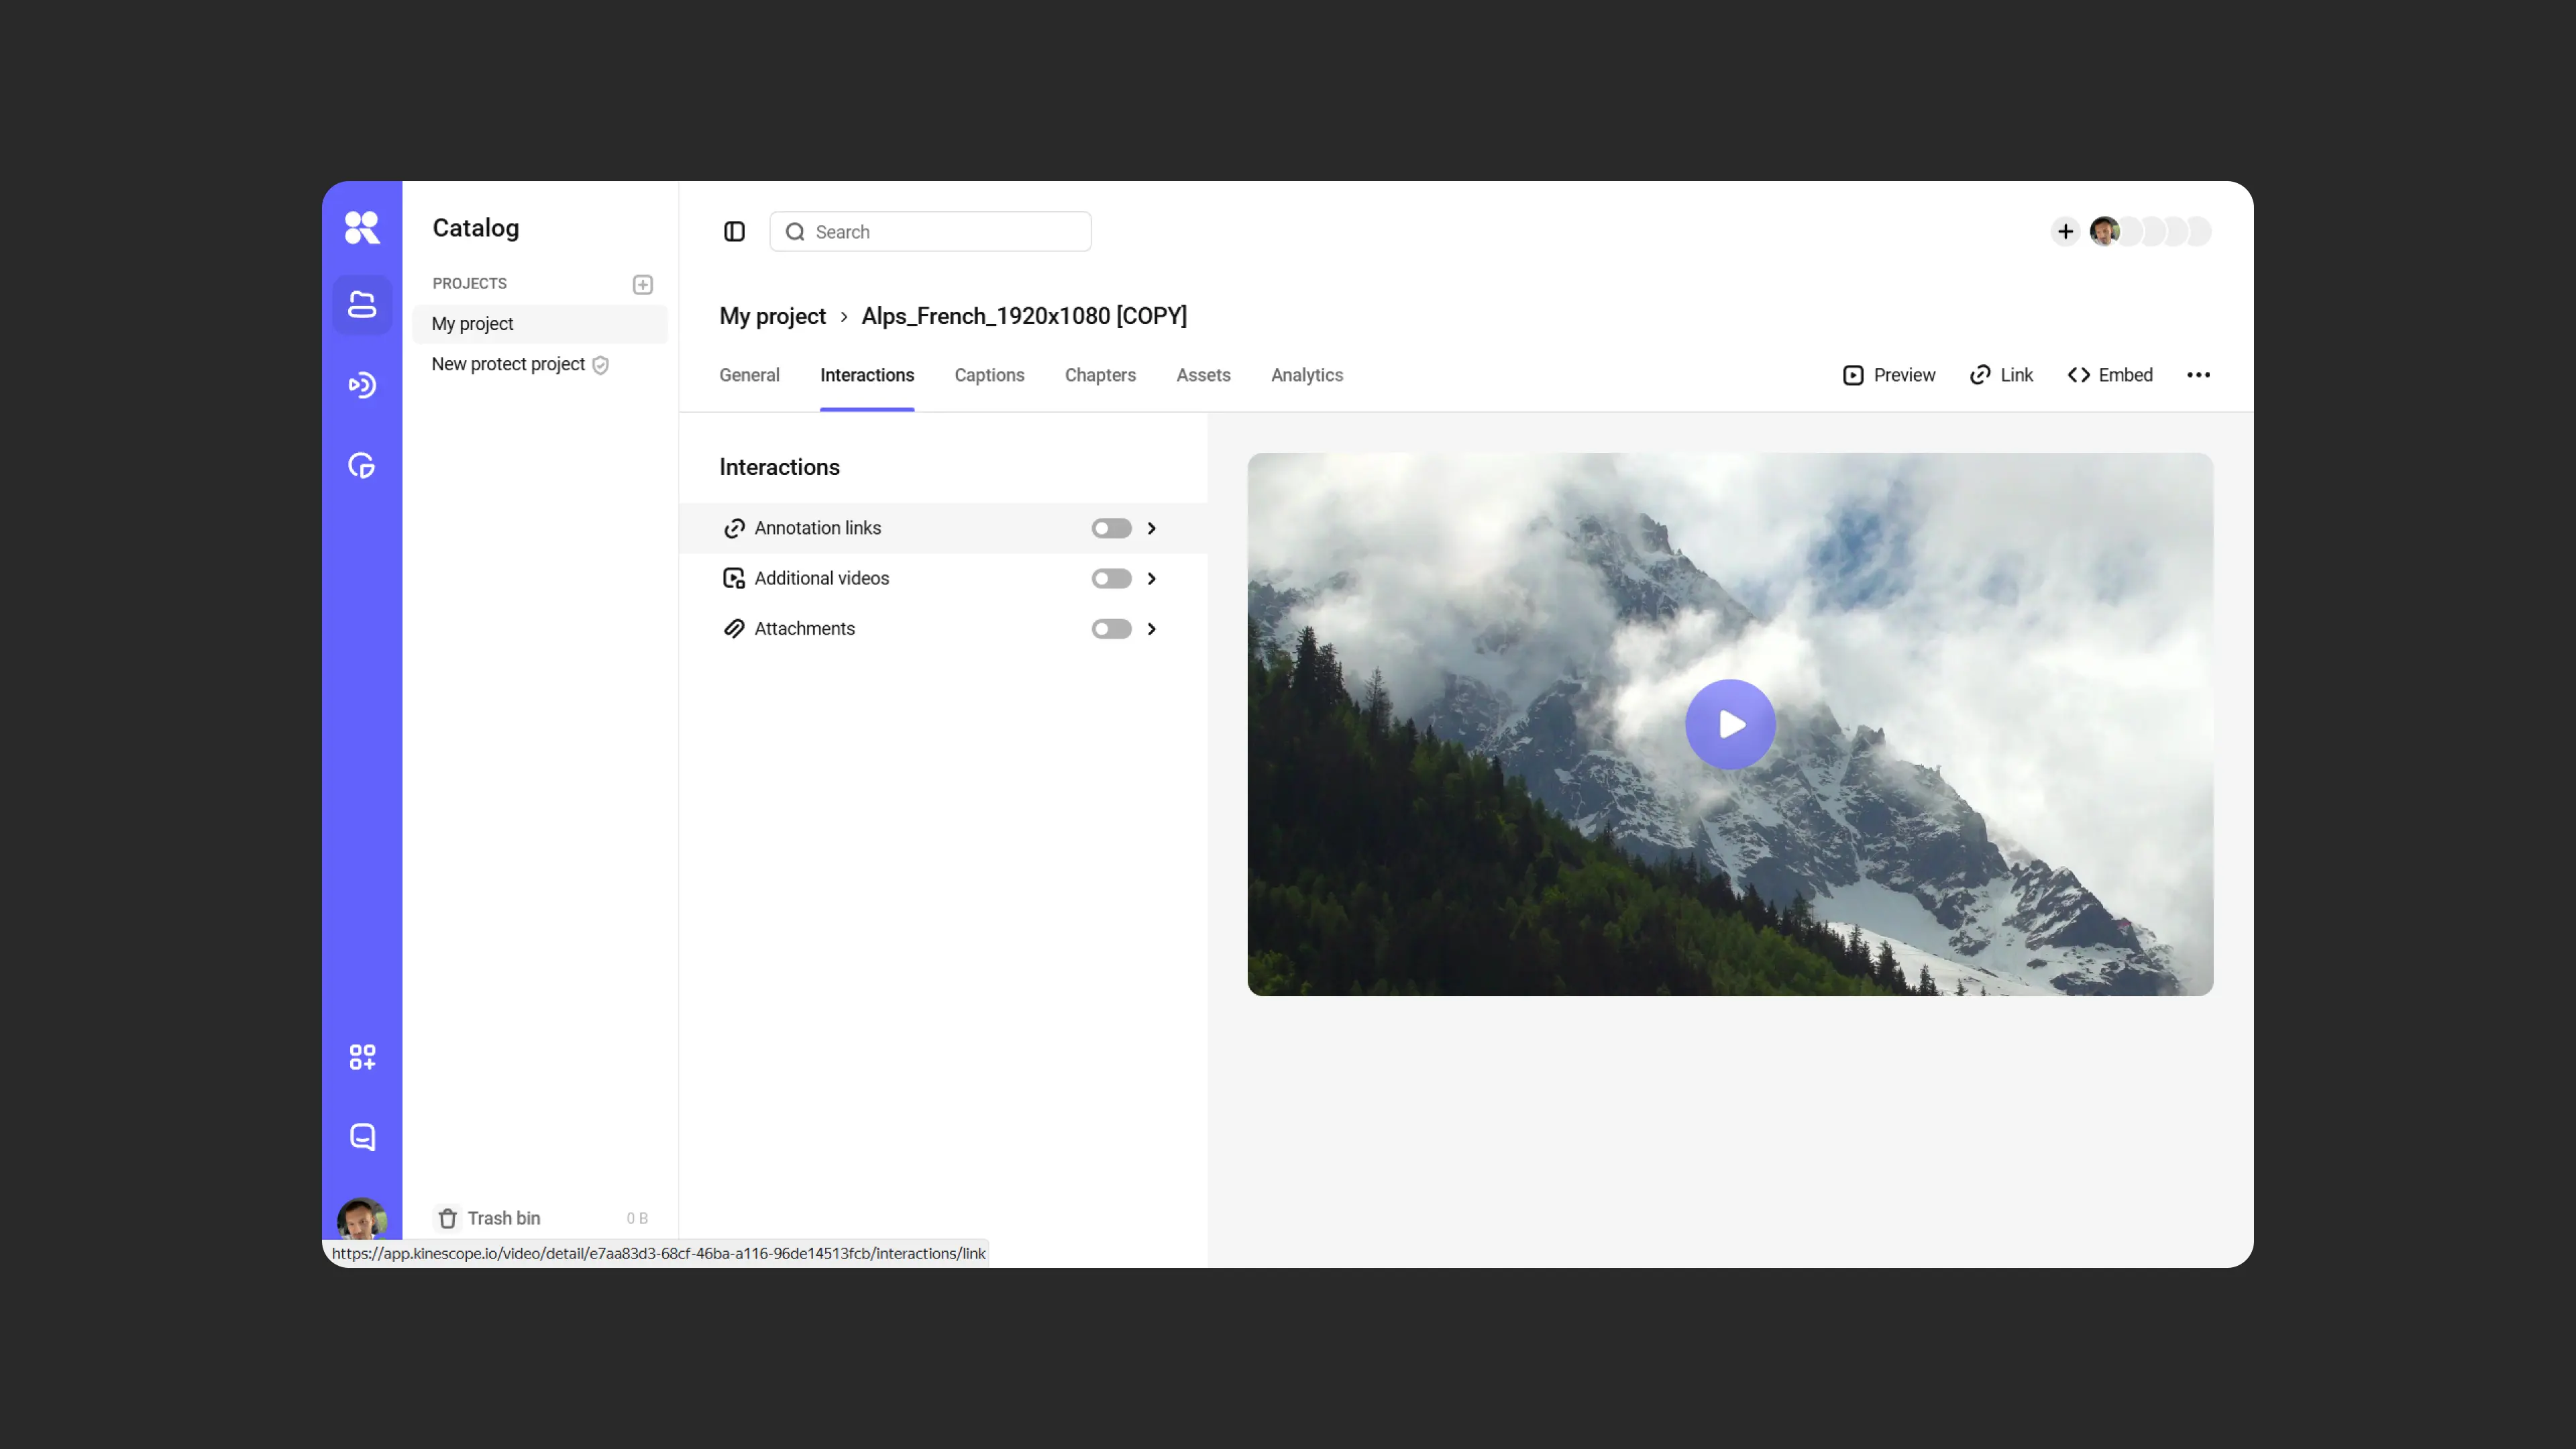
Annotations
Annotations are a tool that helps viewers quickly understand the video content and find key moments through brief explanations.
How to add annotations
- Go to the video settings and open the “Interactions” tab.
- Enable the “Annotations” feature and click “Add”.
- Specify the exact time when the annotation should appear, add text, and if needed, insert a link.
The annotation will appear on the timeline below the video. You can move it along the timeline and add new annotations to other points in the video.
Supplementary videos
This feature lets you place a link to another video from Kinescope directly in the player. For example, if you briefly mention a topic in a video, you can add a link to a video with a more detailed explanation.
How to add a supplementary video
- Go to the video settings and select the “Interactions” tab.
- Enable the “Supplementary videos” feature and click “Add video”.
- Select the desired video from your Kinescope library, add a title, and specify the exact appearance time on the timeline.
Save changes to make the video accessible in the player. You can move the links on the timeline and add other videos to empty sections.
Attachments
The “Attachments” feature lets viewers access supplementary materials while watching a video. This is convenient if you want to provide access to presentations, instructions, or other downloadable files.
How to add attachments
- Open the video settings and go to the “Interactions” tab.
- Enable the “Attachments” feature.
- Upload files by dragging them to the designated area or via the file manager.
- Arrange the files as needed.
Viewers will be able to open and download attachments by clicking the paperclip icon in the player.
Subtitles: generating and managing
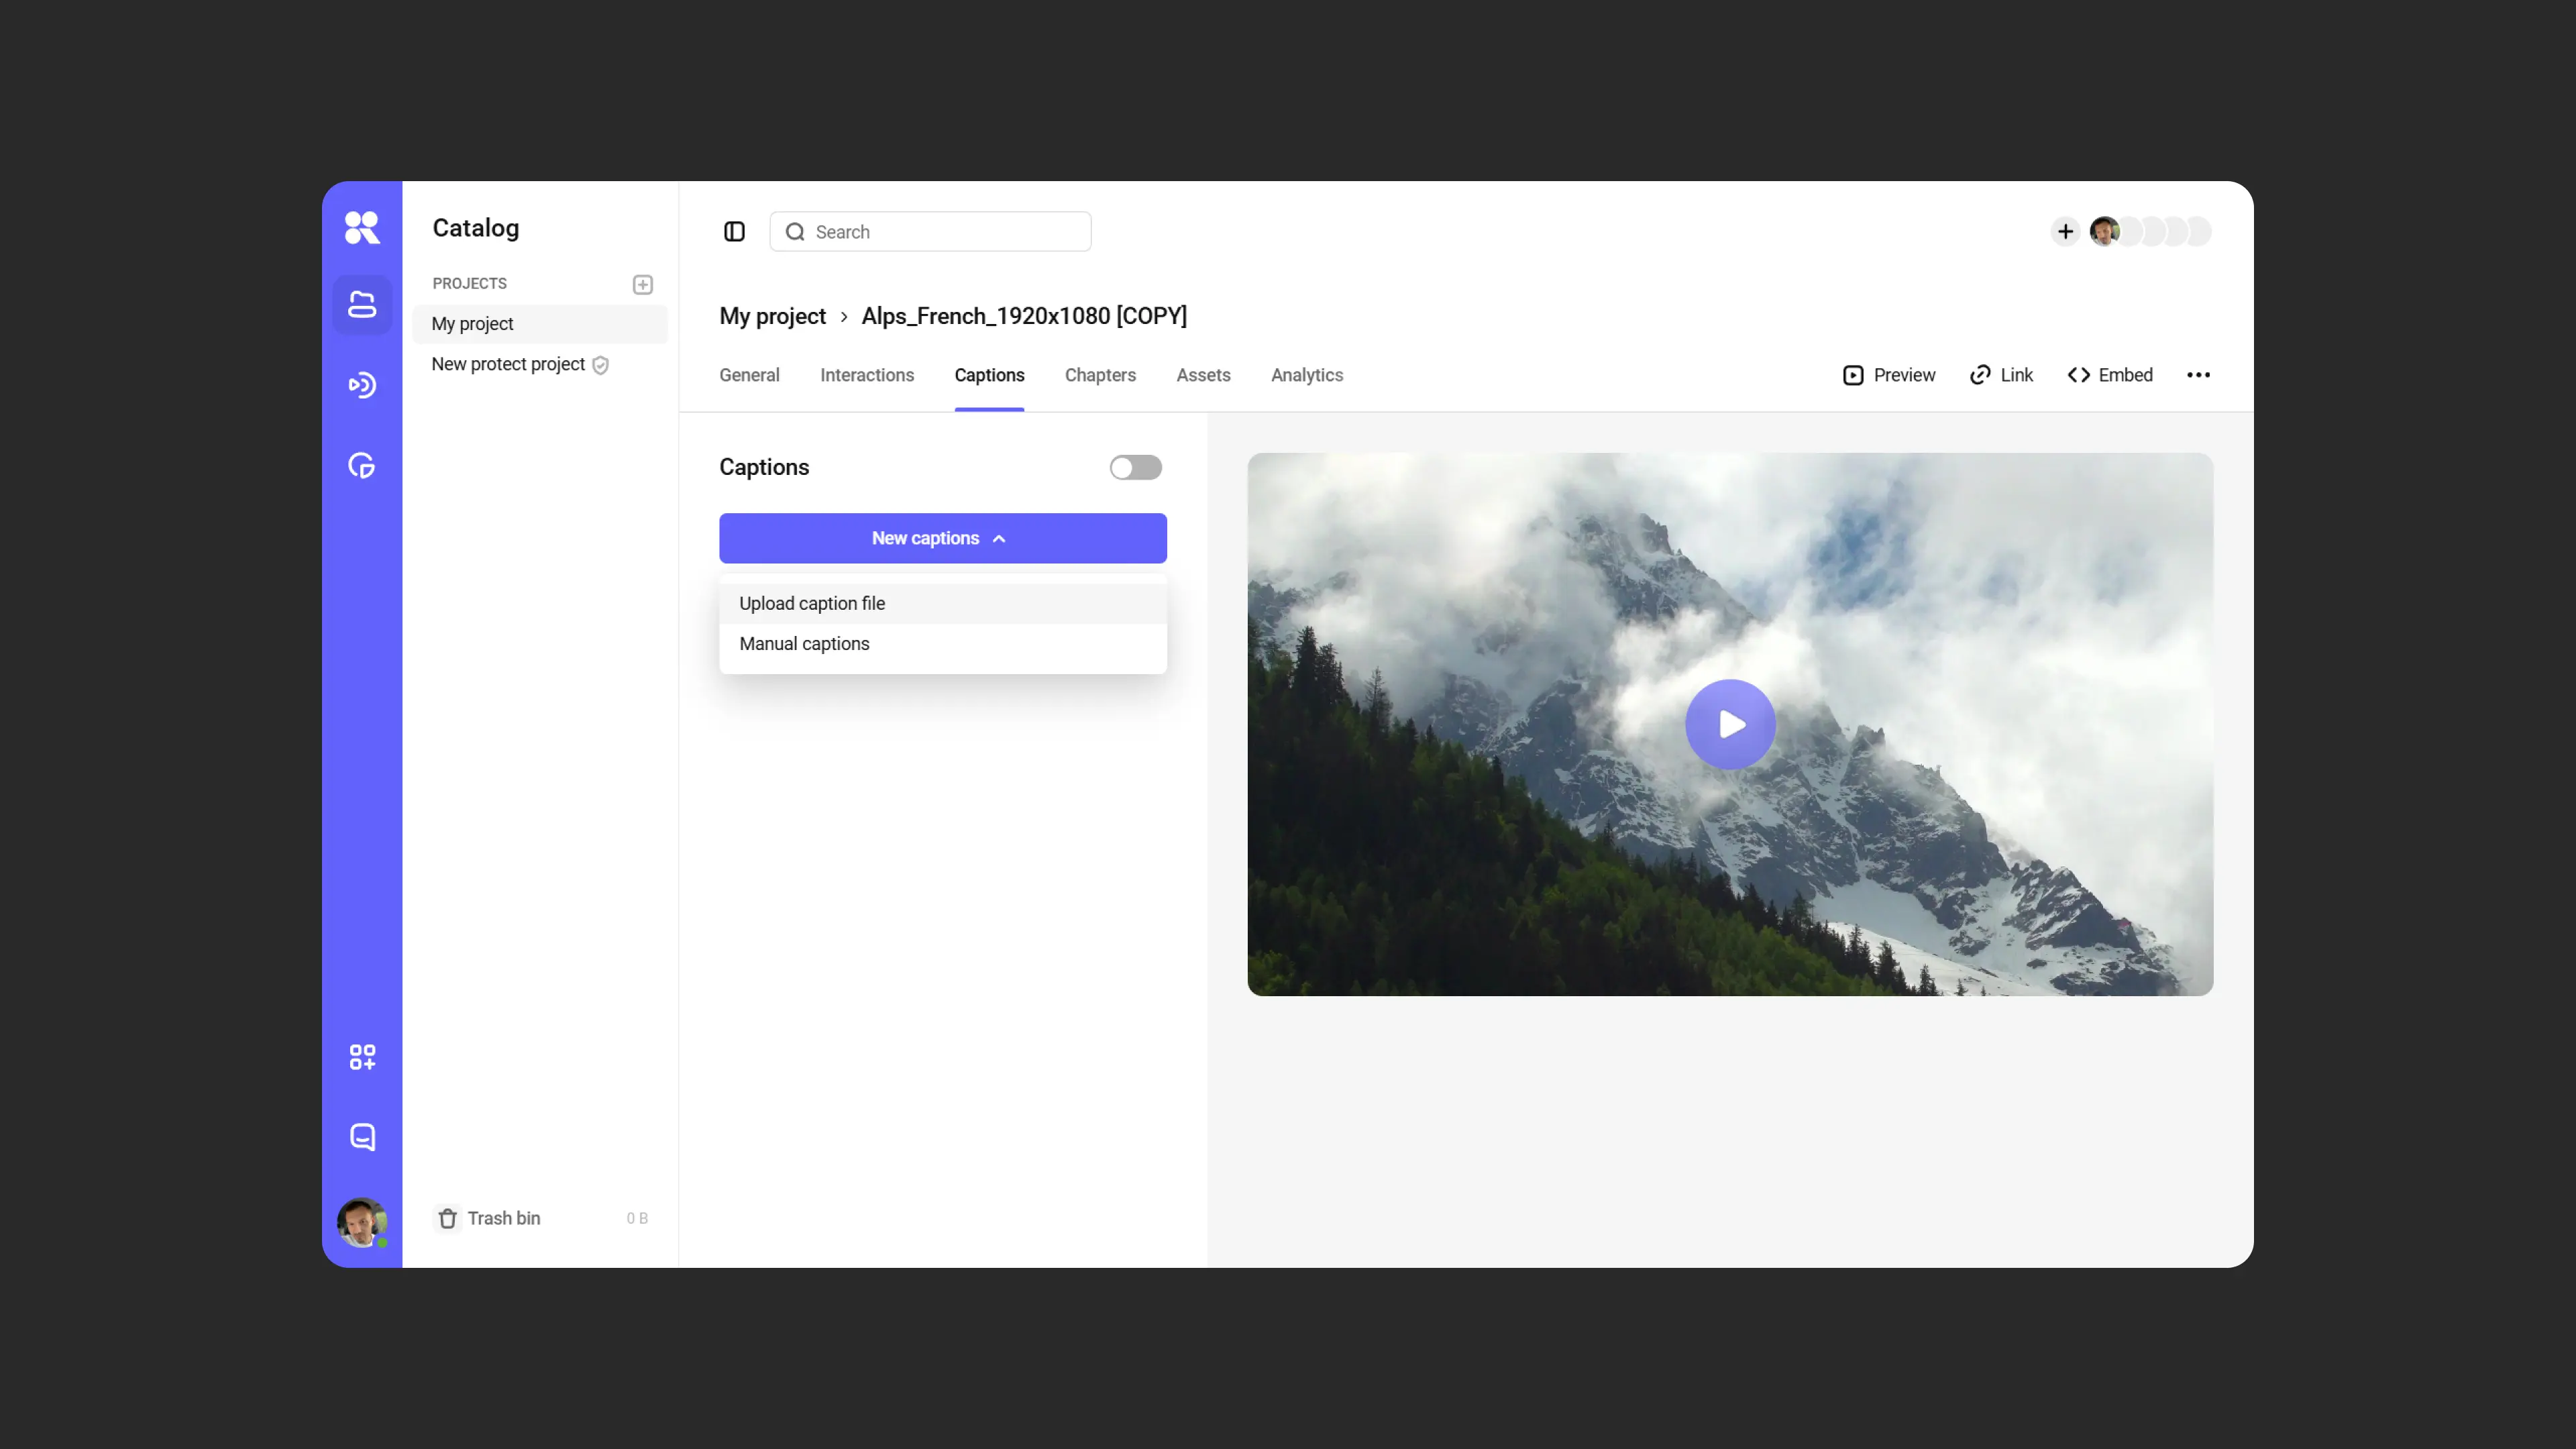
How to upload subtitles
- Go to the “Subtitles” tab in the video settings.
- Upload a file in SRT or WebVTT format by dragging it to the upload area or selecting it manually.
- Specify the subtitle language and, if needed, add a description.
- Enable subtitles by toggling the “Show in player” switch.
- Click “Save”.
Auto-subtitles
Use auto-generation to speed up working with subtitles.
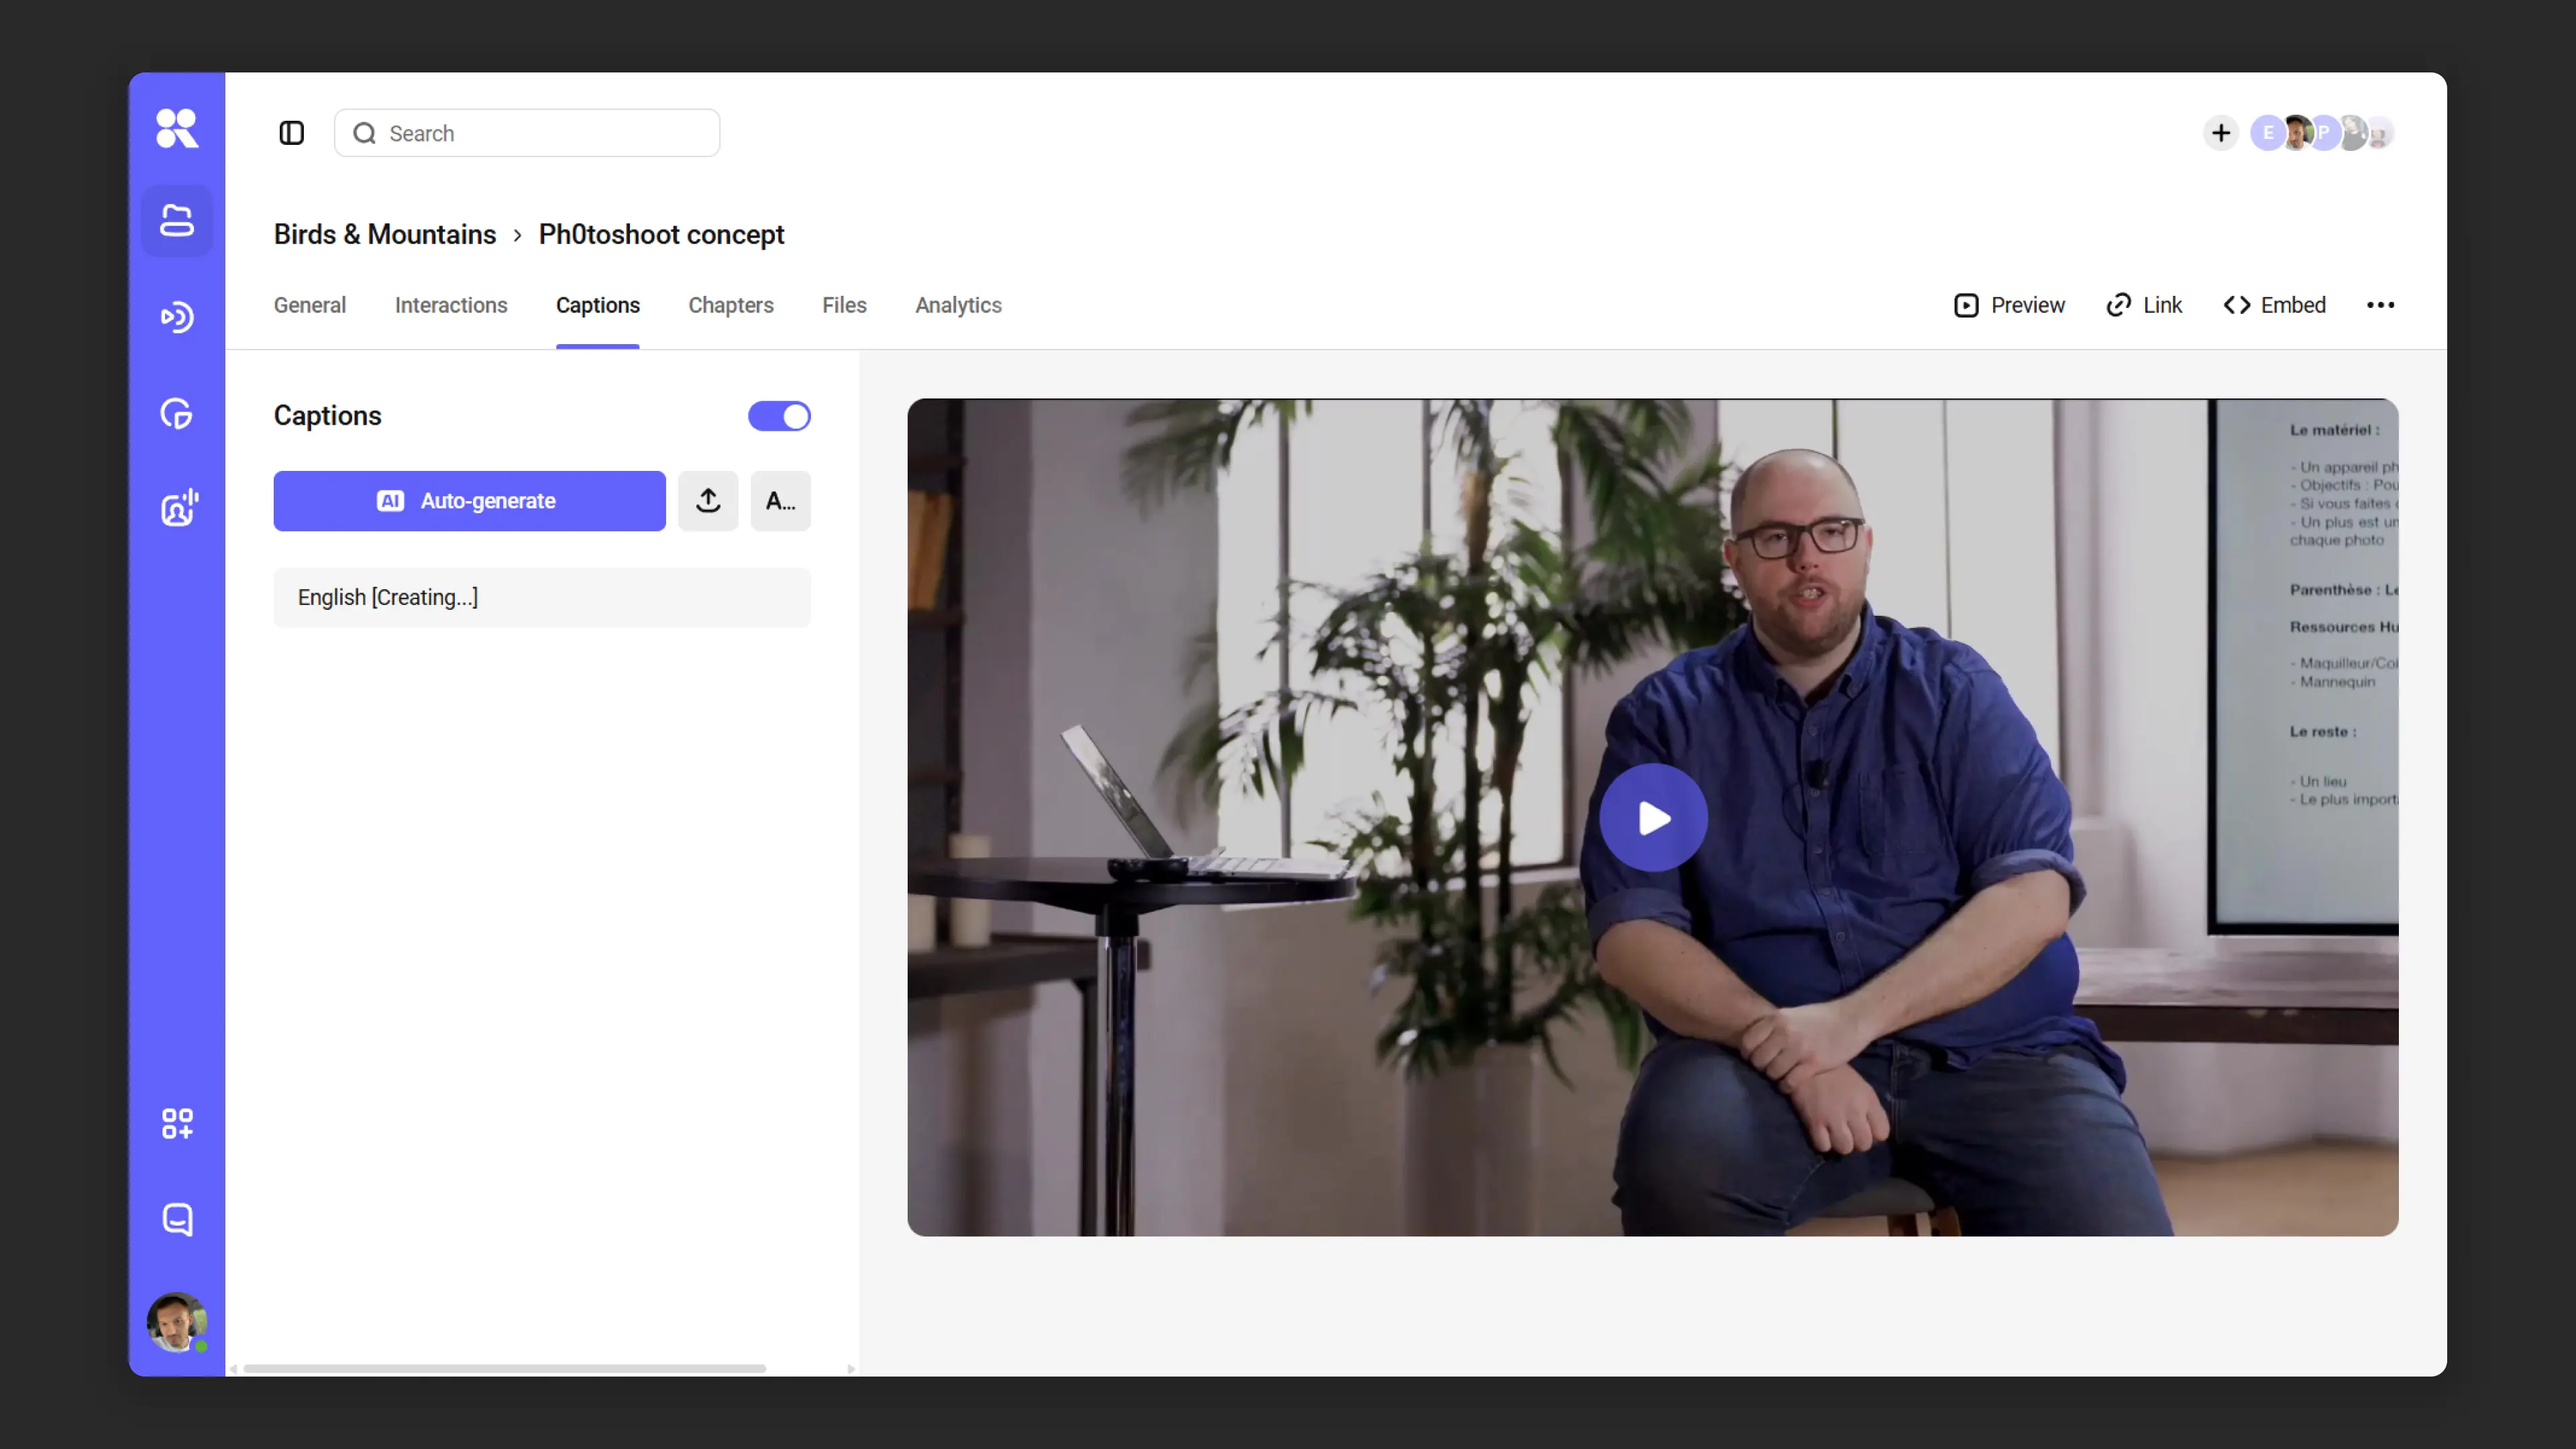
Open video settings → Subtitles tab.
Click AI Auto-generate and select the subtitle language. While processing, the subtitles block shows a loading indicator.

Editing subtitles and menu after auto-generation Review the result. You can add, merge, or delete text manually. In the additional options menu (⋮), you can also replace, download, and adjust timings.
Select the generated subtitles, turn on Show in player (if not already on), and click Save.
Chapters
Adding chapters lets viewers easily find the moments they need and share specific segments of long videos.
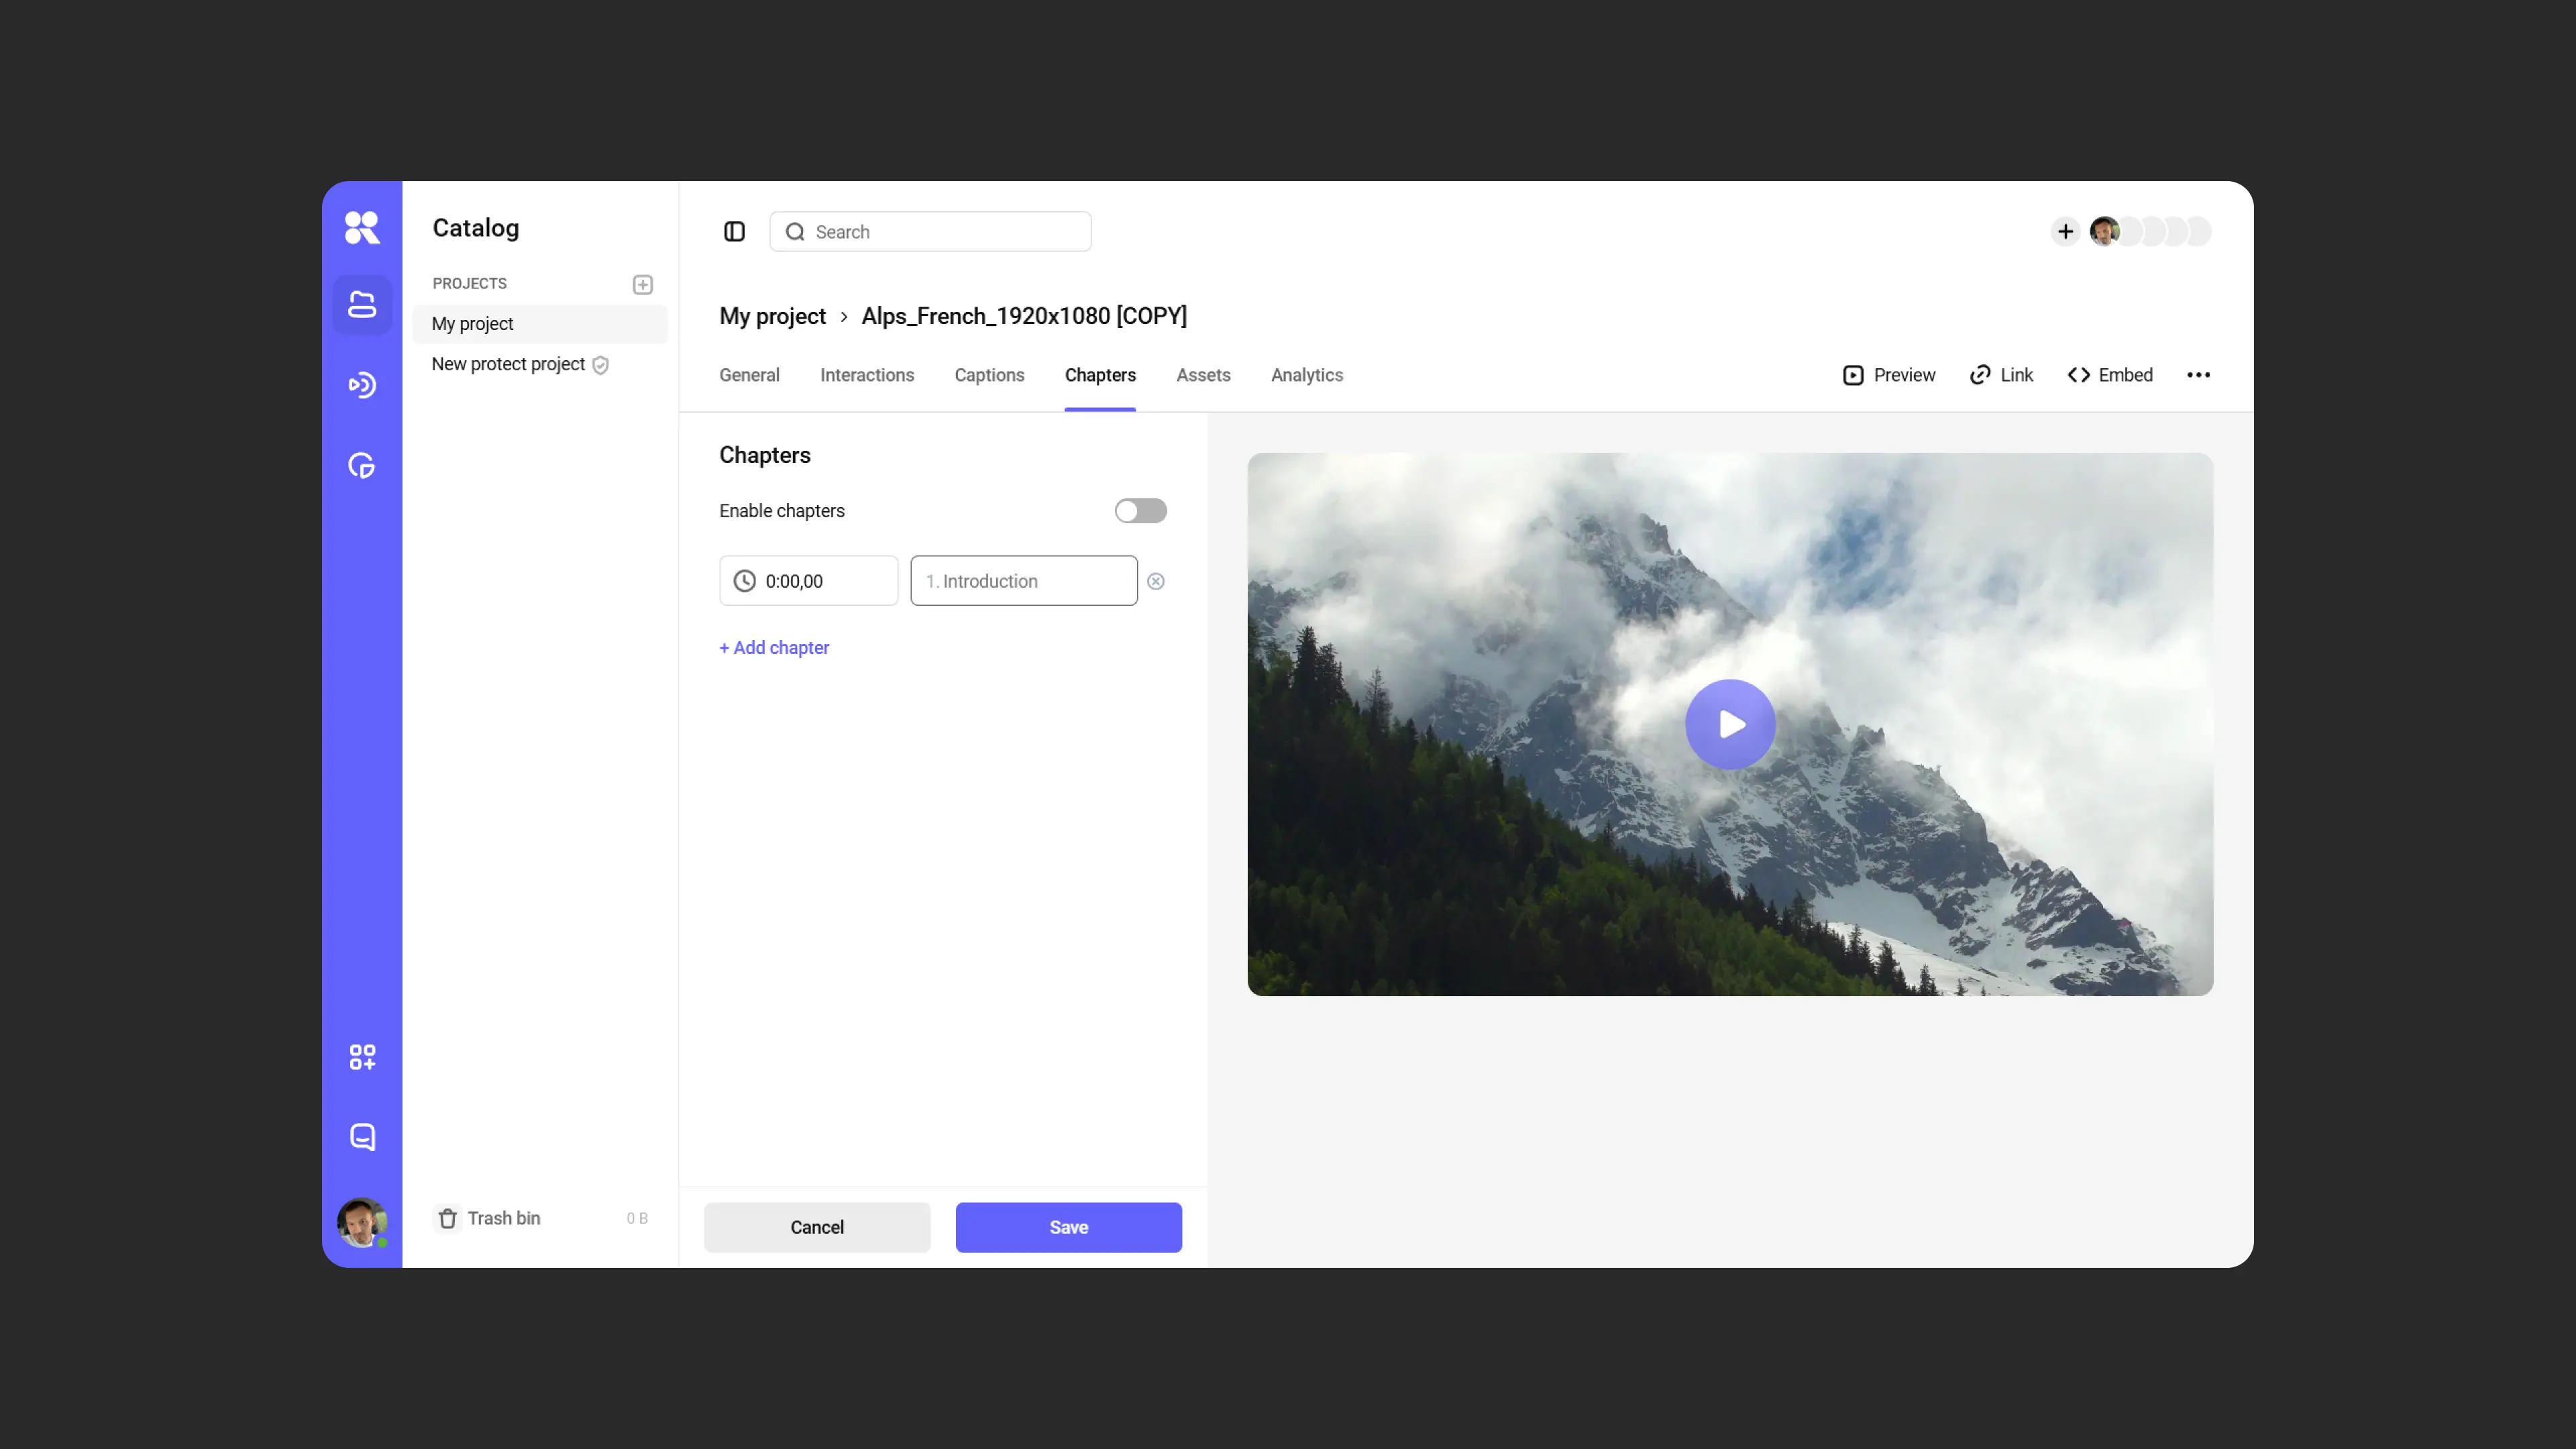
How to add chapters
- Go to the “Chapters” tab.
- Use one of the following methods:
- Manually enter the chapter start time and its name.
- Or add chapters from the player:
- Click “Add chapter”, enter a name.
- Go to the desired moment in the video, pause playback, and click “Add chapter” again.
- After adding all chapters, toggle the “Enable table of contents” switch.
- Click “Save”.
Auto-generate chapters
Placing chapters in a long video manually takes time. Auto-generation helps: it analyzes the video and suggests timecodes with titles.
Open video settings → Chapters tab.
Click the gear icon next to AI Auto-generate if you want to change settings:
— Maximum number of chapters — up to 99 (default 30). — Generation language — language of chapter titles.
Click AI Auto-generate. While processing, a loading indicator appears in the chapters block.
Review the result. You can edit titles and timecodes manually, and add missing chapters with Add chapter in the preview.
Enable Enable table of contents (if not already on) and click Save.

You can combine auto-generation and manual markup: generate a draft, then refine it.
Files
The “Files” tab in the video settings contains three subsections: Sources, Attachments, and (when applicable) Audio Tracks. Each row in the table shows the file name, format, and size; hovering over a row reveals the “Download” button.
Sources
A list of resolutions Kinescope automatically creates when you upload a video (360p, 480p, 720p, 1080p, etc.). During playback, quality adapts to the viewer’s device and connection speed.
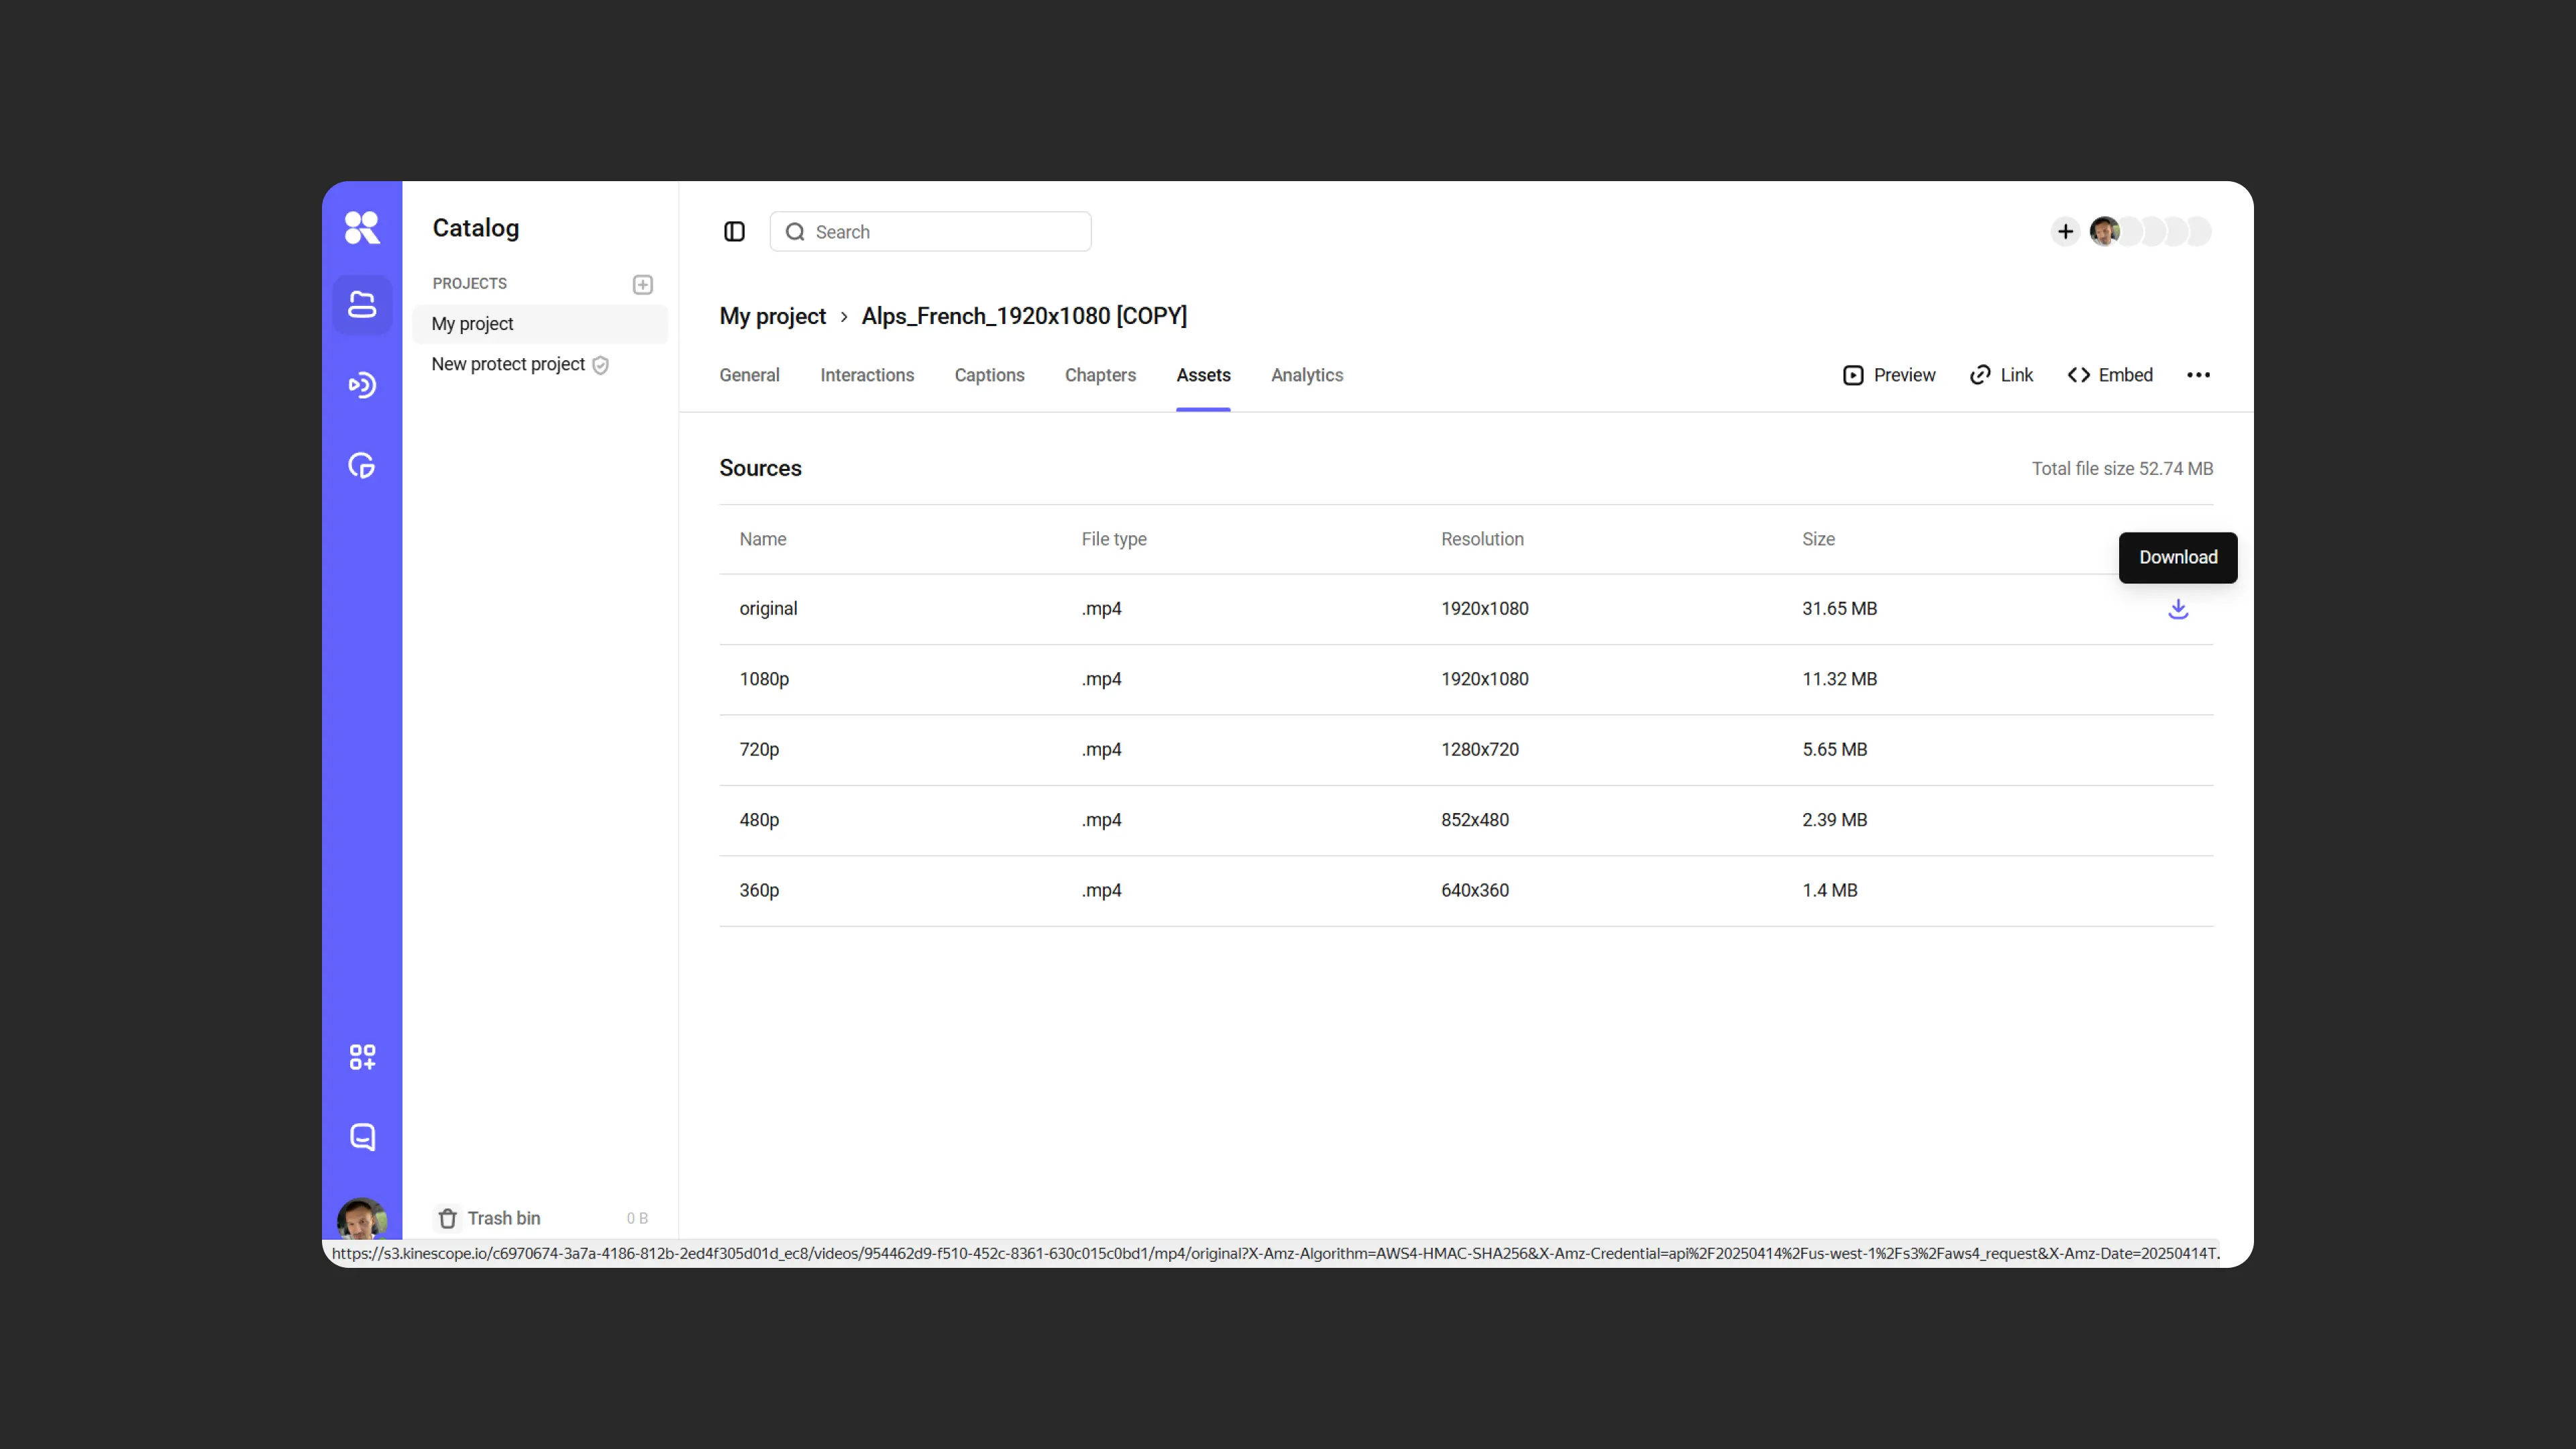
To download a specific resolution:
- Open the video settings → “Files” tab.
- Find the row you need and hover over it.
- Click “Download”.
Audio tracks
If a video has additional audio tracks, an “Audio Tracks” subsection appears in the “Files” section. Each row shows:
- Language — track label (for example: Russian, English, Italian, Tatar).
- Format — file format (usually mp4; actual format is shown if different).
- Size — file size (for example: 23.25 MB); if the data is unavailable, — is displayed.
- “Download” button — downloads the track directly, without opening the player. The file is saved as
{video_name}_{language}.mp4.
How to add audio tracks to a video
Kinescope supports adding multiple tracks to a video, uploaded as a single file packaged using MKVToolNix.
- Make sure your audio tracks are in .mp3 format. If not, use a converter such as Convertio .
- Download and install MKVToolNix for Windows or for macOS .
- Open the program and add the audio files using the “Add source files” button.
- Select the desired audio track in the lower-left menu and edit its properties. For a supplementary track, uncheck “Default track” and set the language.
- Click “Start muxing”, save the file, return to Kinescope, and upload it. Additional audio tracks will appear in the video automatically.
Lead forms
Kinescope supports lead forms in video, but they cannot be configured independently yet. The development team will help you add lead forms to your video content — simply contact the support chat within the Kinescope interface.
What’s next?
After configuring file interactions, we recommend:
- Media file settings — basic video settings
- Customize the player — configure chapter and subtitle display in the player
- Set up analytics — track how viewers use chapters and subtitles
- Organize your media library — structure content using projects and folders
Still have questions? Write to the support chat within the Kinescope interface — our specialists will help!